Kringle Version 1 (Not a complete Failure) – Danish Pastry Bliss

The last couple of weeks have been challenging and being struck down with flu has just added to the frustration, not feeling particularly inspired to get into the kitchen. Until recently I have not been a fan of Twitter, my Facebook account was deleted some time ago as it became too distracting, Twitter, due to its limited message size, seems to provide a source of inspiration on the foodie front and is the reason for this latest post.

WP_20140322_13_57_06_Pro

I am a massive fan of Yotam Ottolenghi, and Middle Eastern inspired food in general. Yotam recently ‘tweeted’ from Copenhagen a picture of an interesting looking pastry called KRINGLE, I saw this post and decided to do a bit of detective work, and see what this treat was all about.

The word originates from the Old Norse kringla, meaning ring or circle and denotes the traditional shape of this pastry, made using either Puff or a Yeast based dough. Trying to find some recipes and guidance for making Kringle I looked to Google and found a number of different approaches and shapes to this tasty pastry, mostly by clicking through the ‘images’ search results, rather than web which did not seem to have so much too offer.

If you decide to investigate as I did, you will find variations from many countries including Denmark, Estonia, Holland & Wisconsin (home to many Danish people apparently), here is my 1st attempt which did not go quite to plan!!

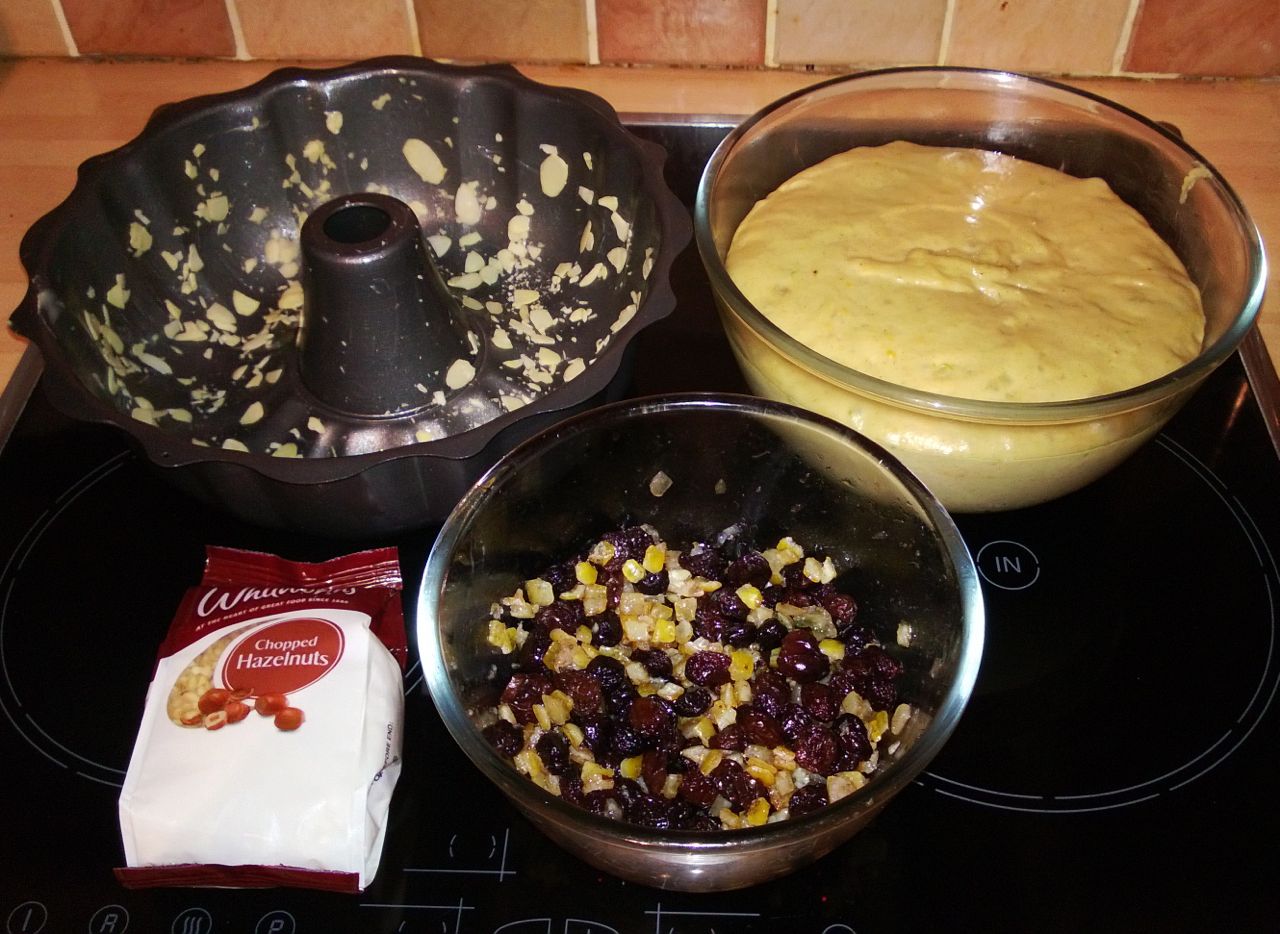
The recipe I used is HERE, and is based on a combination of Puff Pastry but INCLUDES yeast, be prepared to be patient as it will take 3 days to make, most of this is resting time and should not be hurried if you are to get the best results. You might note an extra spice in the heading picture, Mahleb, an aromatic spice made from the seeds of a species of cherry, Prunus mahaleb the St Lucie cherry, which I added to the pastry mix.

WP_20140323_10_33_51_Pro

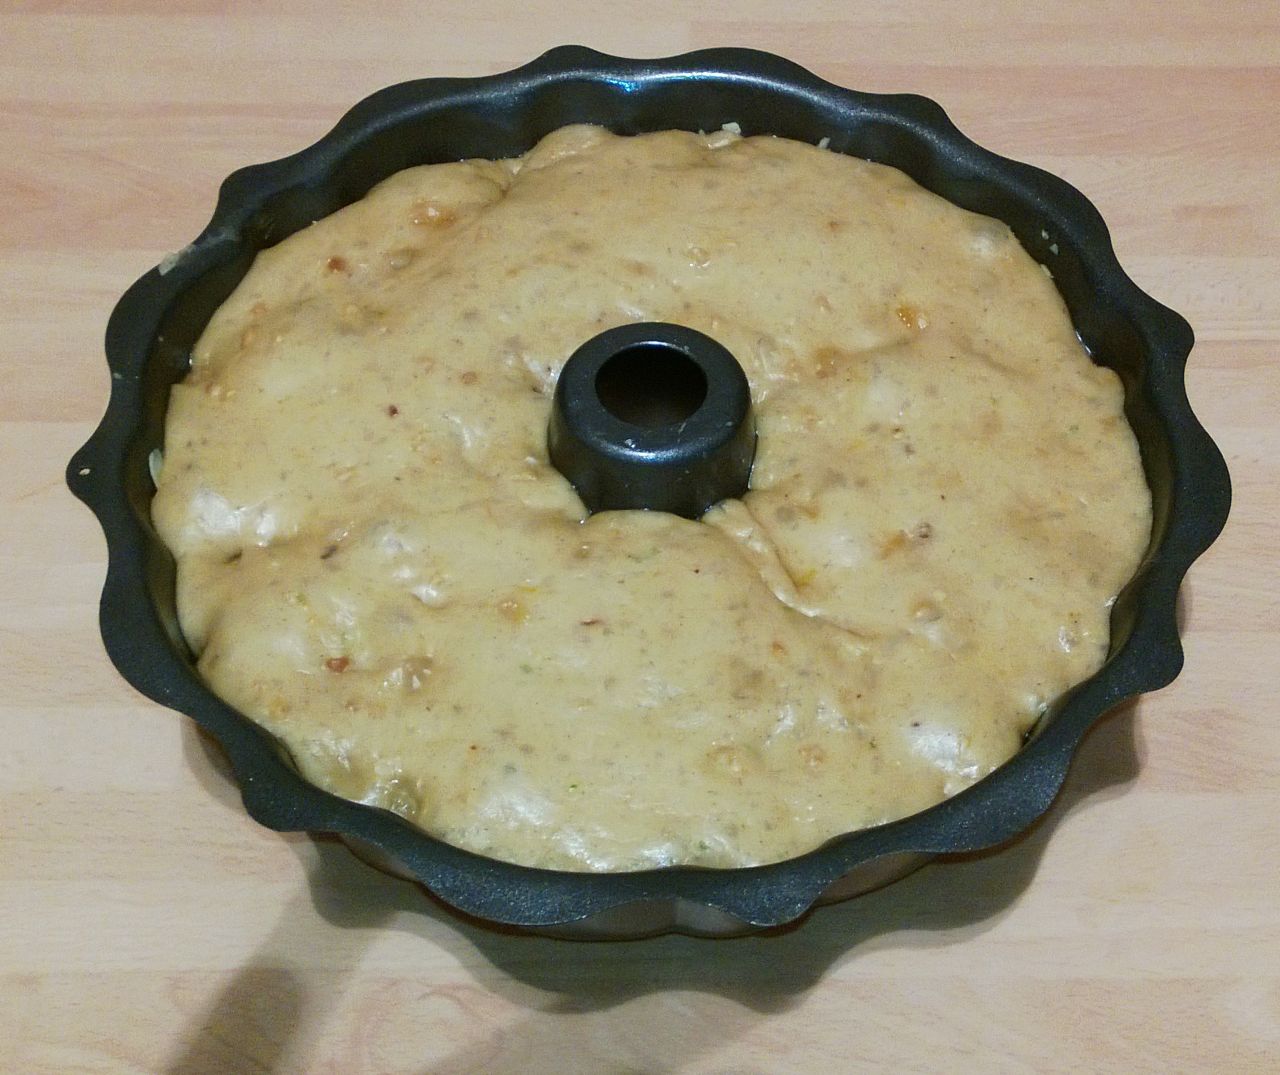
I must have been tired when I started the construction element of my 1st Kringle as I go it completely wrong! You follow a similar method to making Puff Pastry, flattening Butter and folding it into the Dough mix, and leaving it to rest in-between folds in the fridge overnight. This is where I made my 1st mistake and things went downhill from here. If you compare mine, to the instructions on the web links on this page you will see where I went wrong.

There are a number of interesting variations on preparing Kringle, I used one HERE to get an idea on the techniques to create interesting shapes.

WP_20140323_16_09_54_Pro

You need to treat this beast with respect, and timing/resting is important. You can see the butter beneath the surface after the third day, but you will also notice ‘islands’ of butter which is not what you are looking for.  This happened as a result of not doing the folding correctly and trying to fix the problem in a hurry!!!!

WP_20140324_18_48_32_Pro

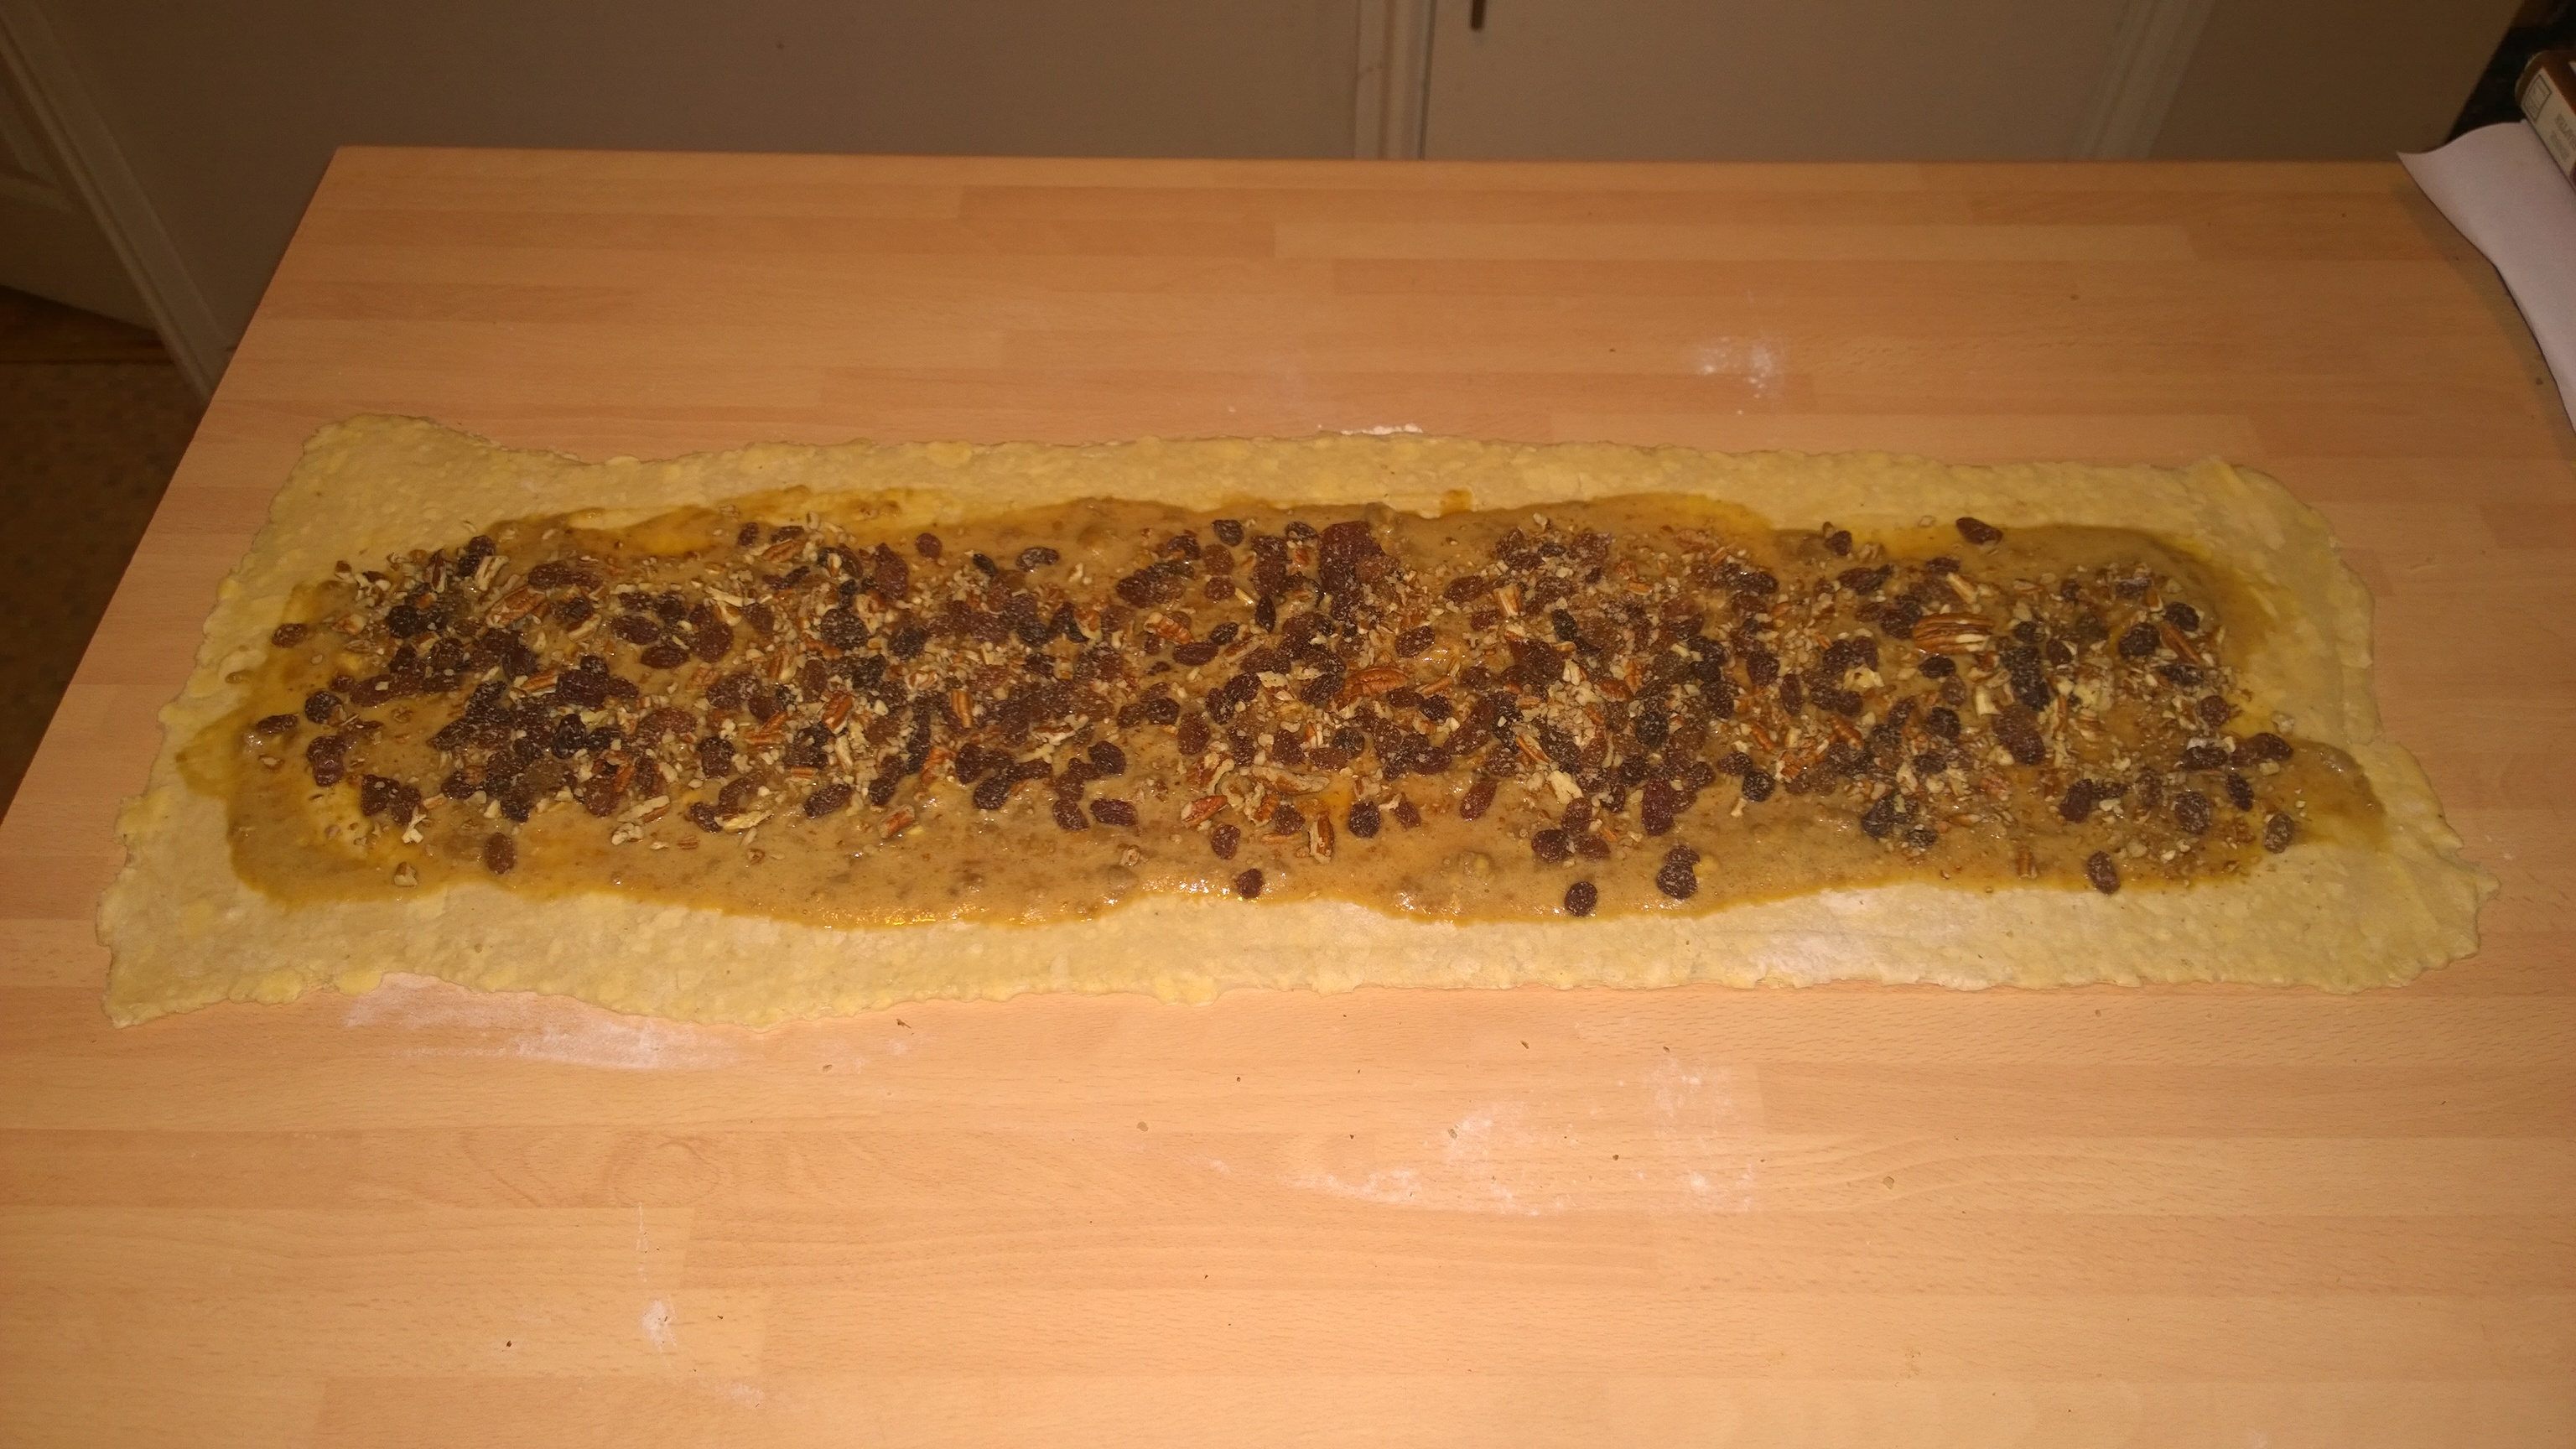
After the resting and rolling you can cover the centre of the Kringle with whatever you wish, I opted for a Butterscotch, Sultana and Pecan Nut mixture. I had originally intended to add some Apple, but it was getting late in the day and decided to omit this ingredient at the last minute. The Butterscotch was made from Egg Whites, Light & Dark Muscovado Sugar and Butter.

WP_20140324_18_49_34_Pro

Now for my next mistake, this was not going to plan at all!

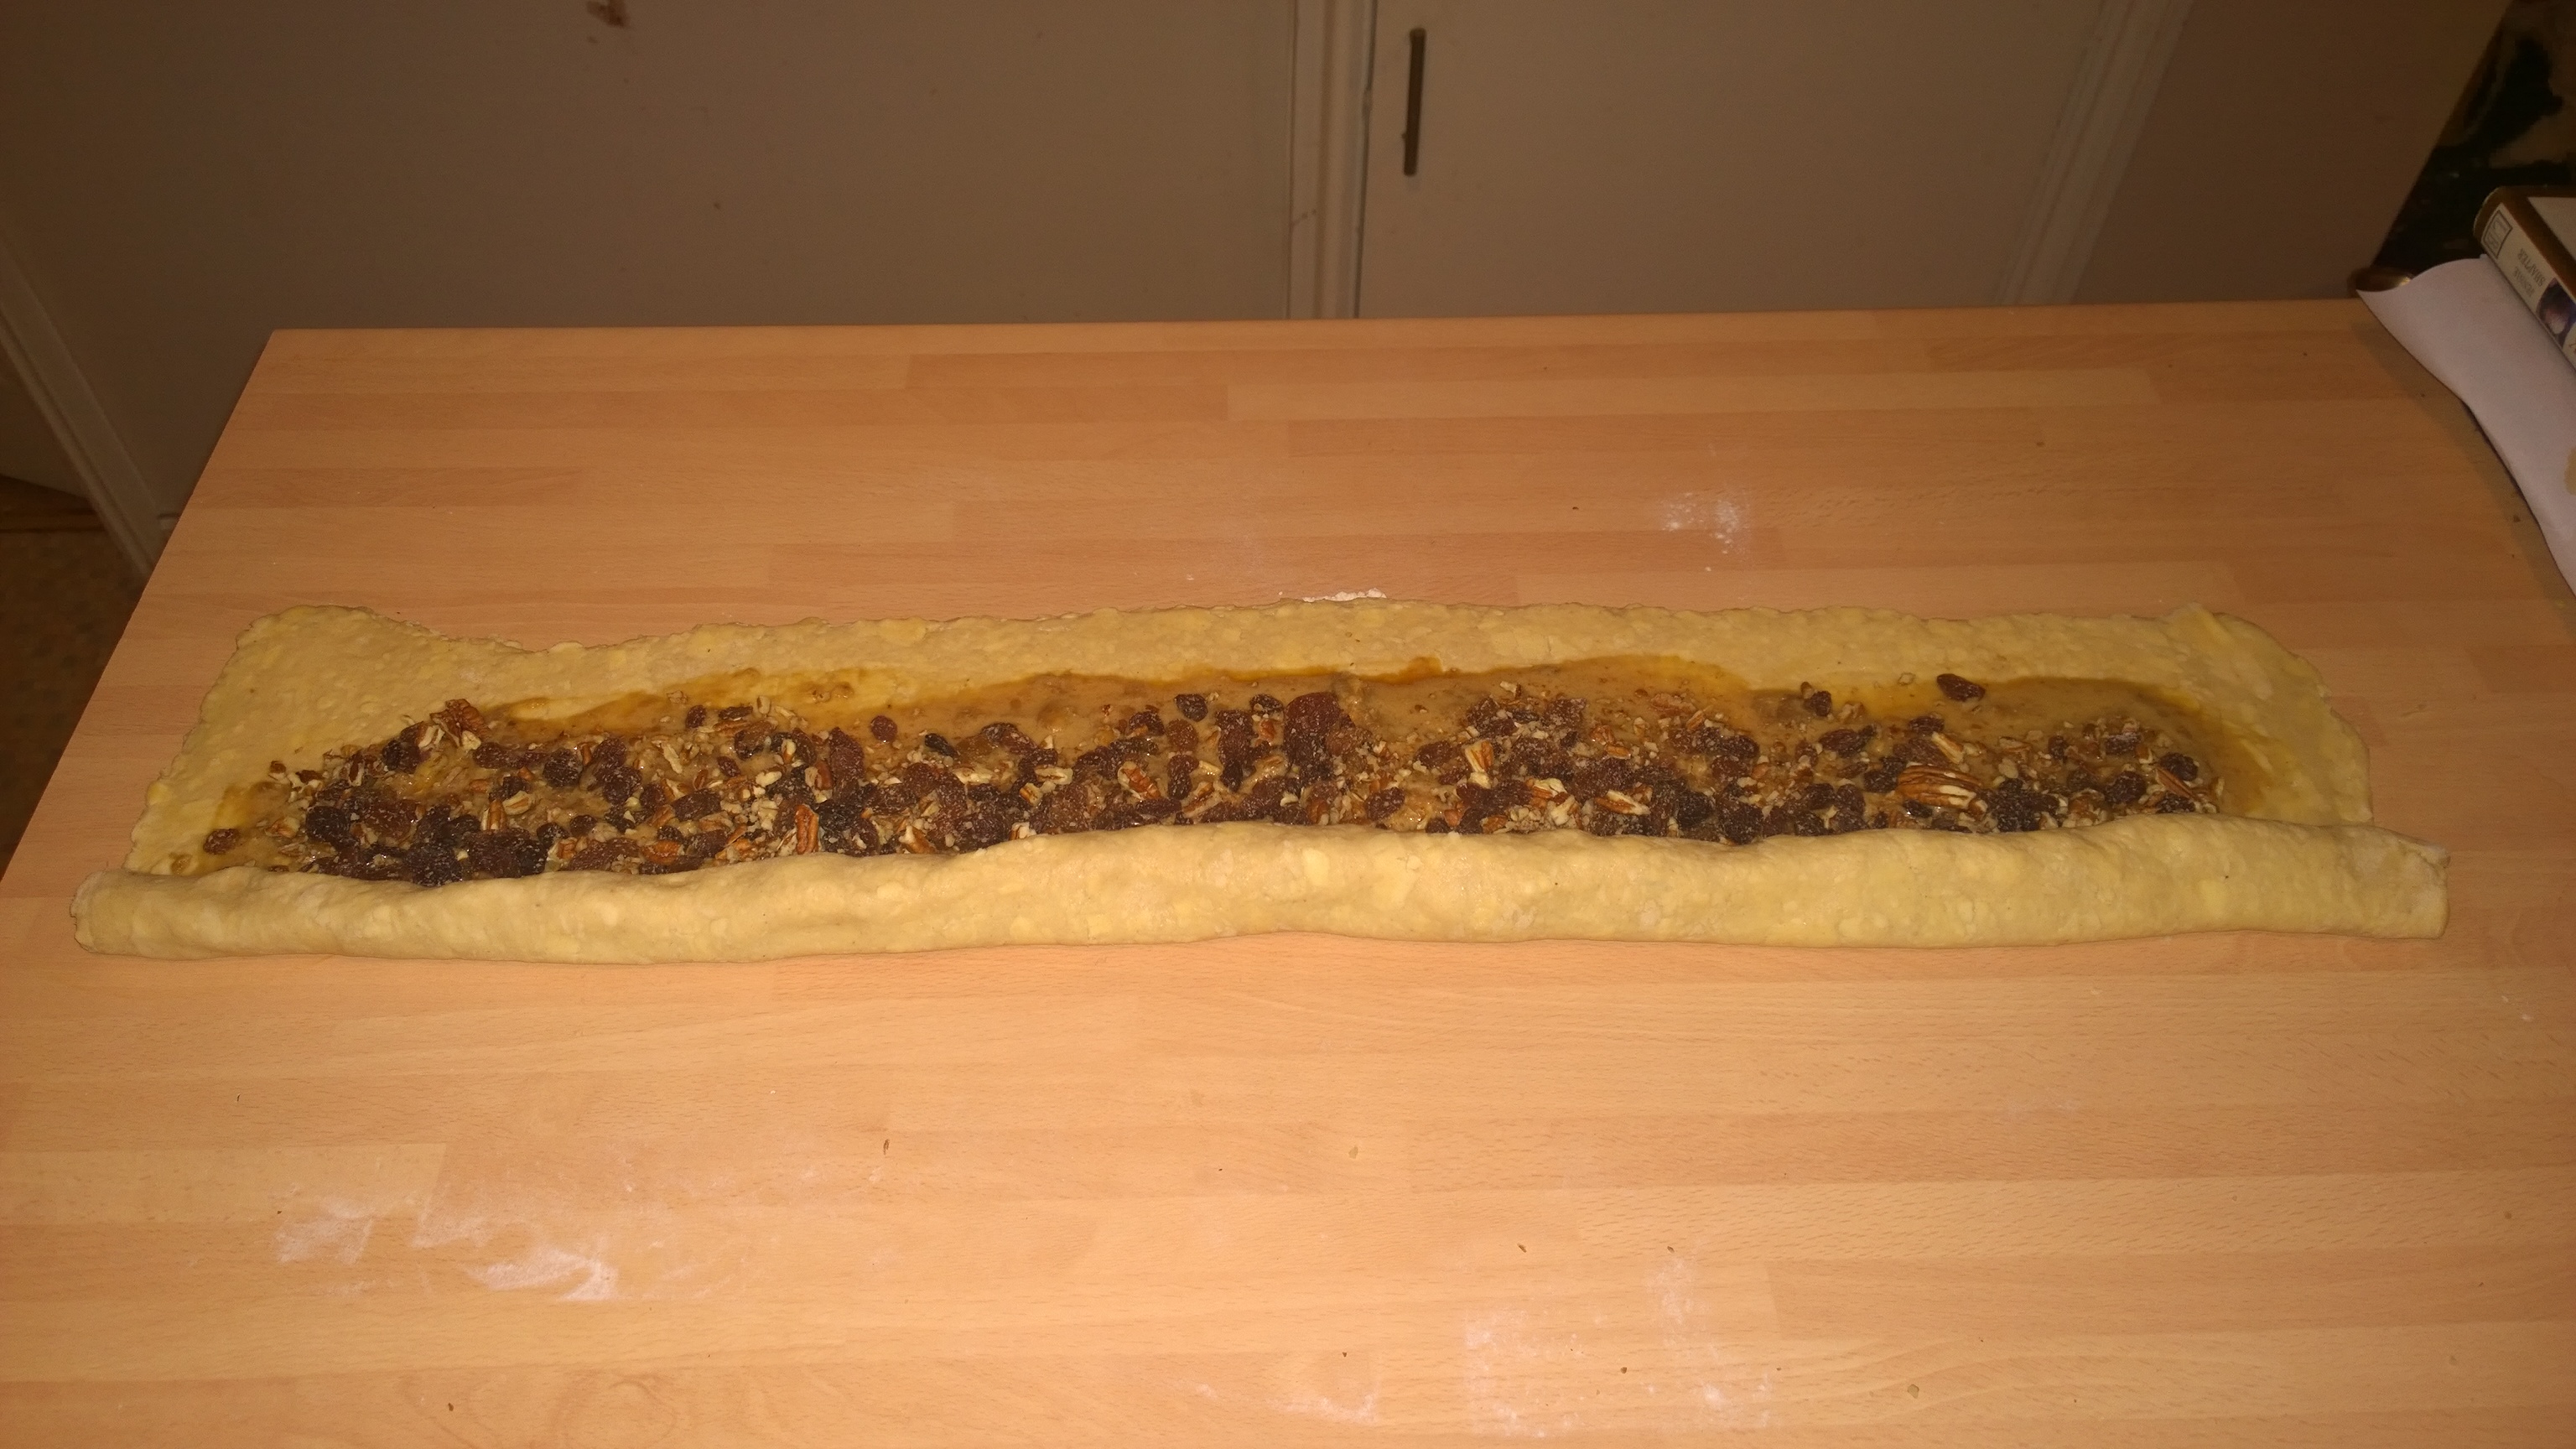
My Butterscotch mixture was way to0 wet, and I should have chilled the pastry further to make it less pliable. Once you have applied the filling you roll lengthways (front to back looking at the picture above), and then cut down the middle to create two tales. Don’t cut all the way as the next stage is to plait the two ends top to bottom and then join together. The technique is in the link above and should create a ring of Pastry, with the cut sides facing upward.

As everything was too soft and wet, my effort to create a beautiful masterpiece failed miserable and I ended up creating what looks like a pair of trousers!

WP_20140324_19_23_39_Pro

Despite the odd shape and bungled folding the end result tasted absolutely fantastic which was a relief, considering the multiple mistakes I had managed to accrue over the weekend!

This pastry is well worth having a go it, you can play around with the flavours to your hearts content, or go for some simpler shapes to start off with, just put Kringle into Google and select the images to find loads of information on how to make them.

Till next time,

L8ers

The Christmas Challenge Part Deux – KugelHopf My Way

The last couple of weeks have been challenging, lots of travelling and fighting a virus which is not very pleasant, and particularly hideous when its your birthday. I had planned another baking session but did not feel up to it, so postponed the event for a week hoping the virus would have started to clear. I had already starting preparing by putting Raisins and Kirsch In a bowl and covered with cling film, which would macerate for 1 week in the fridge to seriously plump up! So back to the Christmas challenge and another recipe, this time modelled on the ‘Alsacian Kugelhopf‘, an enriched cake made with yeast and butter, and in my case a number of spices and fruits.  I have recently acquired a ‘Bundt’ baking tin, a round tin with a hole in the centre and fluted edges, and intended to put it to good use with this recipe. You can see it in the picture below, with most of the ingredients.

WP_20131012_001

The process to make this recipe is quite long, you will ideally need to prove the dough mixture 3 times so allow plenty of time, the 1st proving stage can take 2 – 3 hours, with the 2nd and 3rd another 1 1/2 – 2 hours each. For this recipe you will need the following ingredients:

  • 3 Cups Plain Flour
  • 120 Grams Butter
  • 3 Large Eggs
  • 1/4 Cup Warm Water
  • 1/2 Cup Warm Full Fat Milk
  • I Sachet Dried Fast Acting Yeast (7 Grams)
  • 1/2 Cup Castor Sugar (preferably Vanilla infused)
  • 1/2 Tsp Vanilla EXTRACT
  • 3/4 Cup Raisins (Preferable Soaked for a week in 1/4 Cup of Kirsch)
  • 1 Teaspoon Maldon Sea Salt
  • Zest of 1 Lemon
  • Zest of 1 Lime
  • Zest of 1 Orange
  • 75 Grams mixed Peel (Orange & Lemon)
  • 2 Cloves ground in pestle & mortar
  • 1/2  heaped Tsp Ginger
  • 1/2 heaped Tsp Ground Allspice
  • 1/4 Grated Fresh Nutmeg
  • 30 Grams chopped Hazelnuts
  • 30 Grams flaked Almonds

WP_20131012_003

Firstly, put the Milk and Water into a jug, add the Yeast and stir. Leave in a warm place for 10-15 minutes until a froth starts to develop on the surface.

Put the Butter, Orange, Lemon, Lime Zest, and Sugar in the bowl of a Kenwood Chef with the Dough Hook attached and mix on a medium speed until pale in colour. It takes between 5 & 10 minutes depending on how cold the butter is.

Now add the Eggs, Vanilla and Yeast mixture and mix thoroughly, then add about half the flour, with the Kenwood set to medium speed. Don’t forget to add the ground Cloves, Ginger, Ground Nutmeg and Ground Allspice at this stage.

WP_20131012_005

It should resemble something like above at this stage, once combined, wipe the side of the bowl down with a spatula and add the rest of the flour, and thoroughly mix for a good 10 minutes, you should end up with a soft sticky dough like the picture below.

WP_20131012_006

Now the mixture needs to be left in a warm place covered, until doubled in size, this takes 2 – 3 hours. I put mine by the fire to help the process along.

WP_20131012_007

After the 1st rise, your should end up with silky smooth mixture that looks like the picture above. You can just see flecks of zest dotted about. The next stage is to ‘knock back’ the mixture to get rid of some of the air, I used a spatula to assist with the process. The mixture will deflate and look like the next picture.

WP_20131012_008

Now repeat the process, covering the mixture with a tea towel and again, the rise should double in size just like before.

WP_20131012_009

Whilst the rising is happening, heavily butter the Bundt Pan, and sprinkle with the flaked Almonds, once the 2nd rise has completed, you need to knock back the mixture and add the Hazelnuts and Fruits making sure they are evenly distributed.

WP_20131012_011

The Mixture needs covering again, and left in a warm place to rise for the 3rd time.  It should look like the picture above.

When  its done, it should be close to the surface of the tin. You need to bake the Kugelhopf for approximately 35 Minutes at 160 deg (Fan Oven), or 180 deg (Convection Oven). After 15 Minutes cover the top with some tin foil to prevent it from browning too quickly, a side effect of the quantity of butter in the mixture.

WP_20131012_013

When its cooked, leave to rest for 5 – 10 minutes, it should ease away from the sides of the tin, then release from the mould and allow to cool on a wire rack. You can see the effect of putting the flaked Almonds on the tin before adding the mixture in the picture above.

You can decorate the Kugelhopf with plain icing sugar, or make a icing drizzle by adding Icing Sugar to Orange or Lemon Juice, depending on your preferences.

You can find out what it tastes like by having a go at making one yourself, Now I have tested the recipe I will be making another one for my colleagues at work later this week, I hope they enjoy it As I much as I enjoyed creating my own version of this spectacular cake.