Having recently attended a Chocolate School with the very talented Mark Tilling, I was encouraged to ‘stretch’ myself a little bit and broaden my skills beyond making a properly tempered bar of Chocolate!
This is a personal thing, learn something new and then keep going until I get to a point where I cannot go any further and call it a day. I am still on that journey and each month find myself picking up a new skill or learning about a new ingredient or technique in the international world of food. As my regular readers will know, I was diagnosed with Type I Diabetes last year so I have made subtle changes to my diet, no Sugar in Tea is the main one, and Desserts are an occasional treat, which to be honest is the way it has always been, I don’t have a really sweet tooth. So I was looking to stretch myself again and decided to have a go at a ‘Dome’ cake, they look a bit challenging and having tried one of William Curley’s from his Boutique in Richmond a while back, if I was 50% as good it would be a result.
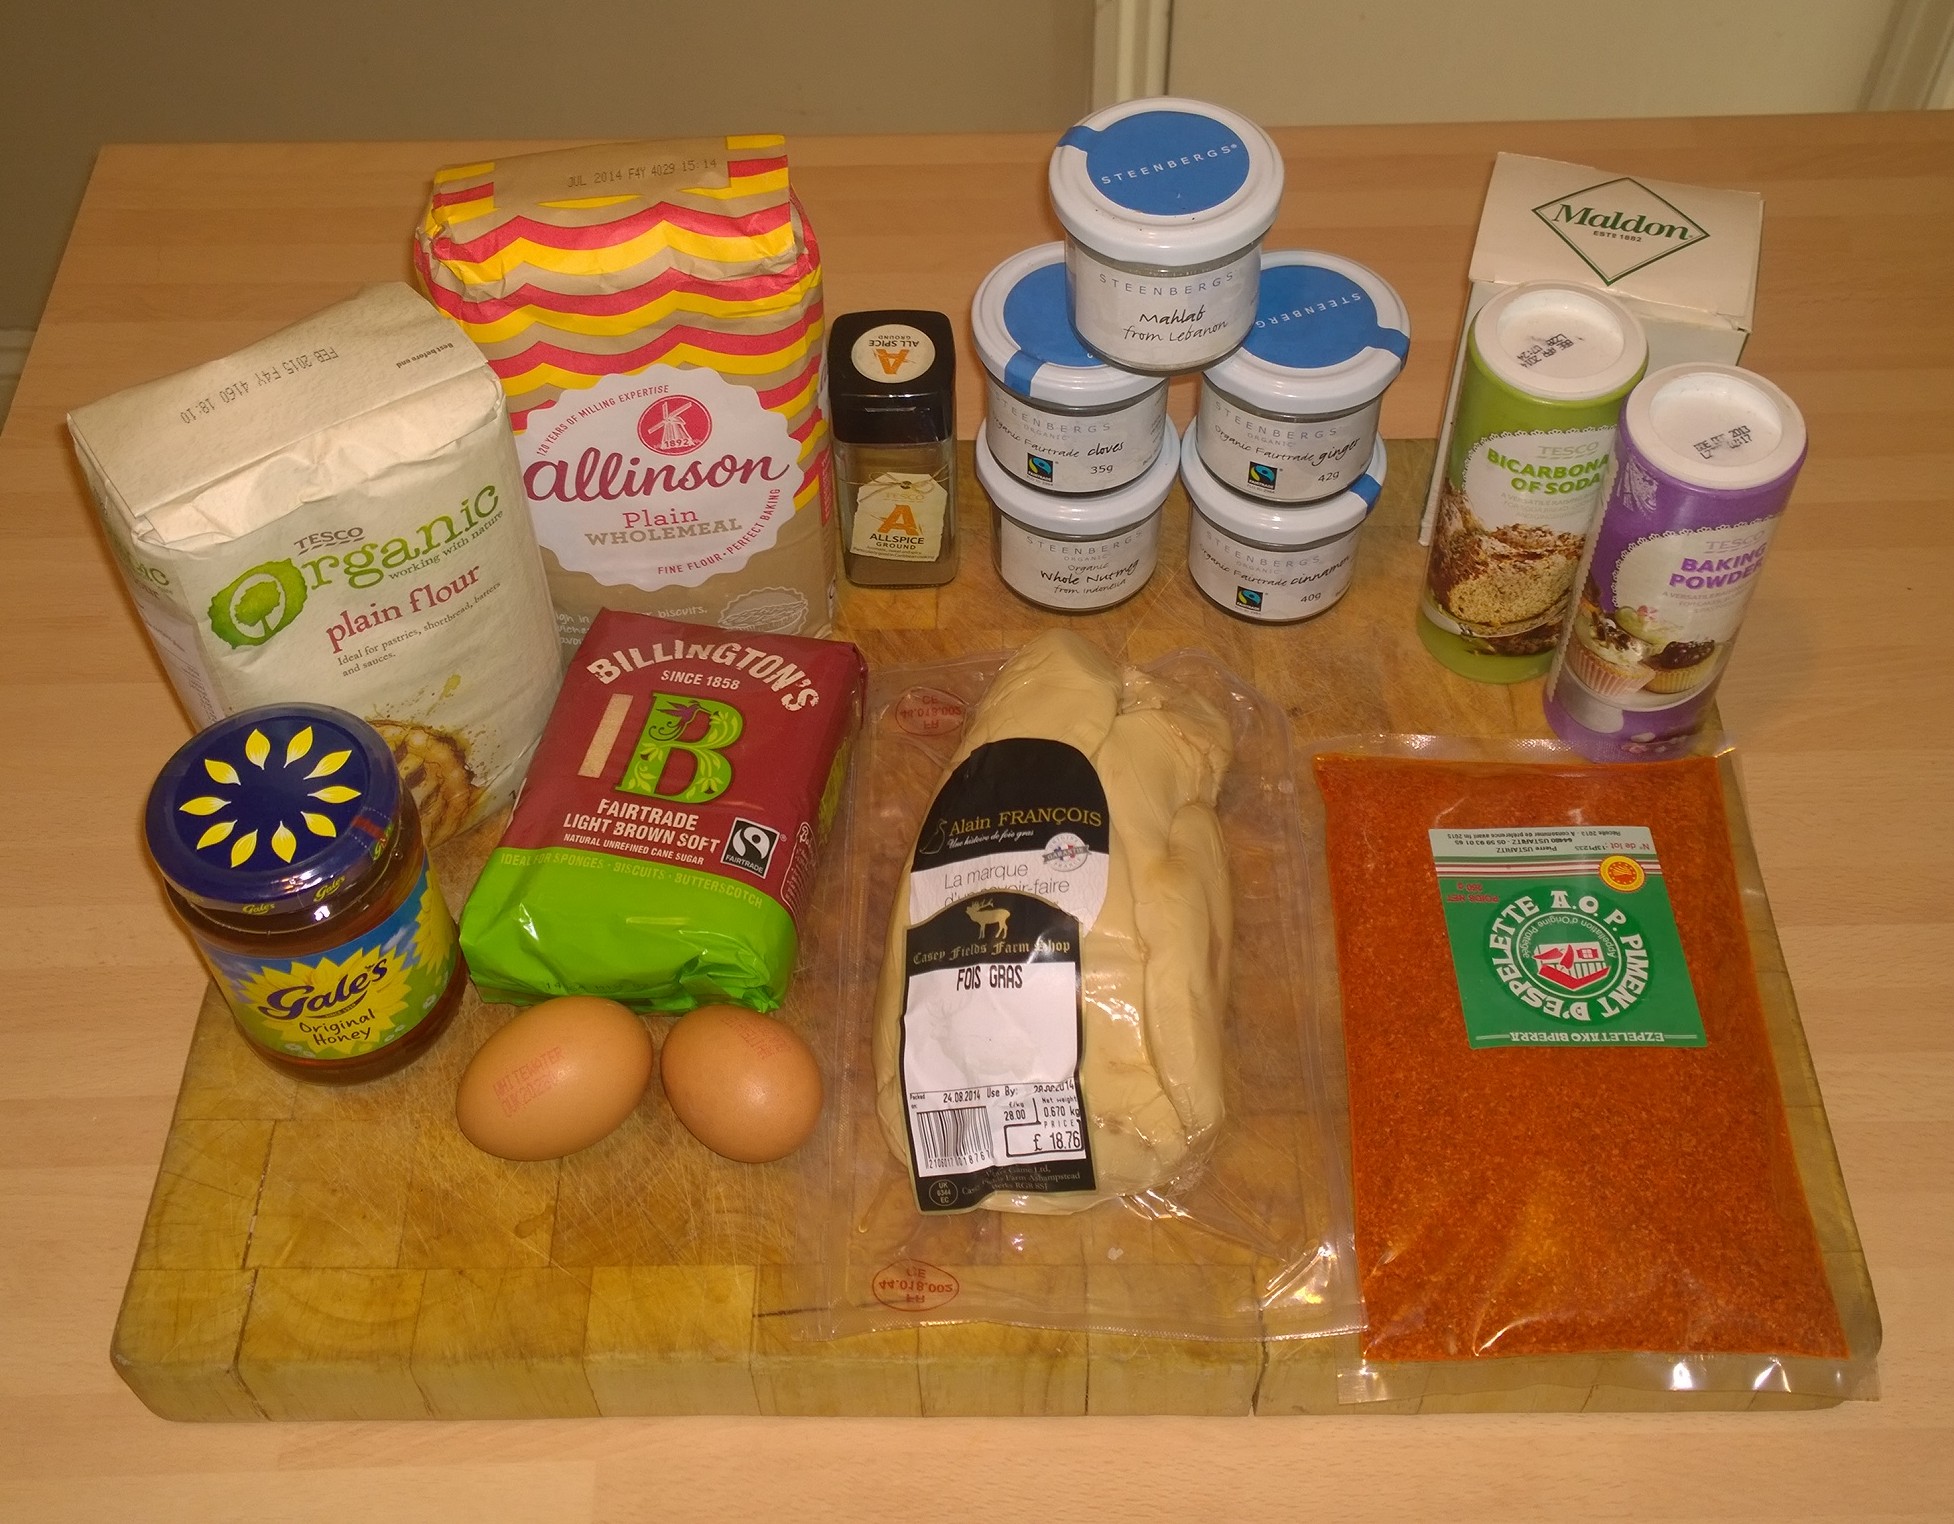
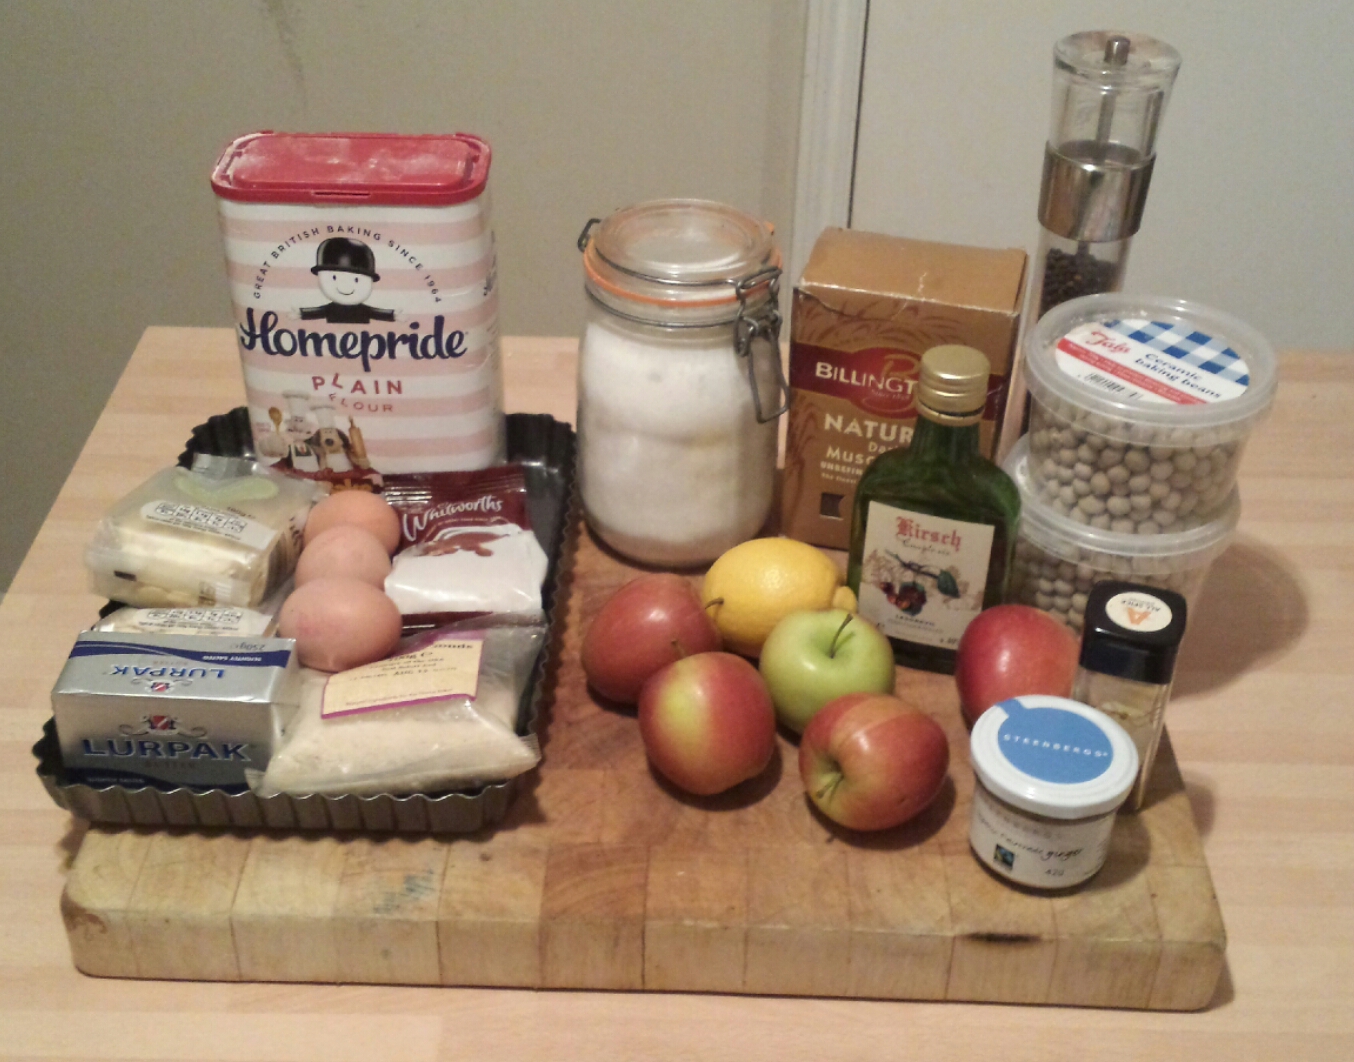
Looking through various sources like William Curleys’ Chocolate book, the internet etc. I could not find a complete recipe for the flavour profile I wanted to achieve so decided to have a go at designing my own, but using snippets from all the resources I could. I was learning on the way as much of what was required I had not done before. There was also an issue of equipment, I did not have much as I am a ‘savoury’ person so started to research what would make life easier and the essentials I needed and looked to find out where It could be purchased.
Please Read the whole blog post 1st as I have split it into the elements that make up the complete Dome Cake. Each Section will describe what it is, the ingredients, what equipment I used (so you might need to buy) and the technique. It IS my longest post… through necessity though.
It wasn’t easy, my other half though I was having a mid life crisis but if you take it step by step it can be achieved by anyone who is methodical and can follow recipes. The results are well worth it as my testers said when they sampled the results earlier this week, one asking for the recipe. Have a read and if you feel like a challenge, have a go. Sablé Breton
- 350g Flour
- 250g Butter (Salted)
- 20g Baking Powder
- 3 egg Yolks
- 125g Sugar
I decided I wanted a texture on the base, not sponge or a variant of which there are several so went for a french version of shortbread, Sablé Breton. On it’s own its a lovely buttery slightly salty biscuit, utterly delicious. Mine has an added edge of Pistachio nuts that have been through a processor, and ‘glued’ around the edge with some Chocolate, yumm. The recipe is from my good friend Richard Bertinet, published in his book Pastry, which is well worth getting. If you have warm hands I would wash them under cold water, we want to grate all the Butter into the Flour which has been sieved with the Baking Powder and Sugar. Do it in stages so you can lift the flour with your hands and coats the butter so they become like breadcrumbs, as in the picture. Someone in the house had used the Brittany Salted Butter I had planned to include so had a ‘lightly’ Salted Butter and just added a little extra.
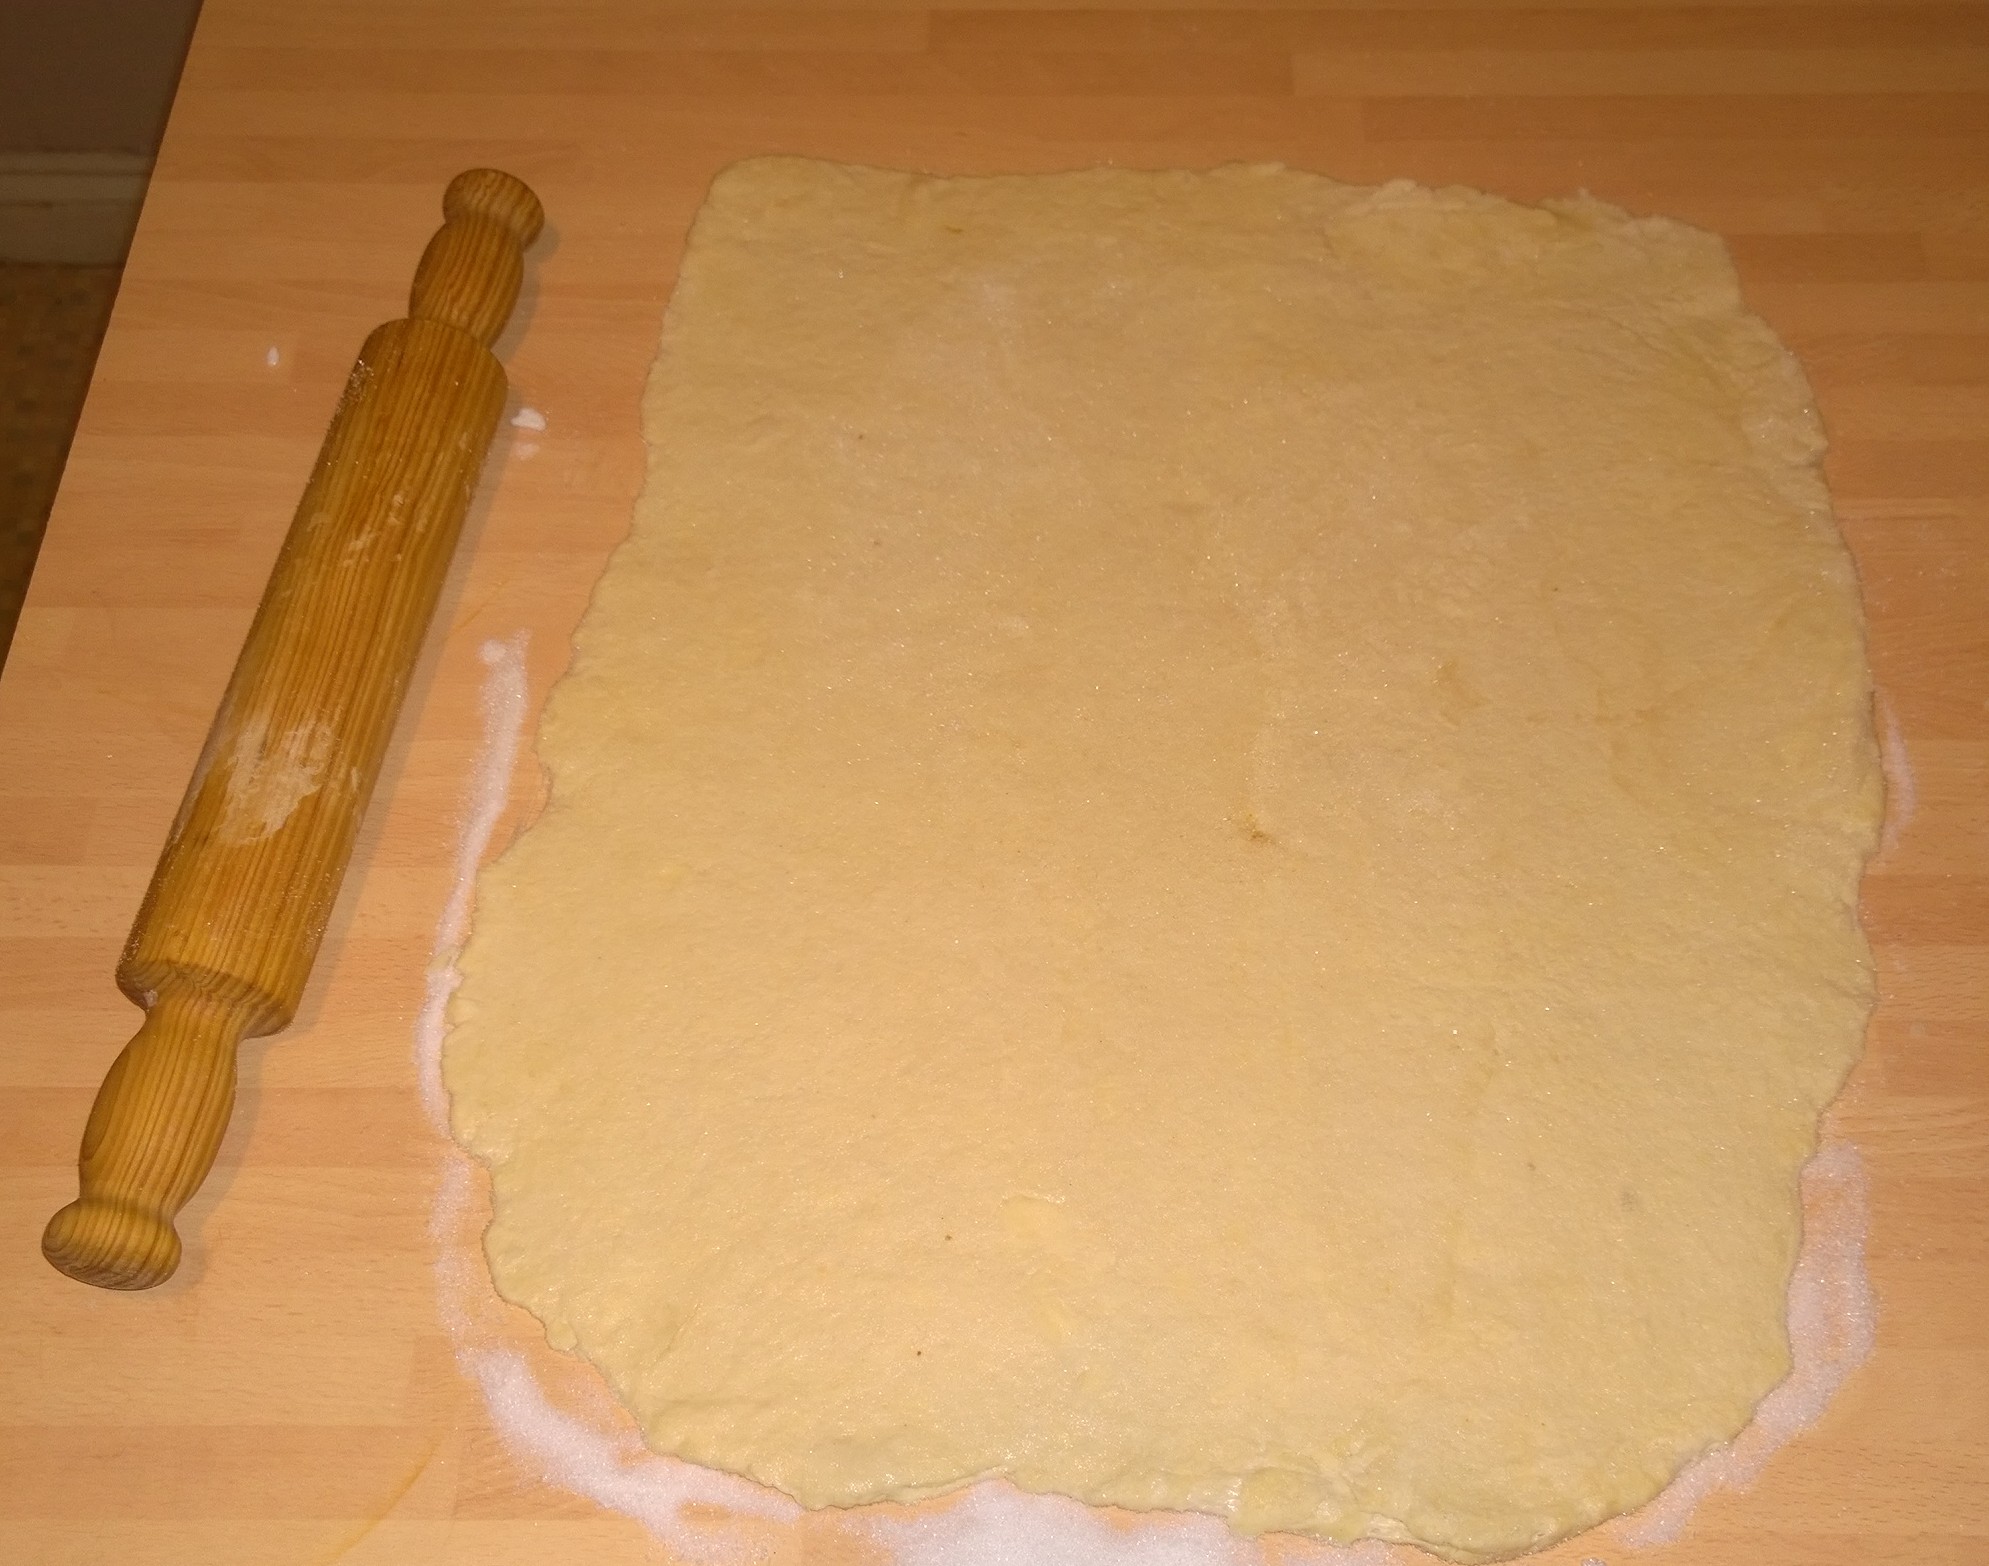
Add the eggs yolks and combine carefully, you don’t won’t to work the mixture too much, it should combine together if you apply some gently pressure into a dough and end up like below. Stick it into the fridge wrapped in clingfilm overnight, or for at least 4 hours. You can then gently roll it to a thickness of 3-4mm and cut with a 6mm round cutter and place on a lined baking tray. This is where I made my 1st mistake, it needs to go back into the fridge to firm up and I used a fluted cutter that was slightly bigger.
After cooking at 180 degrees for 18 minutes they ‘spread’ out a bit and ended much larger than I wanted, you can see this in the picture of the final product, the visible gap between the dome and the edge of the Pistachio crumb, it’s all part of the learning! Mango Créme Brûlée
- A Mango (not 2 as in the picture)
- 200ml Whipping Cream
- 3 Egg Yolks
- 2 Tbl Caster Sugar
I made the Brûlée the same day as the biscuit base as they both need some time to rest, or in the case of the Brûlée, freeze in little moulds. The moulds are 15 Cavity 3D Semi Sphere Silicone 29.8*17.4*1.9cm and available from Amazon for about £4. They took several weeks to arrive so you need to get an order in quick. We need to cook the Mango after it has been peeled and sliced. Mine took about 40 minutes on a low heat, I added a dash of Water half way through to stop the Mango sticking and burning on the base. We do this because Mango is quite fibrous and we want to break it down as much as possible. Brûlée’s should be smooth and silky so we will be sieving the final product anyway, but it’s worth going through this stage to get a much flavour as possible.
 Once the Mango is cooked it needs some serious blitzing. We have a ‘Ninja’ which made the Mango into a puree in no time at all. Brûlée means burnt or scorched Cream so we have to heat the Cream, Mango and Sugar up to a point that it has just boiled and started to rise up the sides of the pan, then take it off the heat.
We can then tip a little of the mixture into the Egg Yolks and whisk fast, and then add that mixture into the remaining Cream and Mango, like making a Custard. We have to be careful that we don’t end up with scrambled eggs so take time over this.
You then have to pass the mixture through a sieve, it will need some help with the back of the spoon, you need a smooth silky texture so we have to remove all the fibrous Mango from the mixture otherwise it will be grainy. As we have in effect made a custard, we need to GENTLY cook it so set the oven to about 130-140 degrees add some water to the tray like a Bain Marie, and cook for about 18 minutes. Don’t overcook or it will split and you will end up with scrambled eggs! Then, pop in the fridge to set. After an hour or two, pop into the Freezer, we need them frozen to get their White Chocolate and Lime coating before going into the Coconut Mousse.
You will notice one of the Brûlée missing in the picture below, although I only needed 7 Dome cakes I made 12 and had some spare Mango inserts as I wanted to test each stage in case I went wrong, and have a couple spare for the family of course! These are the Sable Bréton after 18 mins at 180 degrees, golden and delicious they need to cool right down and go into an air tight tin as we won’t need them for a day or so.
 So we have our Frozen Brûlée. You could miss this next step but I wanted to add another textural component into the dish along with a subtle surprise of citrus in the form of Lime.
Firstly, Let’s talk Chocolate, well actually Couverture. Couverture chocolate is a very high-quality chocolate that contains a higher percentage of cocoa butter (32–39%) than baking or eating chocolate. This additional cocoa butter, combined with proper tempering, gives the chocolate more sheen, a firmer “snap” when broken, and a creamy mellow flavour.
I get my Chocolate from Chocolate Trading Co, they have a good deal on at the moment HERE 3 x 1Kg Callebaut Plain, Milk and White (really good Chocolate) for just over £21.
The plan was to coat the frozen Brûlée in a layer of tempered White Chocolate with the addition of some Lime Zest. Using a wire cooling rack, demould the Brûlée and place the rack over a baking tray to catch the drops and stick back into the freezer until the Chocolate is ready. The tempering process used provides the textural ‘snap’ that would not happen if you just ‘melted and poured’. Traditionally quite complex tempering has been simplified by the use of something called MyCryo, which is readily available online and is in reality powdered Cocoa Butter.
You need to use 1% of MyCryo by weight so as you can see above, 195 Grams of Chocolate needs 1.95 Grams of MyCryo, hence the ‘posh’ scales which allow really small measurements to be made. The scales are an investment and cost about £30 but will last you a lifetime if looked after and can manage 0.01 gram increments which is also useful if you are looking at using MyCryo or agar agar gelling agent. As you can see from the notes above, for White Chocolate we need to heat to 40-45 degrees, err on caution and keep to the lower end. Use a Metal bowl over hot water, a Digital Thermometer is needed to do this properly, again easily available online for a few pounds.
Stir the Chocolate with a spatula not forgetting to add some Lime zest until the Temperature drops to 33-34 degrees, add the MyCryo and keep stirring. When the Chocolate reaches 29-30 degrees grab the frozen Brûlée from the freezer and gently pour over. It’s a bit fiddly as the Chocolate wants to set straight away but persevere and it will be ok, albeit maybe a little thick (2-3 mm).
Next time I will probably paint on using a small pastry brush to ensure a thinner layer, unless I can work out how to thin the chocolate without affecting its flavour and setting strength (i.e. not runny)!
Time to take a break until the following day……………………………………….
Coconut Mousse
Apologies but I didn’t manage to capture a couple of the pictures for the next stages as I was partly doing things as I went and it was becoming a bit mentally challenging. I had to convert American cup measures and work out how to use professional gelatin which I had not done before, and some of the volume calculations were interesting!
Searching the web, the majority of Coconut Mousse recipes also contained Chocolate something I didn’t want as it would be too sweet so ended up looking at a couple of ideas and ‘knocking up’ my own!  The Gelatin Sheets I used from Sous Chef are 23cm x 7 cm and weigh 2.5 grms (approx). Each sheet can set 100ml of fluid into a soft texture, but are affected by milk products, sugar (sets firmer) and alcohol (too strong sets looser).
You may recall in the recipe the Coconut Milk needs to go into the fridge, this helps the Cream rise to the top and the Water to the bottom. Carefully remove the Cream from the top into a measuring jug as we need to know the quantity to work out how much Gelatin we will add. Note the Cream quantity add the Coconut Cream quantity round up to the nearest 100ml and use 1 sheet per 100ml plus 1 extra to take into account of the alcohol we are using, we will end up with a firm set Mousse (hopefully)!
Whisk 3/4 of the Double Cream with the Sugar, Malibu and Salt until firm, over whipping and you will have Butter! Fold in the Coconut Cream and put into the fridge. The Gelatin needs to ‘bloom’ or swell in cold water (5 times its weight) for 5- 8 minutes before squeezing and adding to a small pan with the remaining Cream on a low heat to melt. Heat to 37-40 degrees stirring all the time. Take off the heat and let it cool for a few minutes, then fold into the Coconut Cream mixture and put back in the fridge.You can see in the picture above the Mousse layer, with the White Chocolate covered Mango Brûlée in the centre of the cake. You will now need 2 x Large Hemisphere dome silicone pan 6 holes 29.5 x 17.5 x 3.3cm, about £3 from Amazon.
Take the Brûlées out of the Freezer, lay your moulds on a baking tray and 1/2 fill with the Mousse. Place a Brûlée dome side down in each ‘hole’ and fill to the edge with the Mousse. Be CAREFUL not to overfill as thy will not sit on the base properly as some of mine didn’t. Place in the Fridge for an hour or two until set, then into the Freezer overnight.
Next day……………………………..
 The Dome Cakes need a glaze, a shiny coating to finish them off. I looked at several, White Chocolate, Milk Chocolate, Cocoa based but opted for a recipe in William Curleys‘ Book ‘Patisserie‘, this time using the Callebaut Dark Chocolate. It’s a brilliant book, buy it!
Dark Chocolate Glaze
- 260 ml Whipping Cream
- 50 grm Caster sugar
- 40 grm liquid glucose
- 250 grm dark chocolate (chopped)
Add the Sugar, Cream and Glucose to a pan, heat until boiling, slowly add the Chocolate stirring all the time until melted, pour into a jug and put in Fridge to cool a bit. That’s it. Let’s sort out the Sablé Breton next. Take a good handful of Pistachio Nuts and blitz them in a blender, not too fine as we want a bit of texture. I use Pistachios a lot, in Middle Eastern Cooking and find the ones in the shops are ‘ok’ but usually have a brown skin which will not look (or taste) nice. They are also quite expensive so I made an investment and purchased a Kilo of skinned Iranian Pistachios as in the picture above, again from Sous Chef who are a very good online supplier.
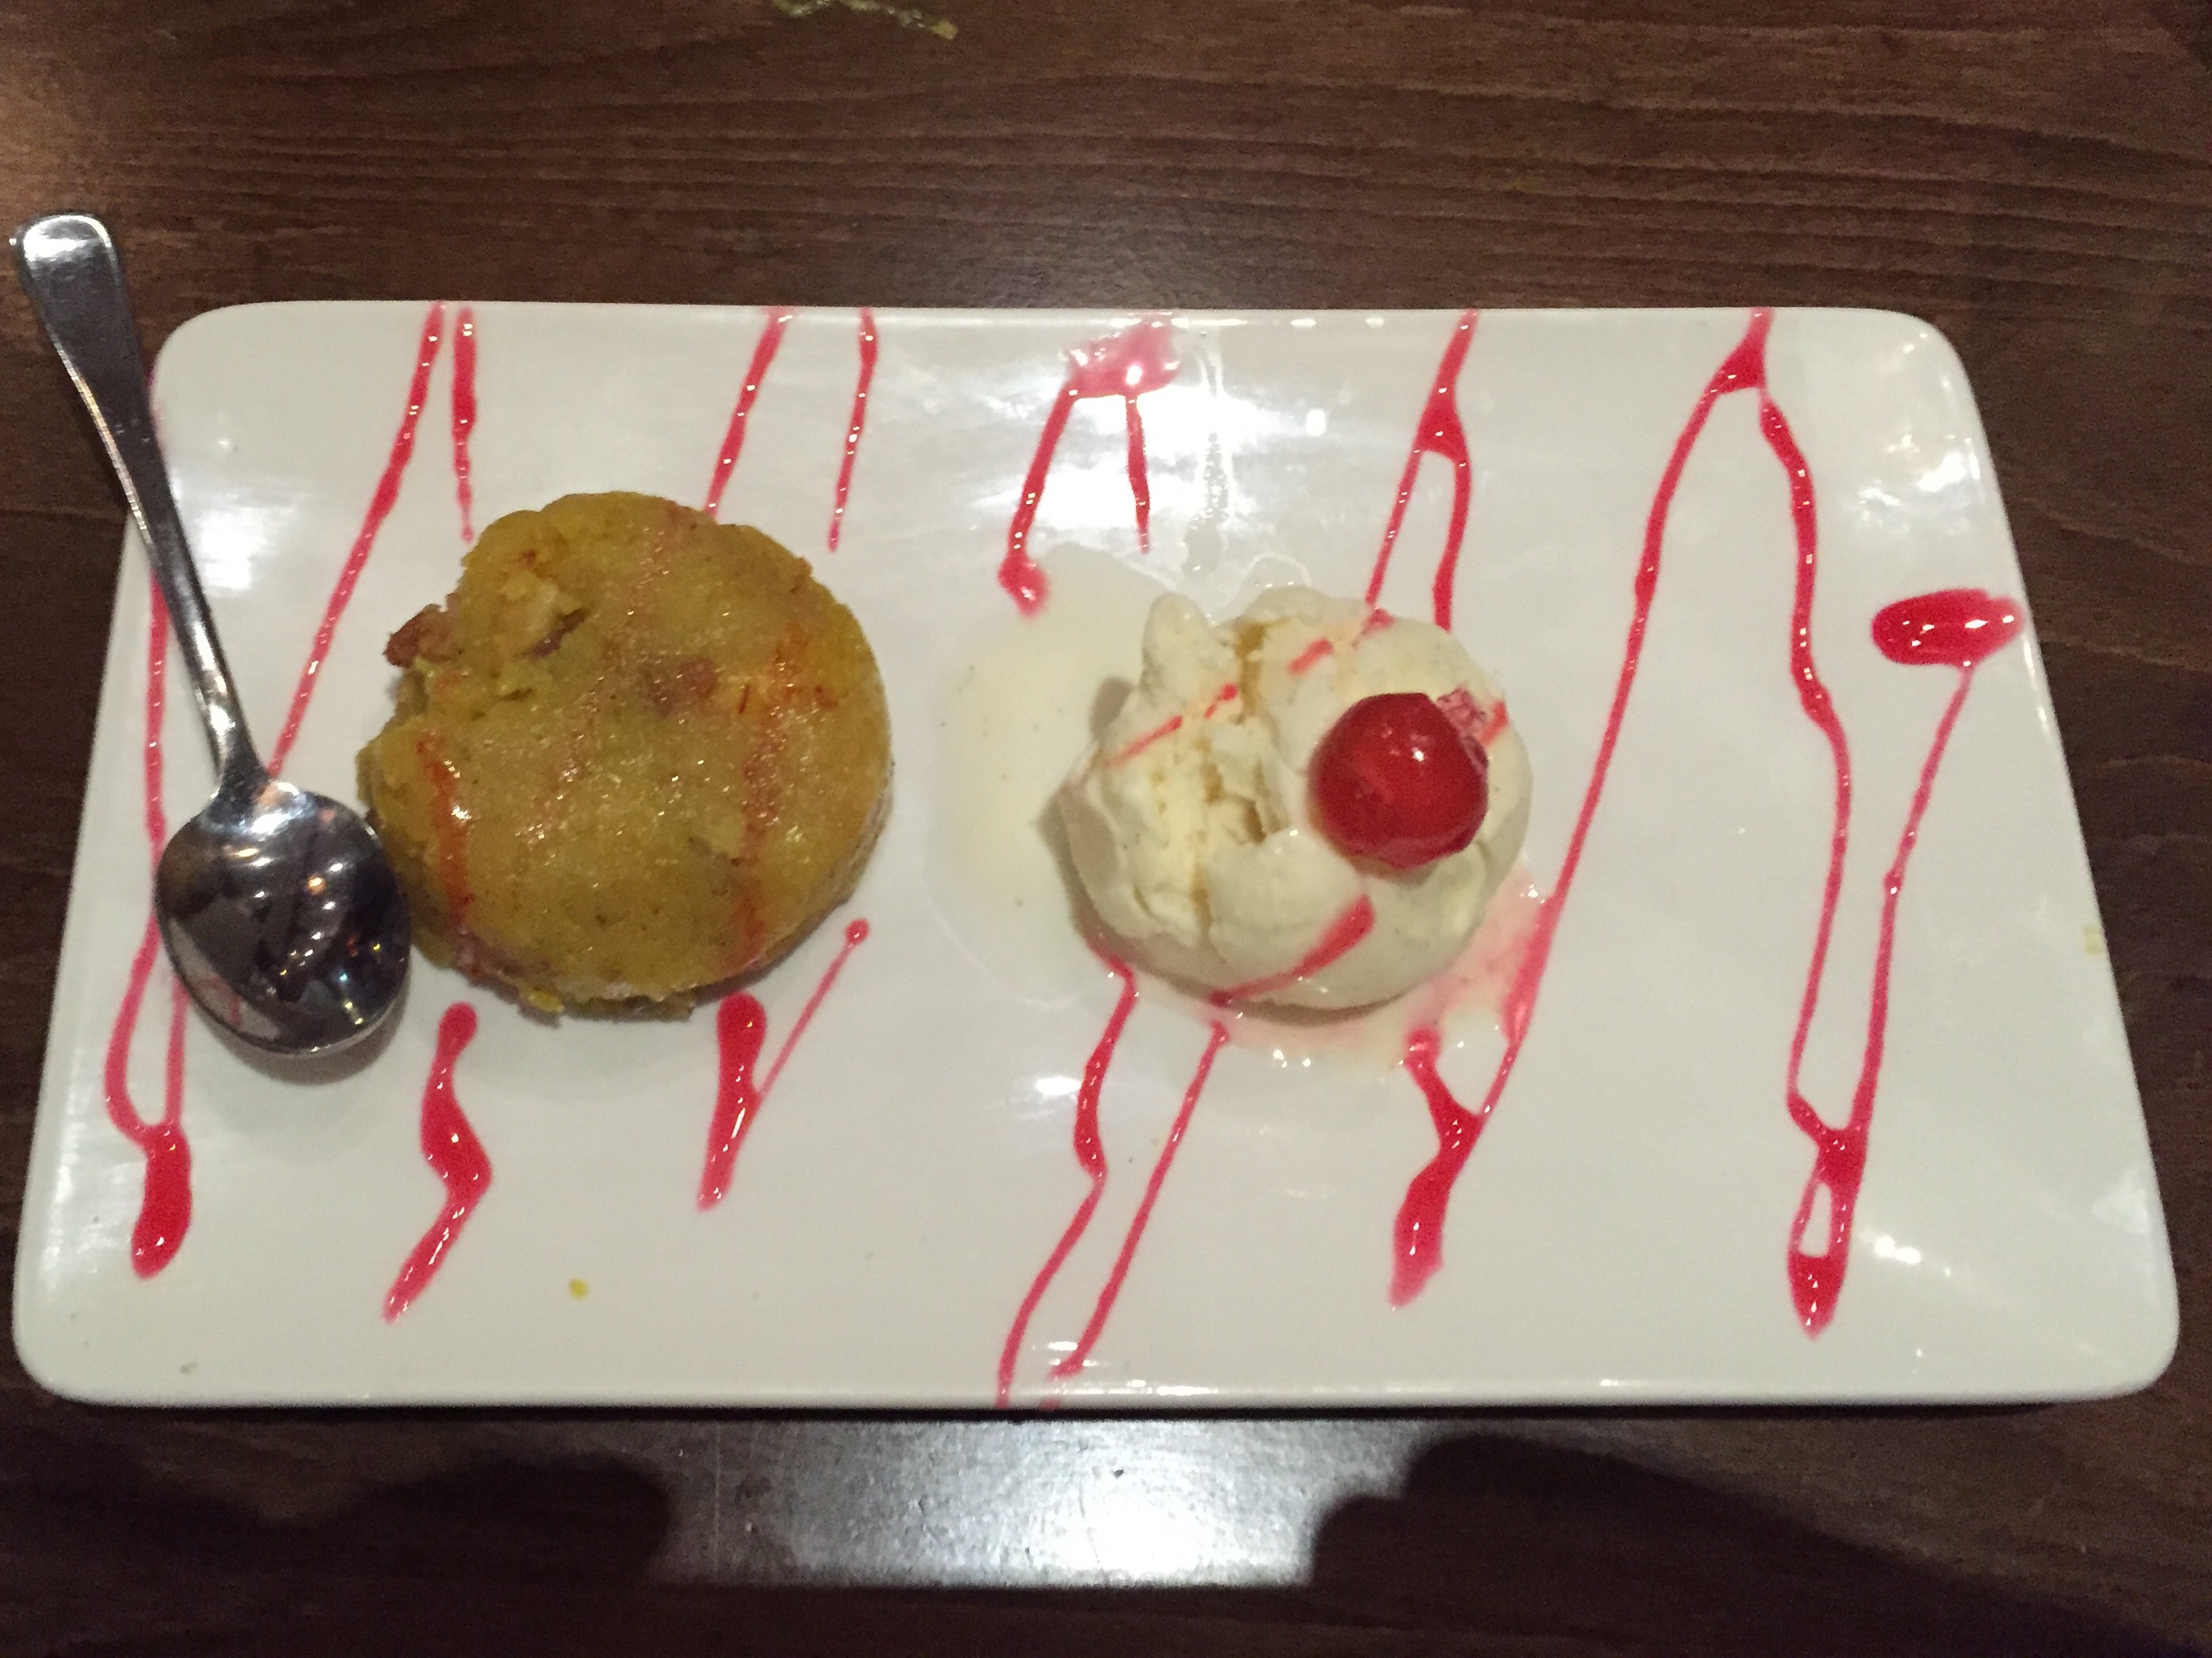
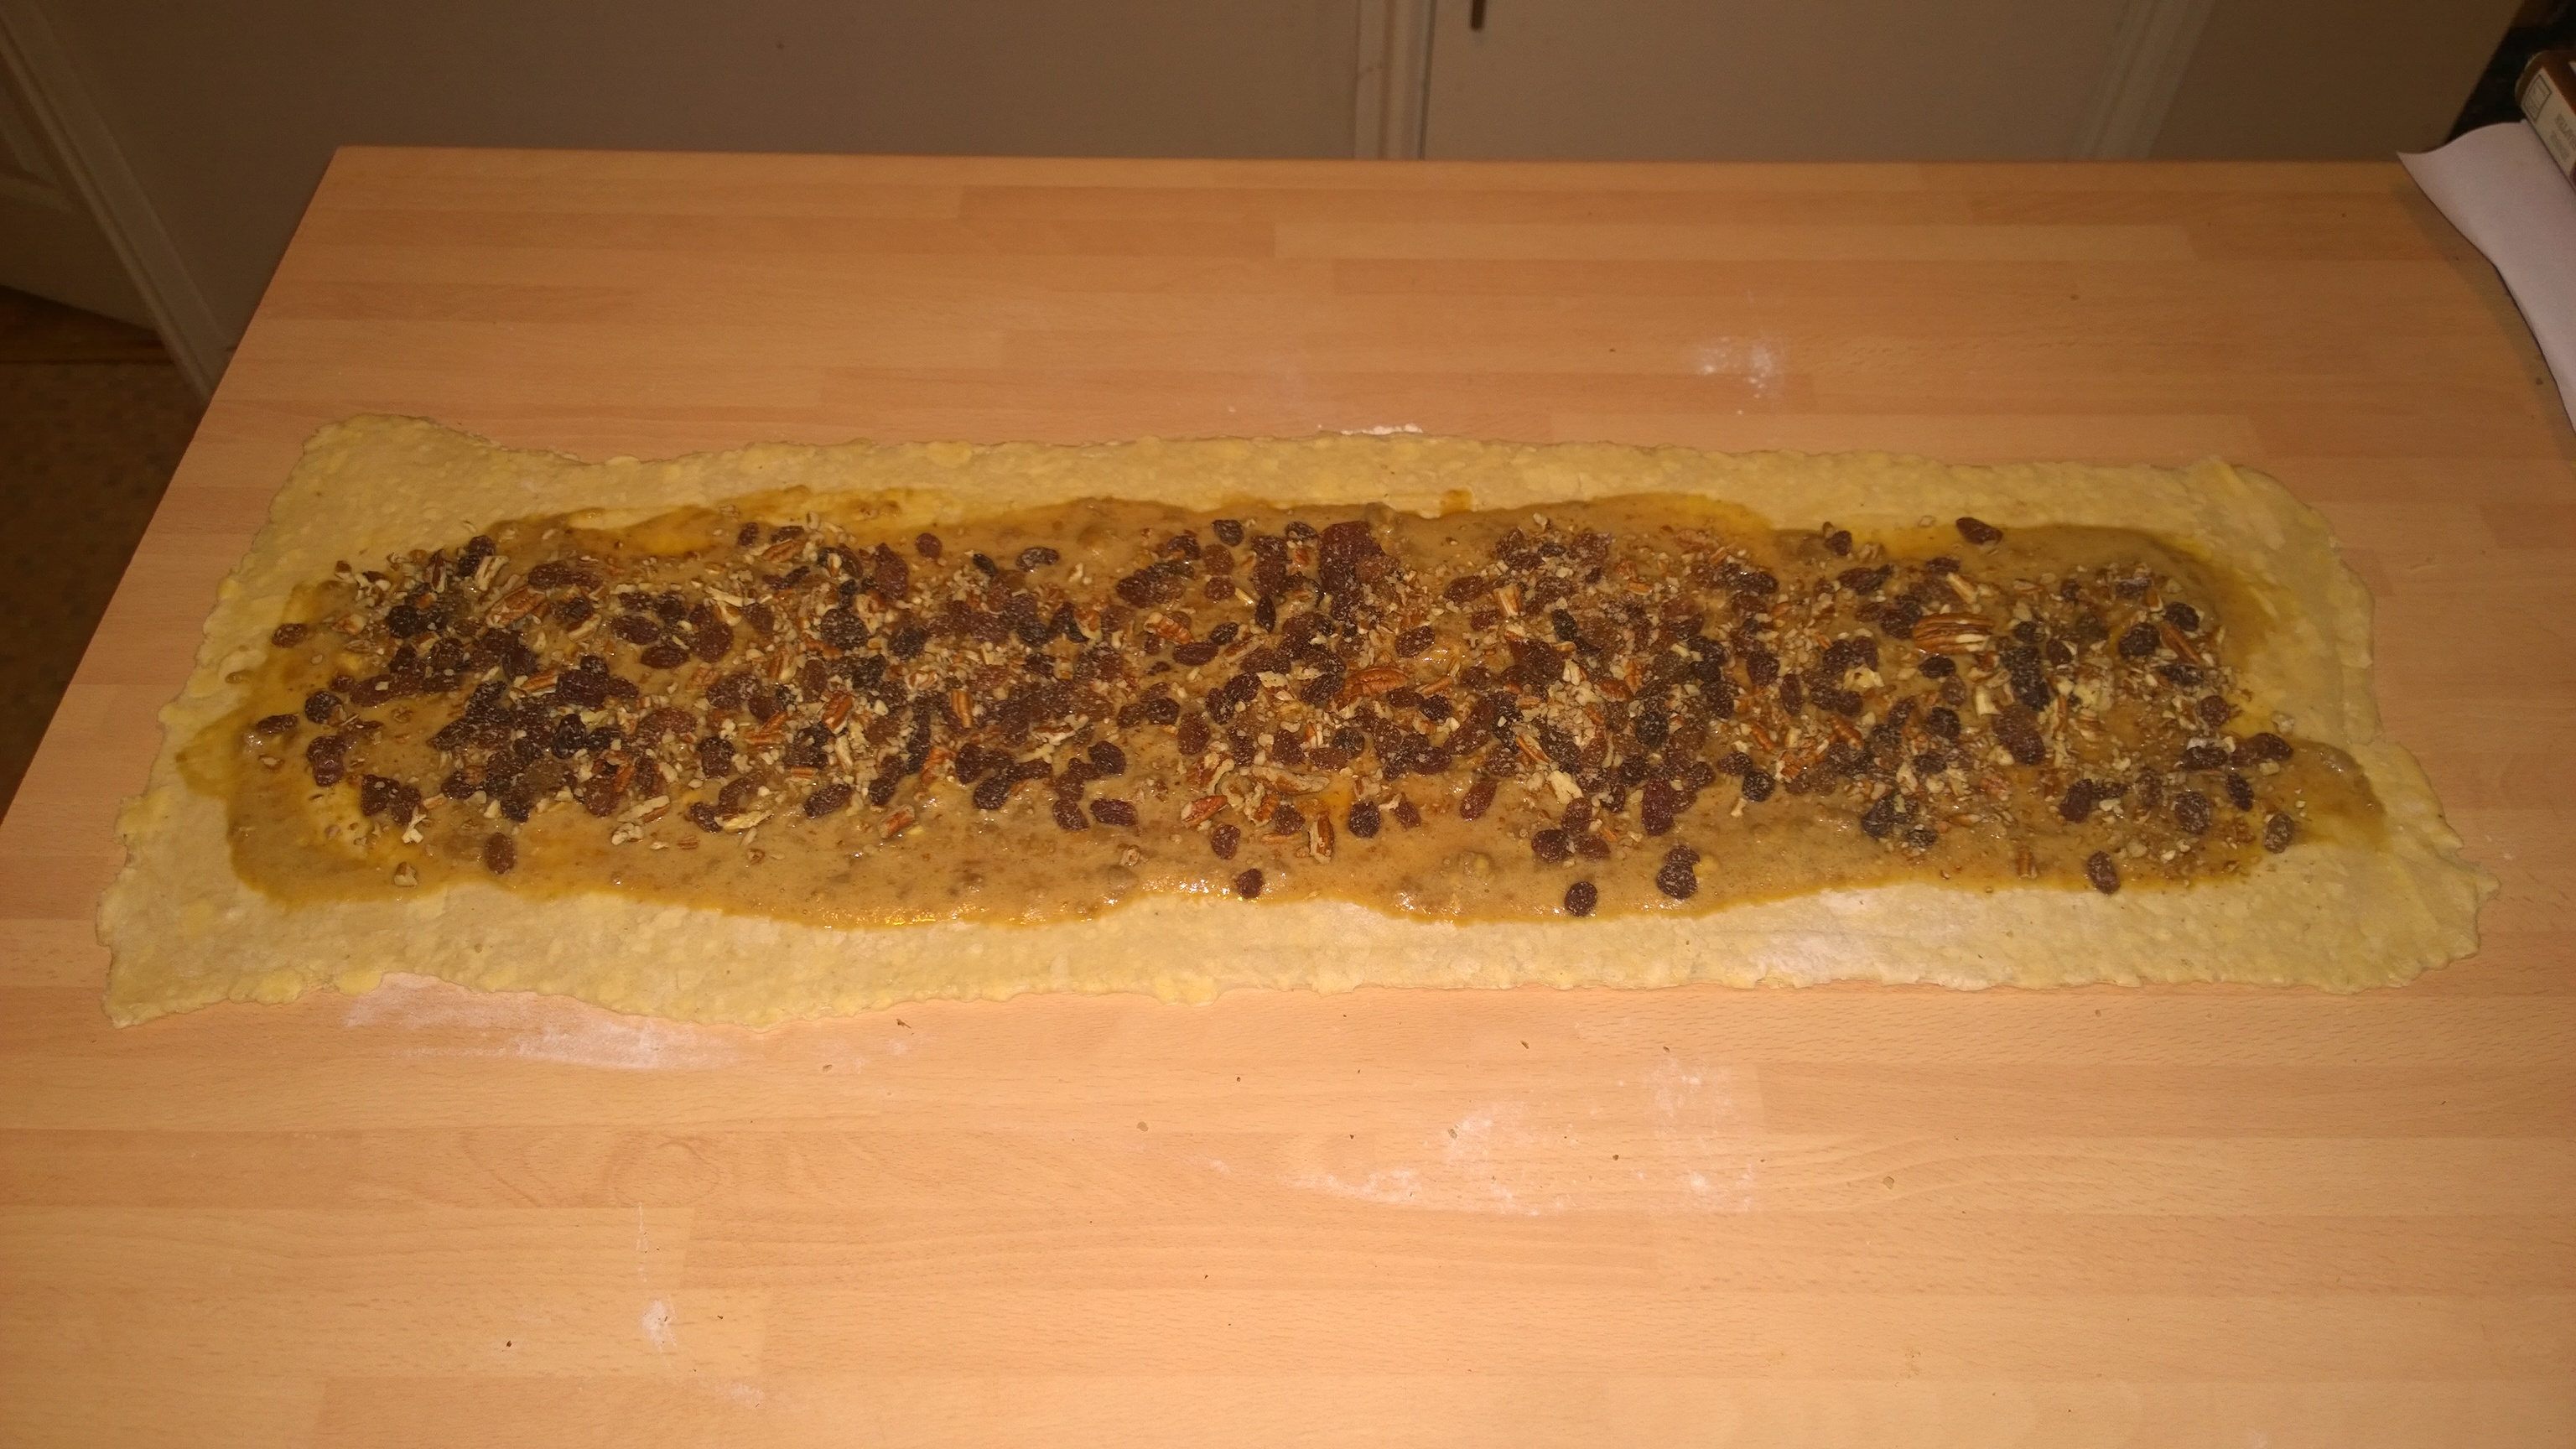
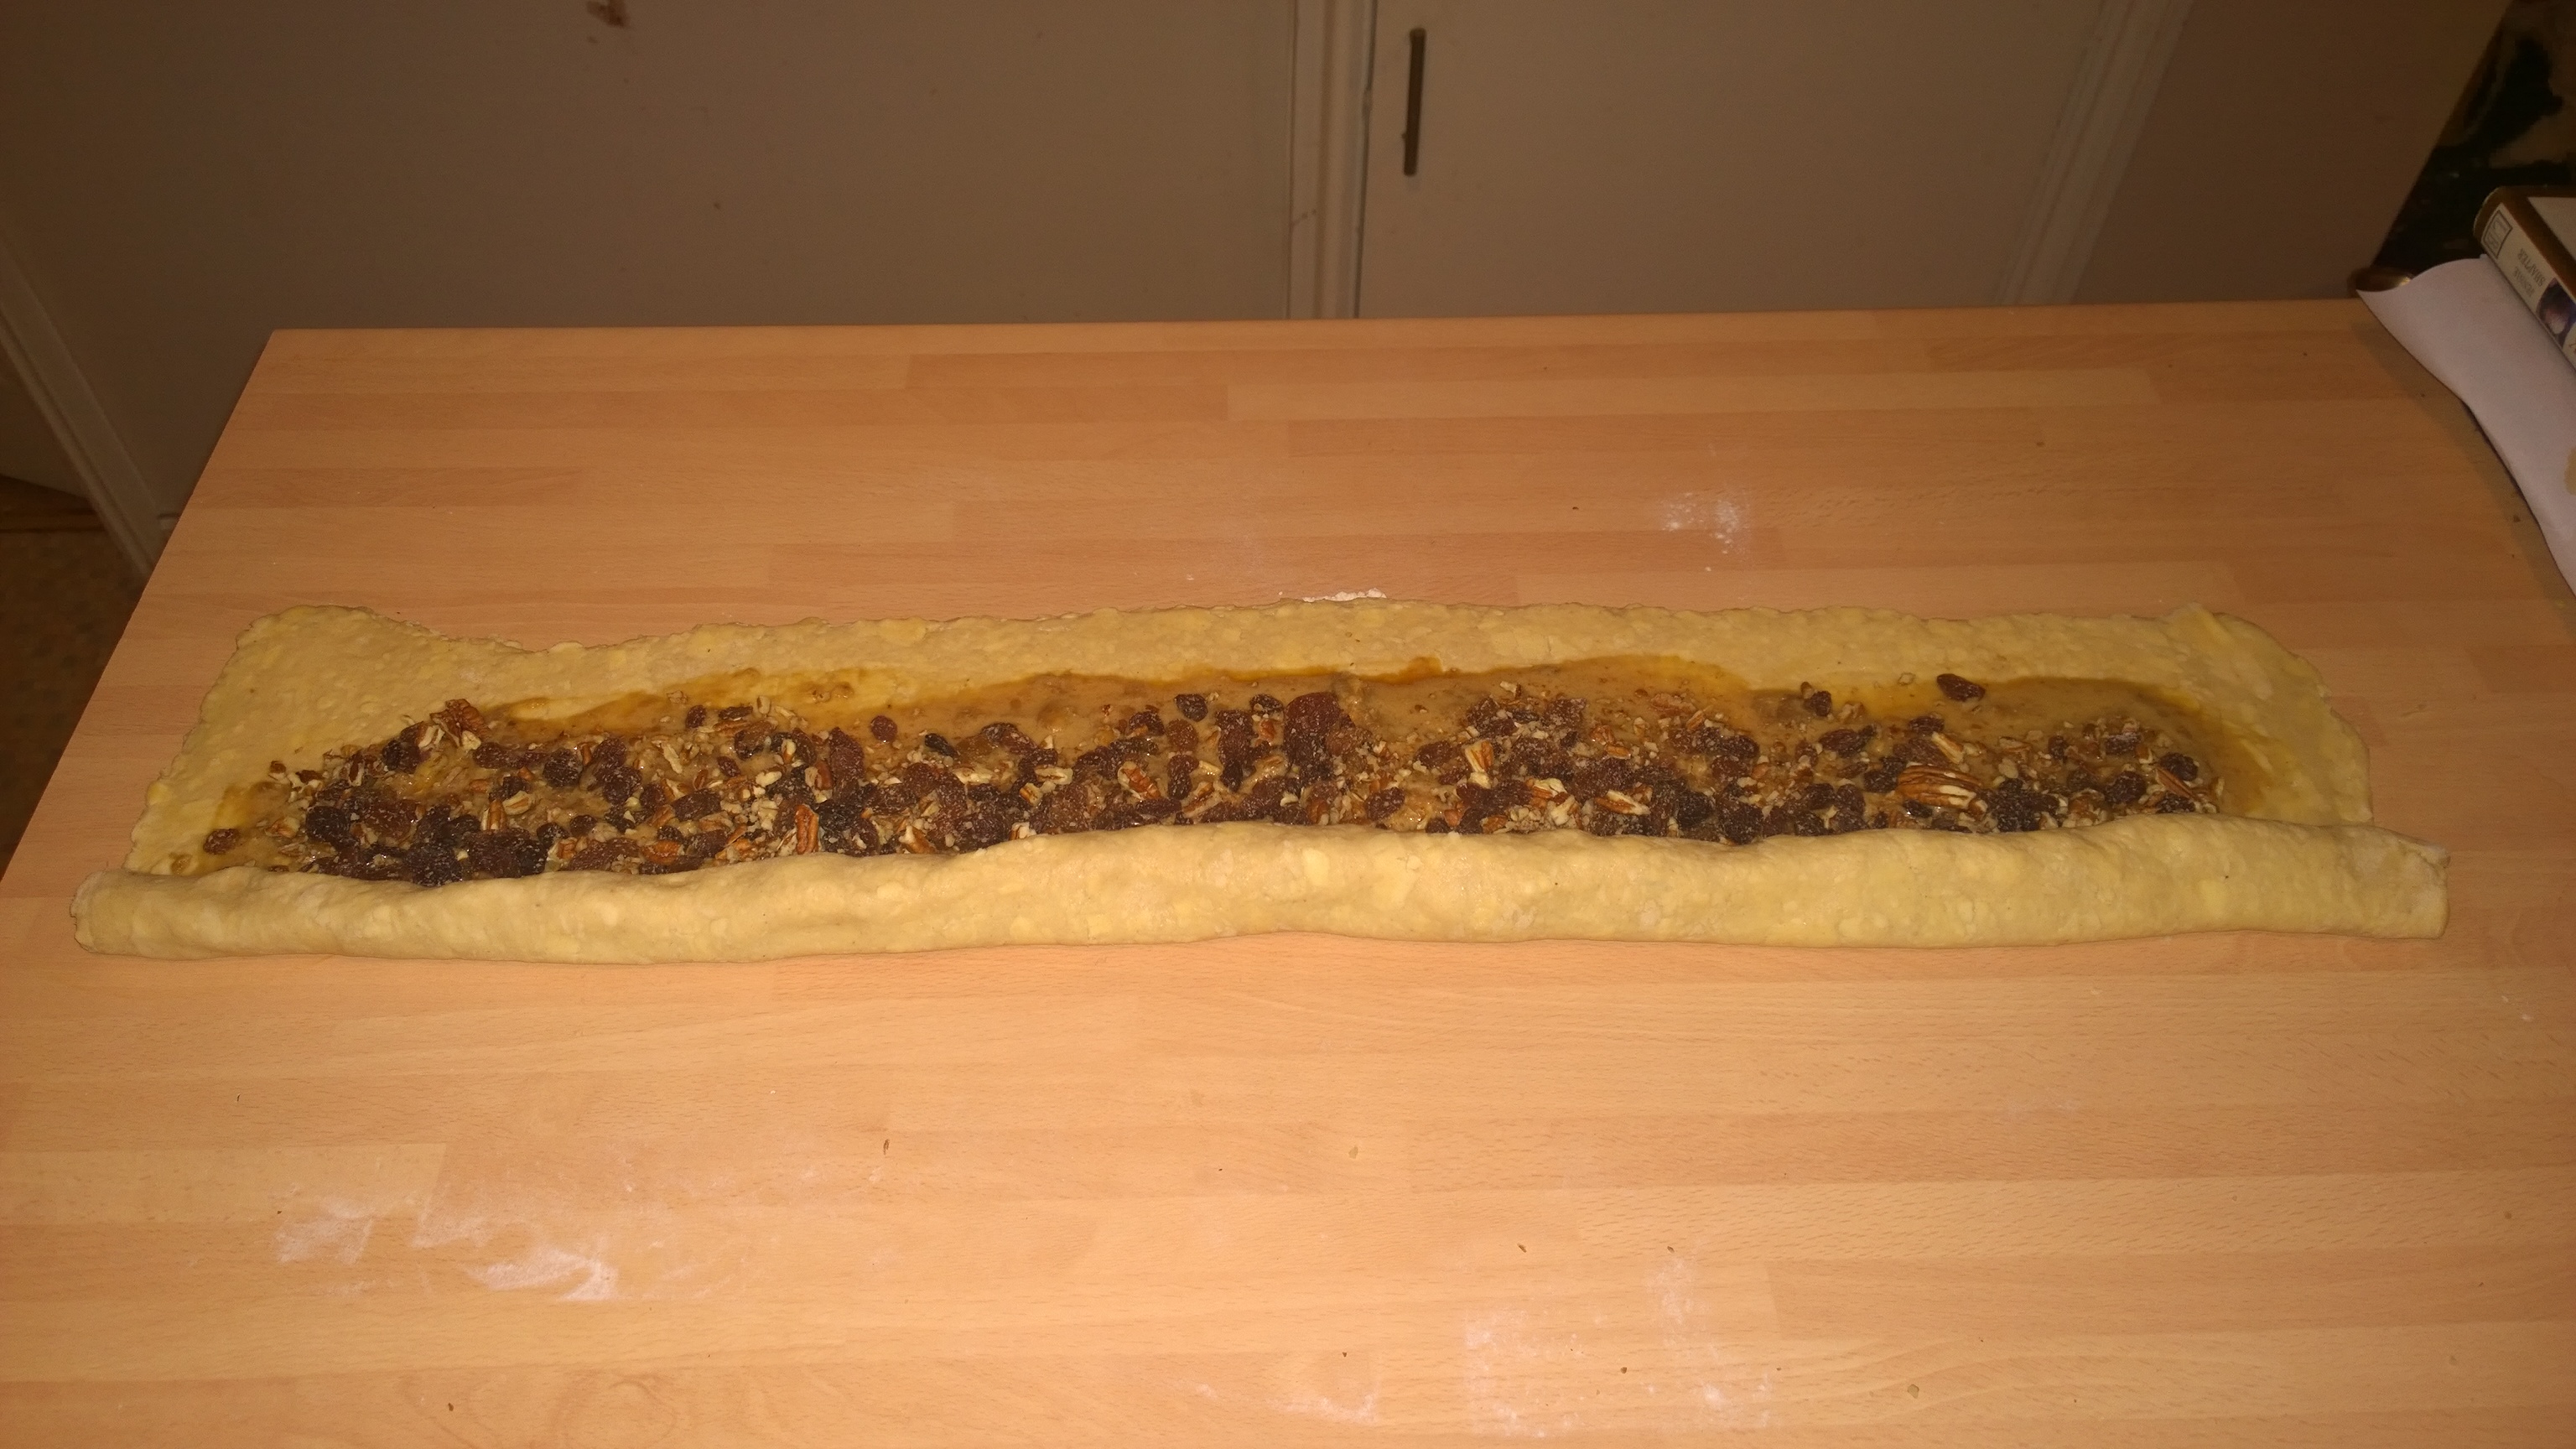
Melt a handful of Milk and White Chocolate and gently roll the edge of each biscuit in the crumb, press gently and set aside to set. They are moorish on their own, you could also use Hazelnut’s but the flavour profile will be different, this is a sort of Far Eastern concept. This bit was challenging as I had never done it before. The glaze needs to be at about 70 deg F (runny but not hot). Take the domes out of the Freezer, de-mould and place flat side down on a cooling rack over a baking tray. I had a sheet of baking paper underneath to capture the excess. Gently pour over, I started at the middle and used a gentle circular motion slowly moving to the outside. Put back into the Freezer for 5-10 minutes. Repeat the the process and back into the Freezer. Almost done!!!
 To serve I put a bit of the leftover glaze in the middle of the Sablé Breton and using a small offset stepped palette knife gently placed the dome on top. Then Enjoy.
At the beginning of this exercise I was hoping to achieve 50% of what William Curley does with his amazing patisserie, and think I was pretty close. Lots of learning on the way which is always good and the end result is quite impressive in looks and tastes delicious.
……………….Until next time……………….L8ers…………………..

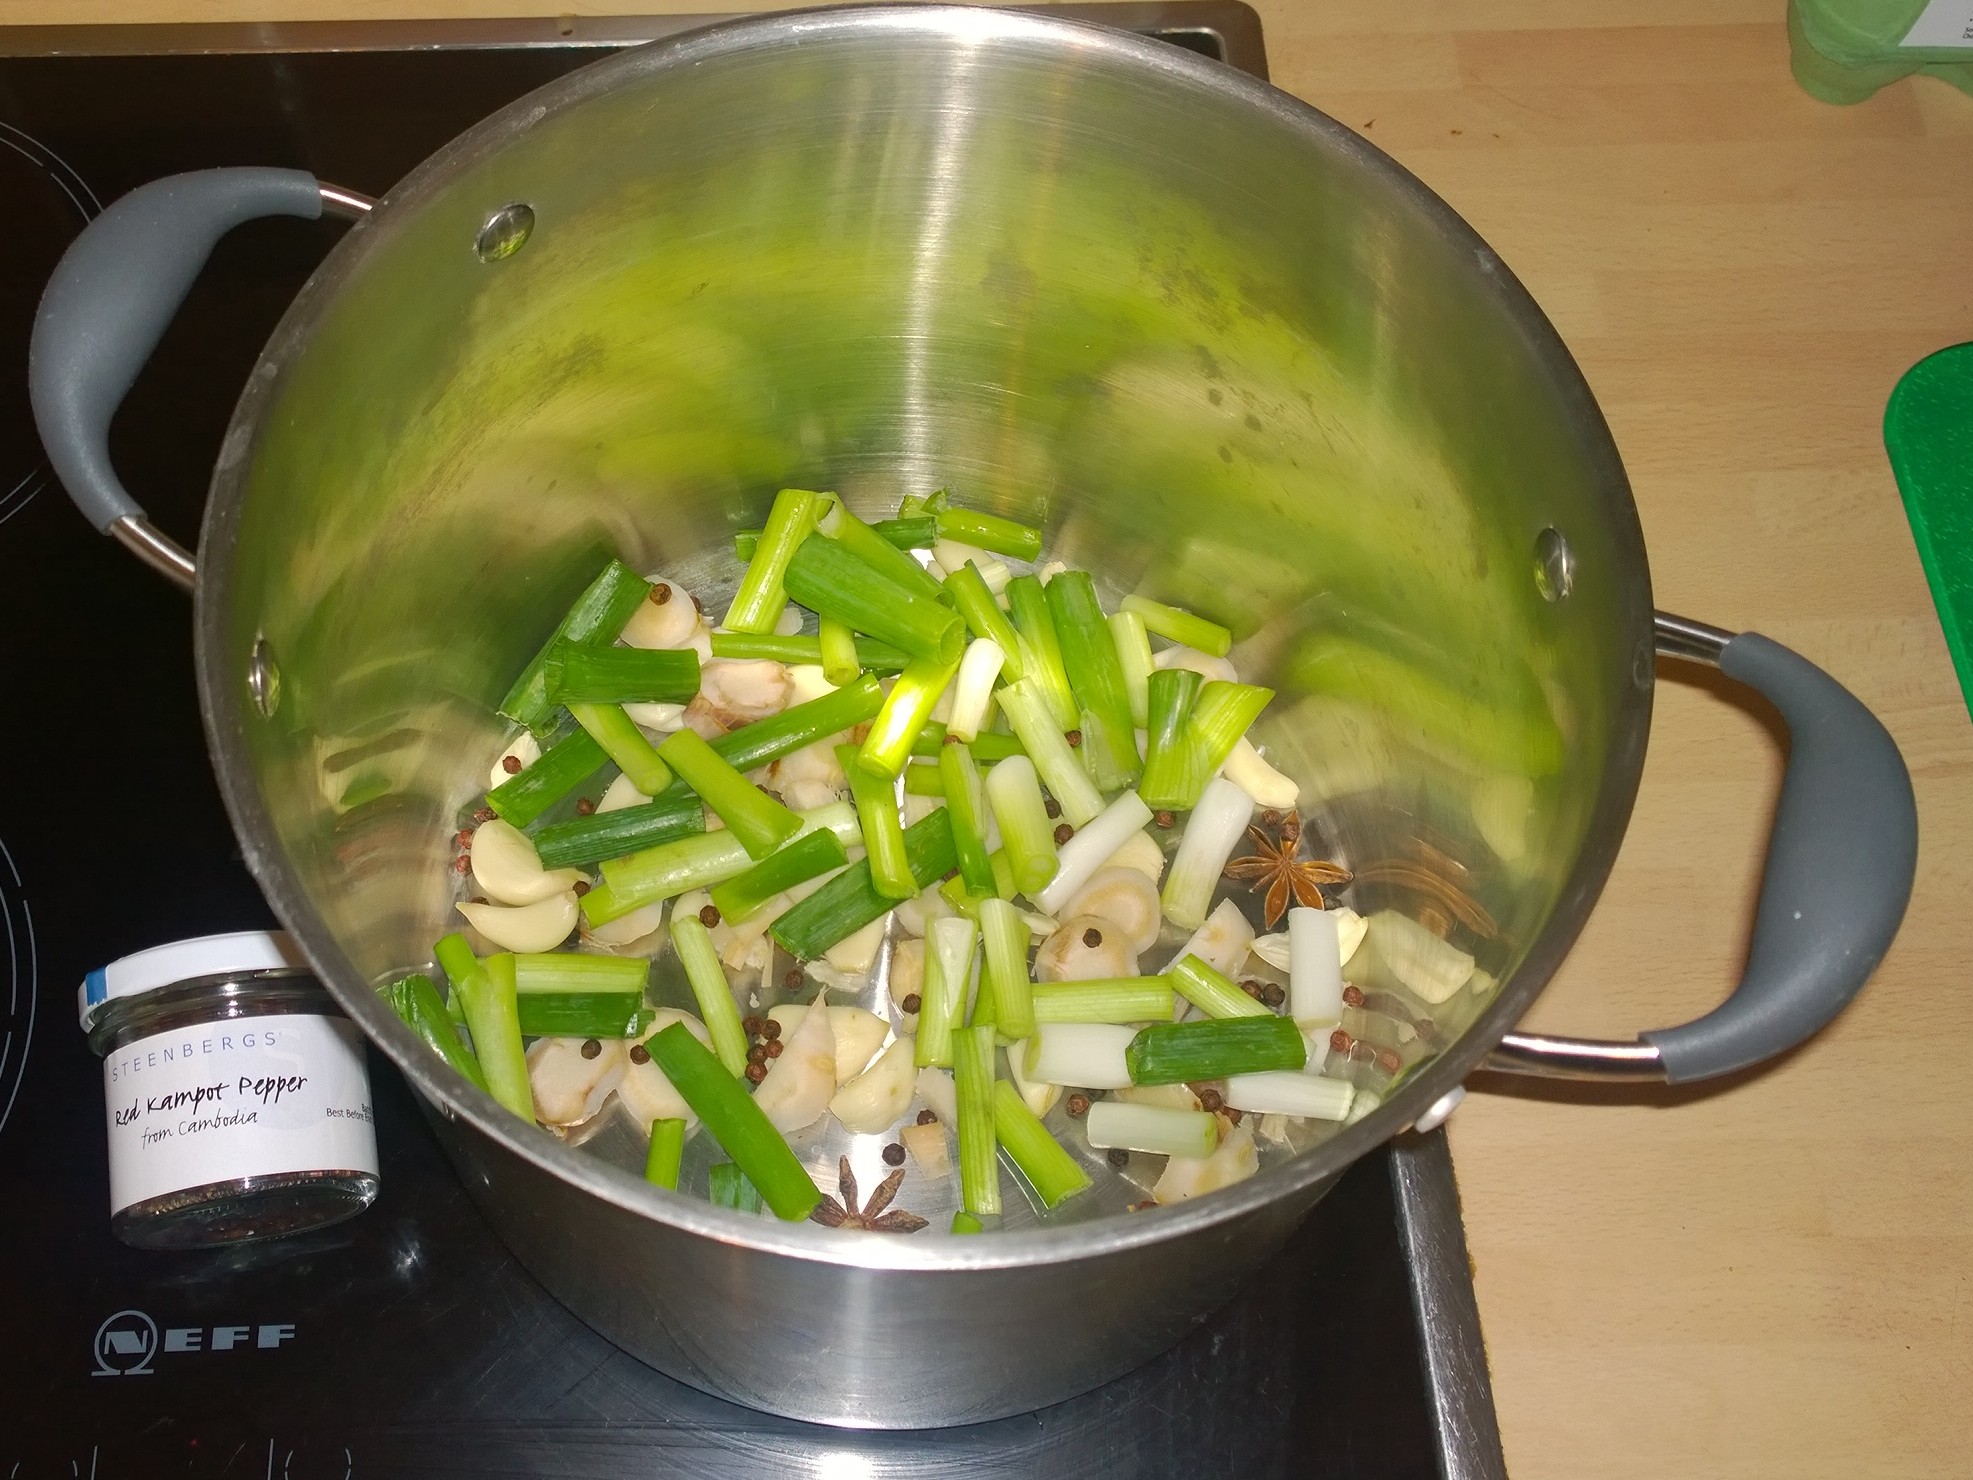
 Things have been a bit manic since the last post. A trip to Kuala Lumpur, busy at work and sporadic cooking has meant the blog has been a bit sparse despite time in the kitchen so hopefully with time off, over the next few days I can catch up and share some of the kitchen experiments and food experiences.
 Some free time enabled us to explore for ourselves and I put together a fews hours of time to visit numerous temples and markets which was great fun. Back street butchers provided an interesting insight into the daily life of Malaysians, along with the Fish Head Curry Restaurant and numerous hawkers selling an array of amazing tasty food at affordable prices.
 I have never had such a beautiful soft, packed with flavour prawn in my life, it was stunning!
 So, back to the U.K. and with a team meeting on the horizon I was looking for something to bake for the team, alongside the obligatory Moroccan Sausage Rolls which are are demanded, I wanted to do something a but different, and was inspired by a Toffee Apple Cake Recipe by Sophie Thompson, a Celebrity Masterchef Winner, you can find the original HERE
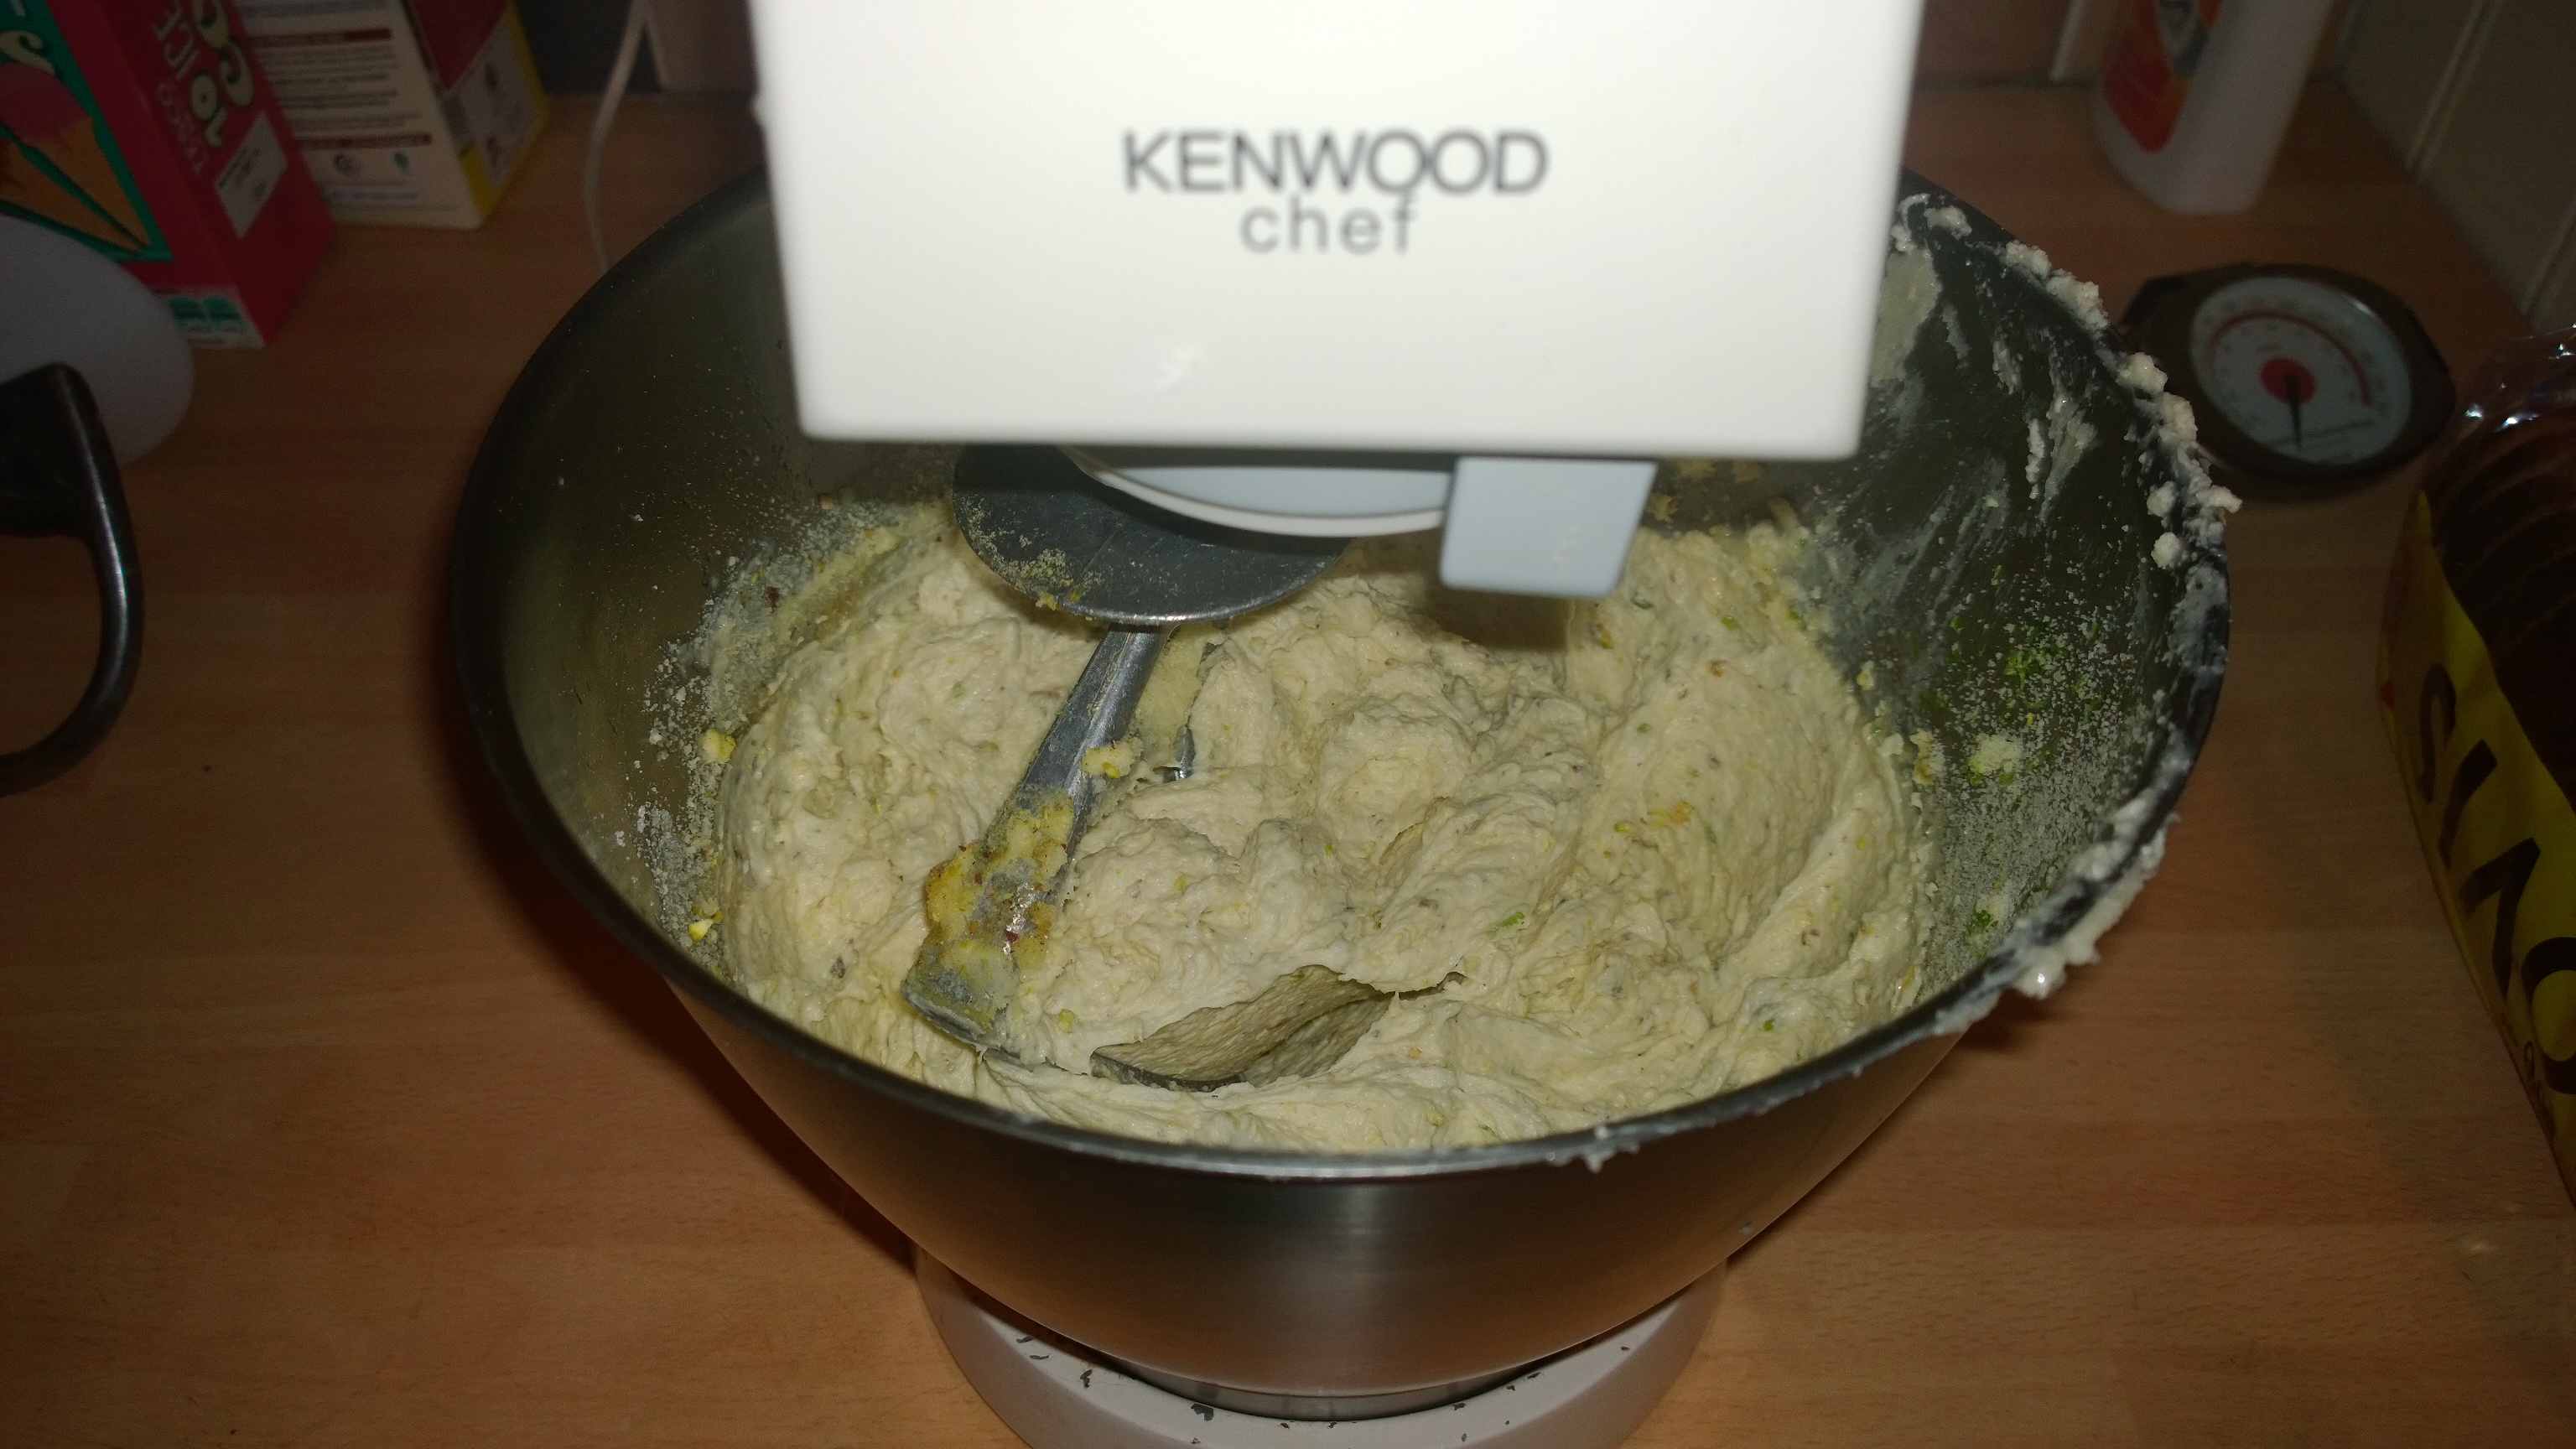
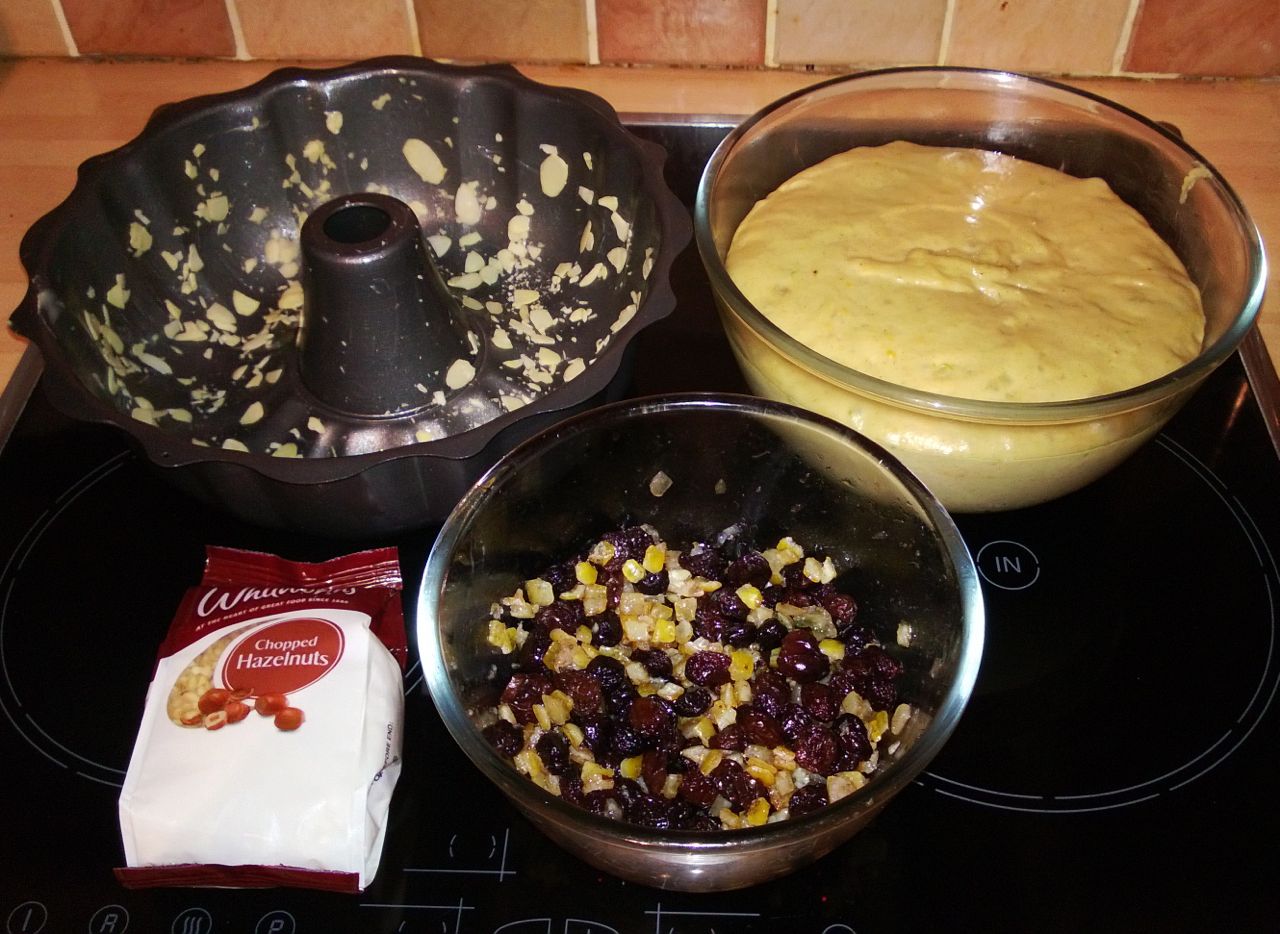
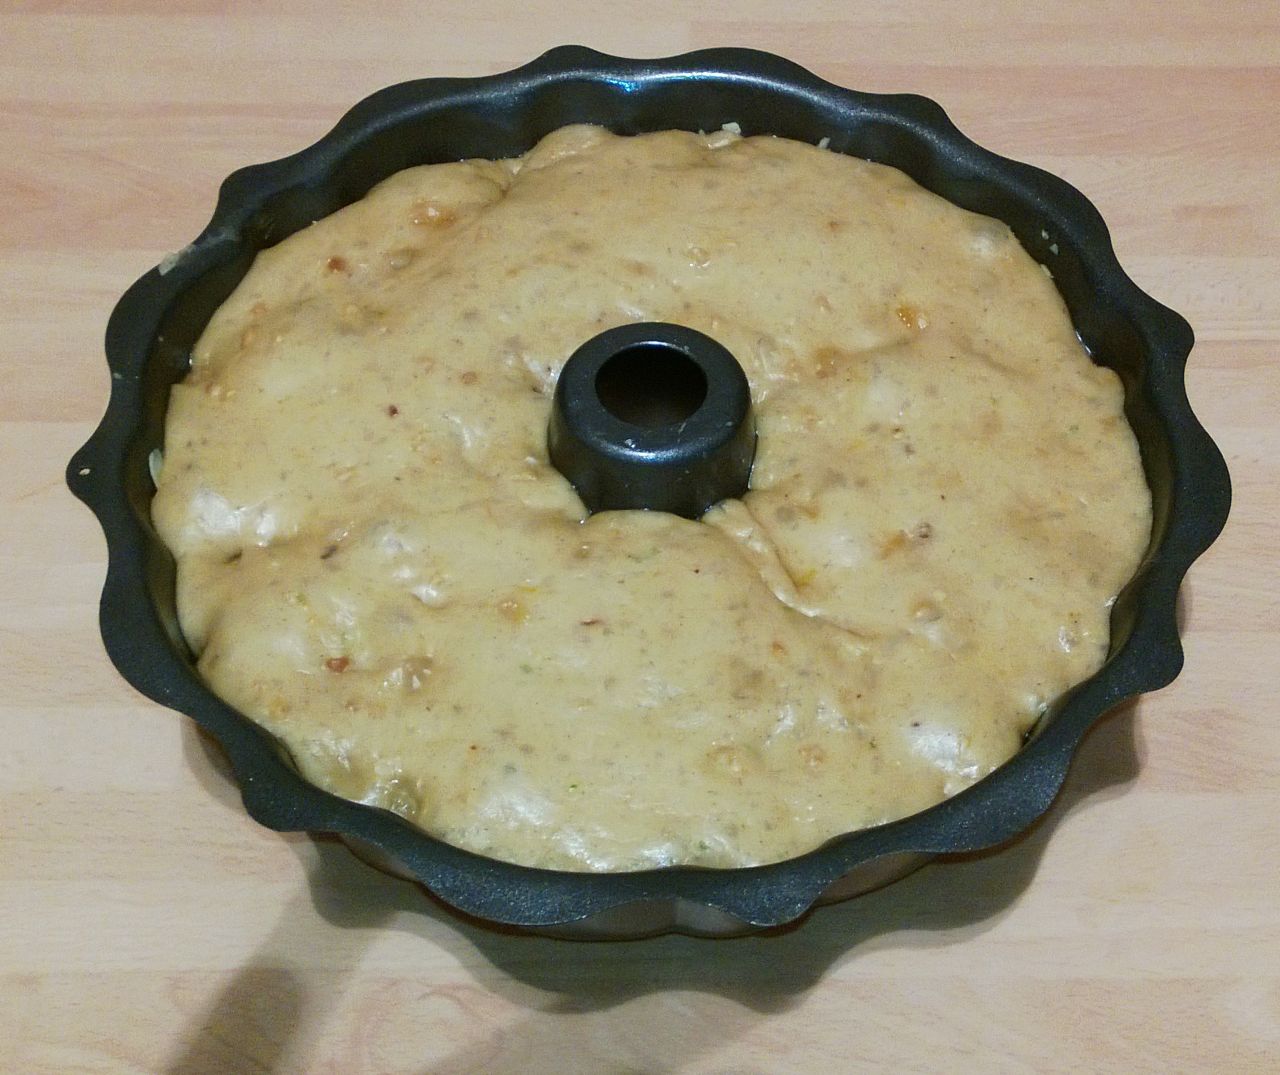
  You start by making a batter as per the recipe, flour, eggs, ground almonds etc. My additions were to make it a bit more festive and I added the zest of 1 Orange, 1 Lemon, a sprinkling of Mace and some Cardamon (remove the green outer and crush the seeds, about 2 – 3 Cardamons should do it).
 I used two types of Apple, Pink Lady and Bramley, the 1st going in the centre and the 2nd on top. My other change to the original recipe was to add a Streusel topping on top of the Apple and Toffee Sauce top layer. I used 25 grams Flour, 1/2 Tsp Cinnamon, 50 grams cold Butter and 45 grams roasted chopped Hazelnuts.
  The result was delicious and the team loved it as much as I enjoyed making it, I also provided some Clotted Cream to serve, well it was the Christmas meeting!