The weeks are flying by at the moment, the trip to France is booked, a week at the Gascony Cookery School in early June is something to look forward too. Being impatient and keen to add to my culinary knowledge I spent another day in London with the ‘Pukka Paki’, Sumayya and what an event it was! I had recommended the school to a colleague at work and by sheer coincidence he decided to pick the same day as me to attend. Glad you enjoyed it Tom.

You HAVE to attend the cookery school to appreciate the subtle techniques involved in cooking Pakistani food, its mostly hands-on and you would not get anywhere near the same from reading a book. There were four of us on the course, all keen foodies (and blokes!!) and we had great fun learning new skills and understanding the differences between Indian, Bangladeshi and Pakistani cooking.
On the menu was Beetroot & Beef Curry – Chaukandar Gosht, fragranced with Cardamom and Cinnamon, Green Masala Chicken Biryani – infused with Mint, Coriander, Lemon and Green Chilli’s and whole garam masalas, Channa Daal with Takra of Curry leaves, red Chilli, Cumin and topped with Tamarind, Homemade Naan breads with Poppy Seeds & Qawami Seviyan – sweet Vermicelli with Cardamom, Saffron, Cloves and Pistachios.

After time spent learning and cooking we all sat down to a hearty (and very tasty) lunch. I cannot recommend Sumayya enough, her courses are also available through the Divertimenti Cookery School in London, if you want to learn some new skills her courses are money well invested and great fun.
Moving away from the exotic spices of Pakistan, last weekend saw my 1st attempt at Gnocchi which were surprisingly straight forward.

The potatoes were boiled in their skins from cold, about 30 minutes and then peeled with the back of a knife, SIFTED flour to keep things light was added after the potatoes had been through a ricer. If you are careful, you end up with soft pillowy (if there is such as word) Gnocchi, which are rolled on the back of a fork to create furrows for the sauce to stick.

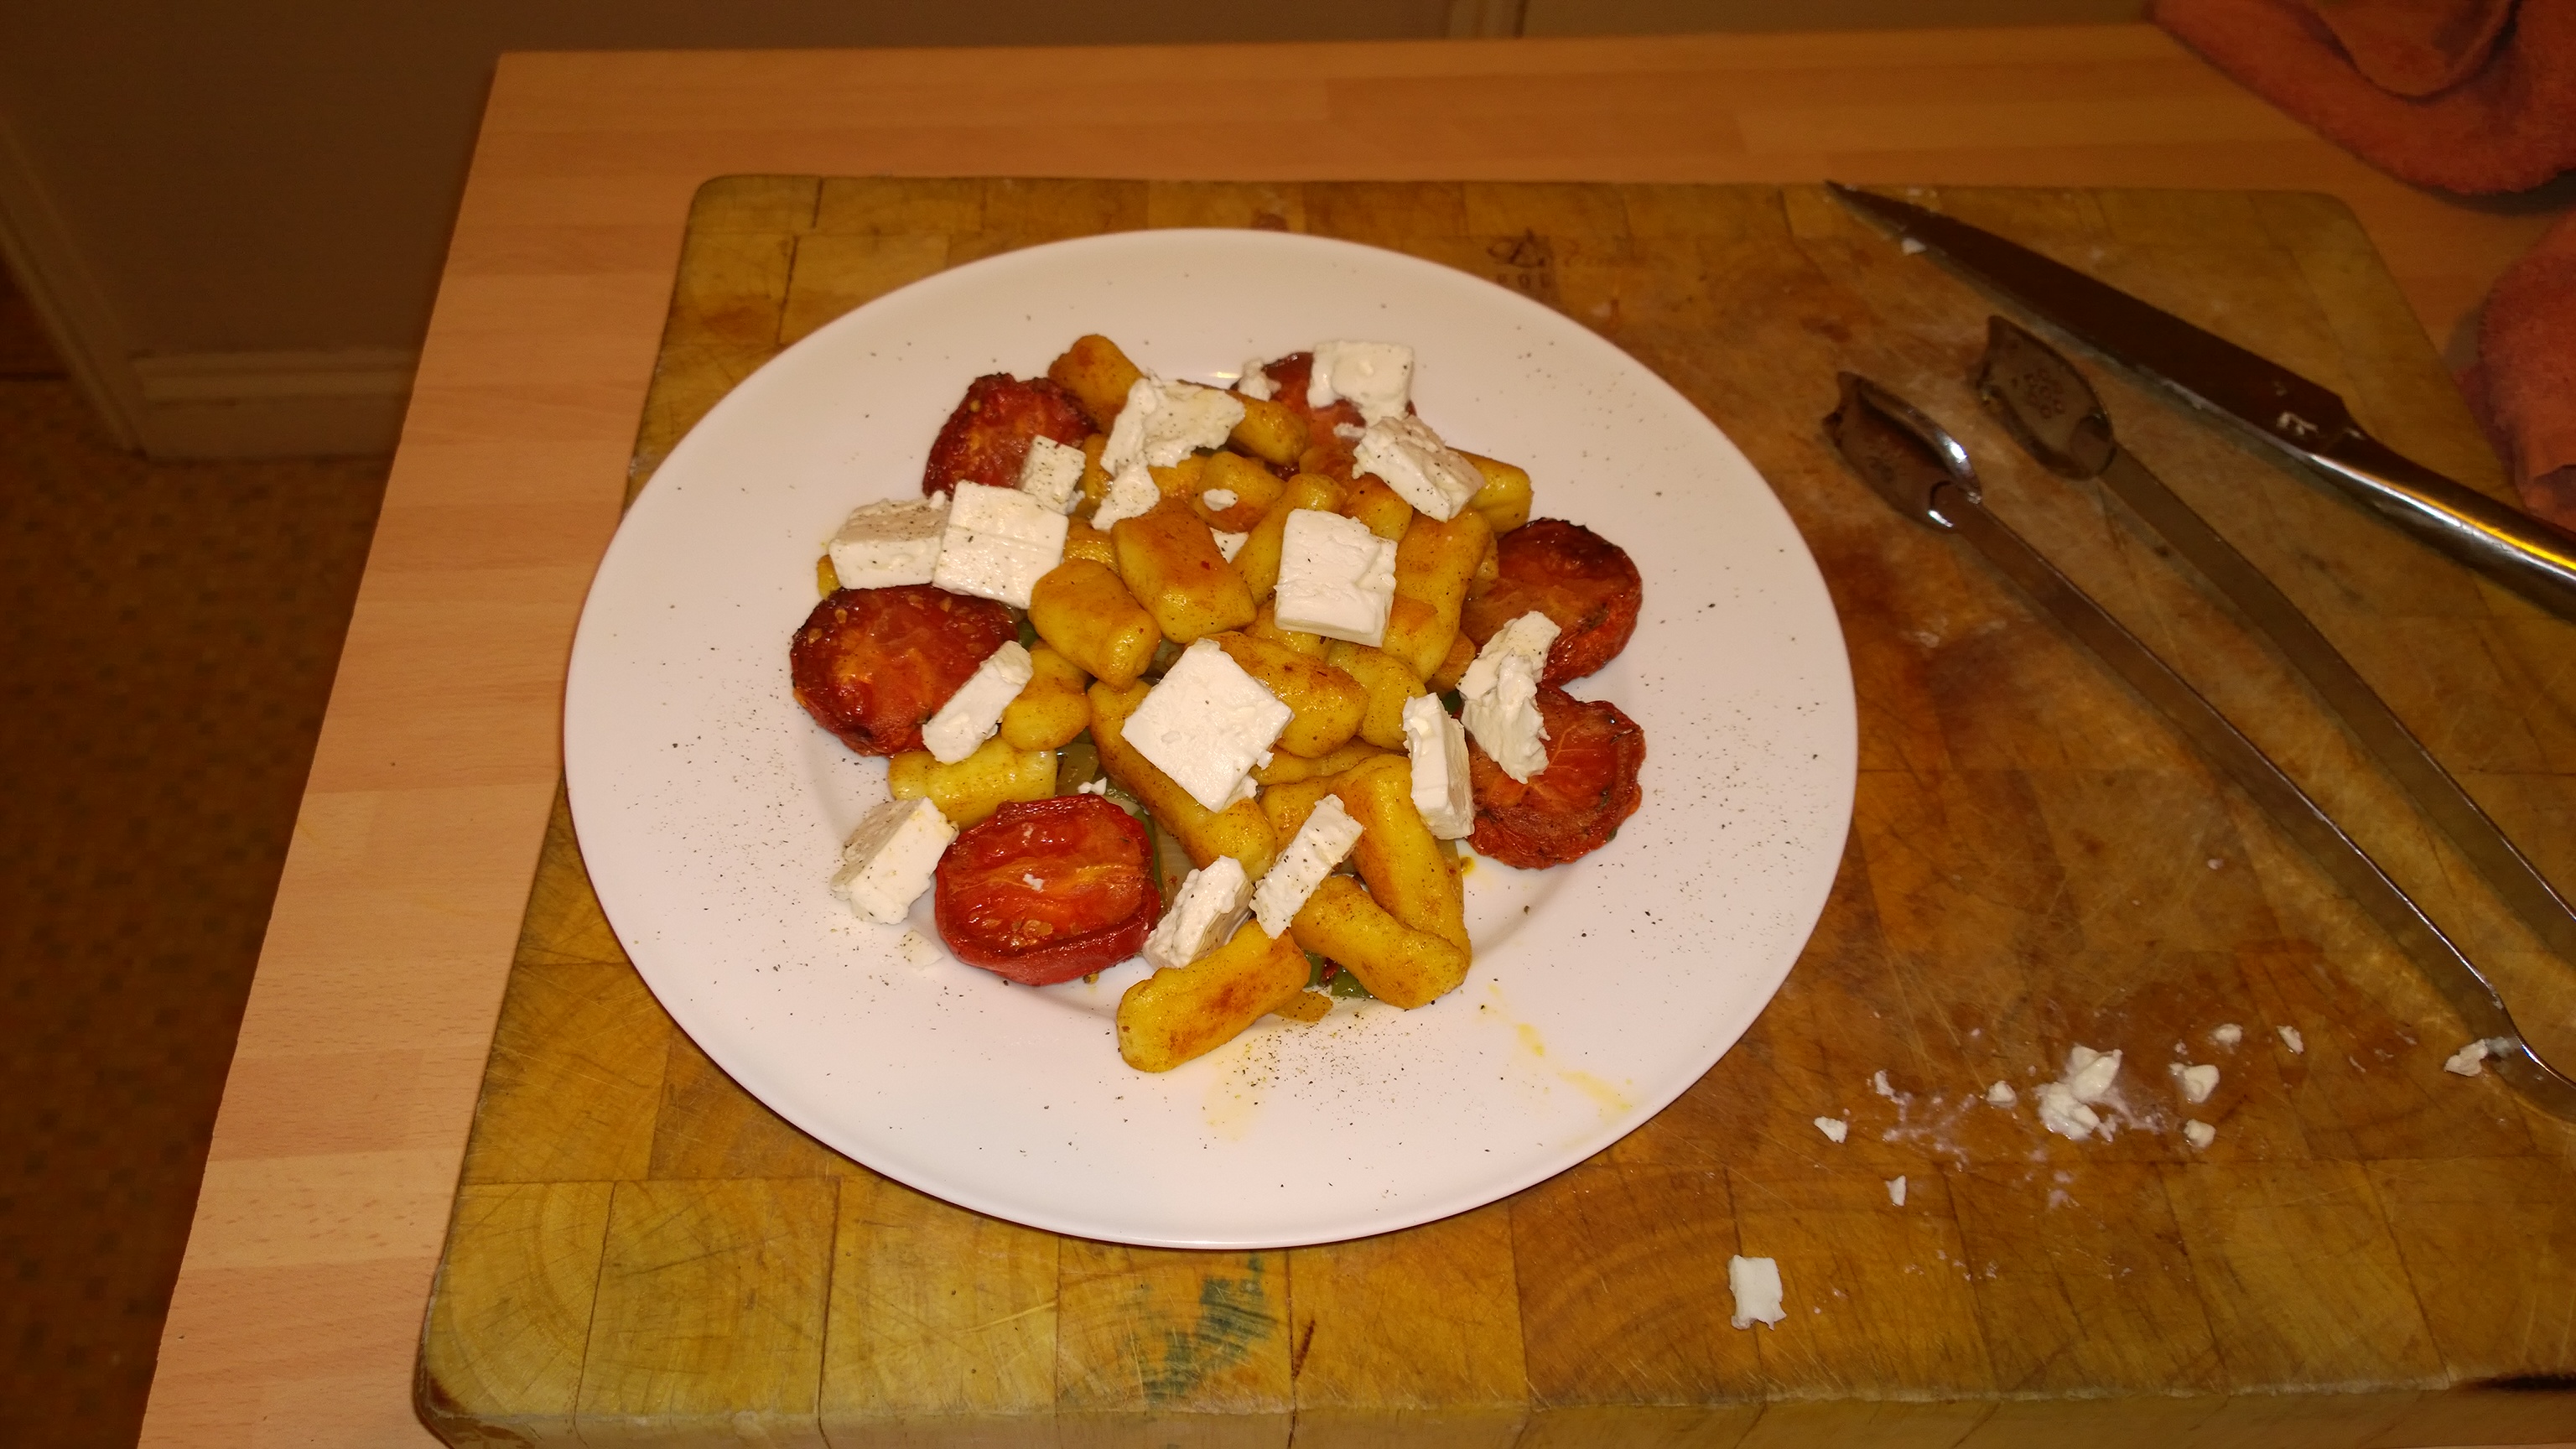
As you can see the final presentation needs some more practise. they are very soft so might benefit from some time in the fridge before finishing off. Unlike the usual sauces that accompany such delights, I went for a more unusual (in my mind) combination to go with the Gnocci, Slow roasted Tomatoes, Feta & Middle Eastern Flavours!

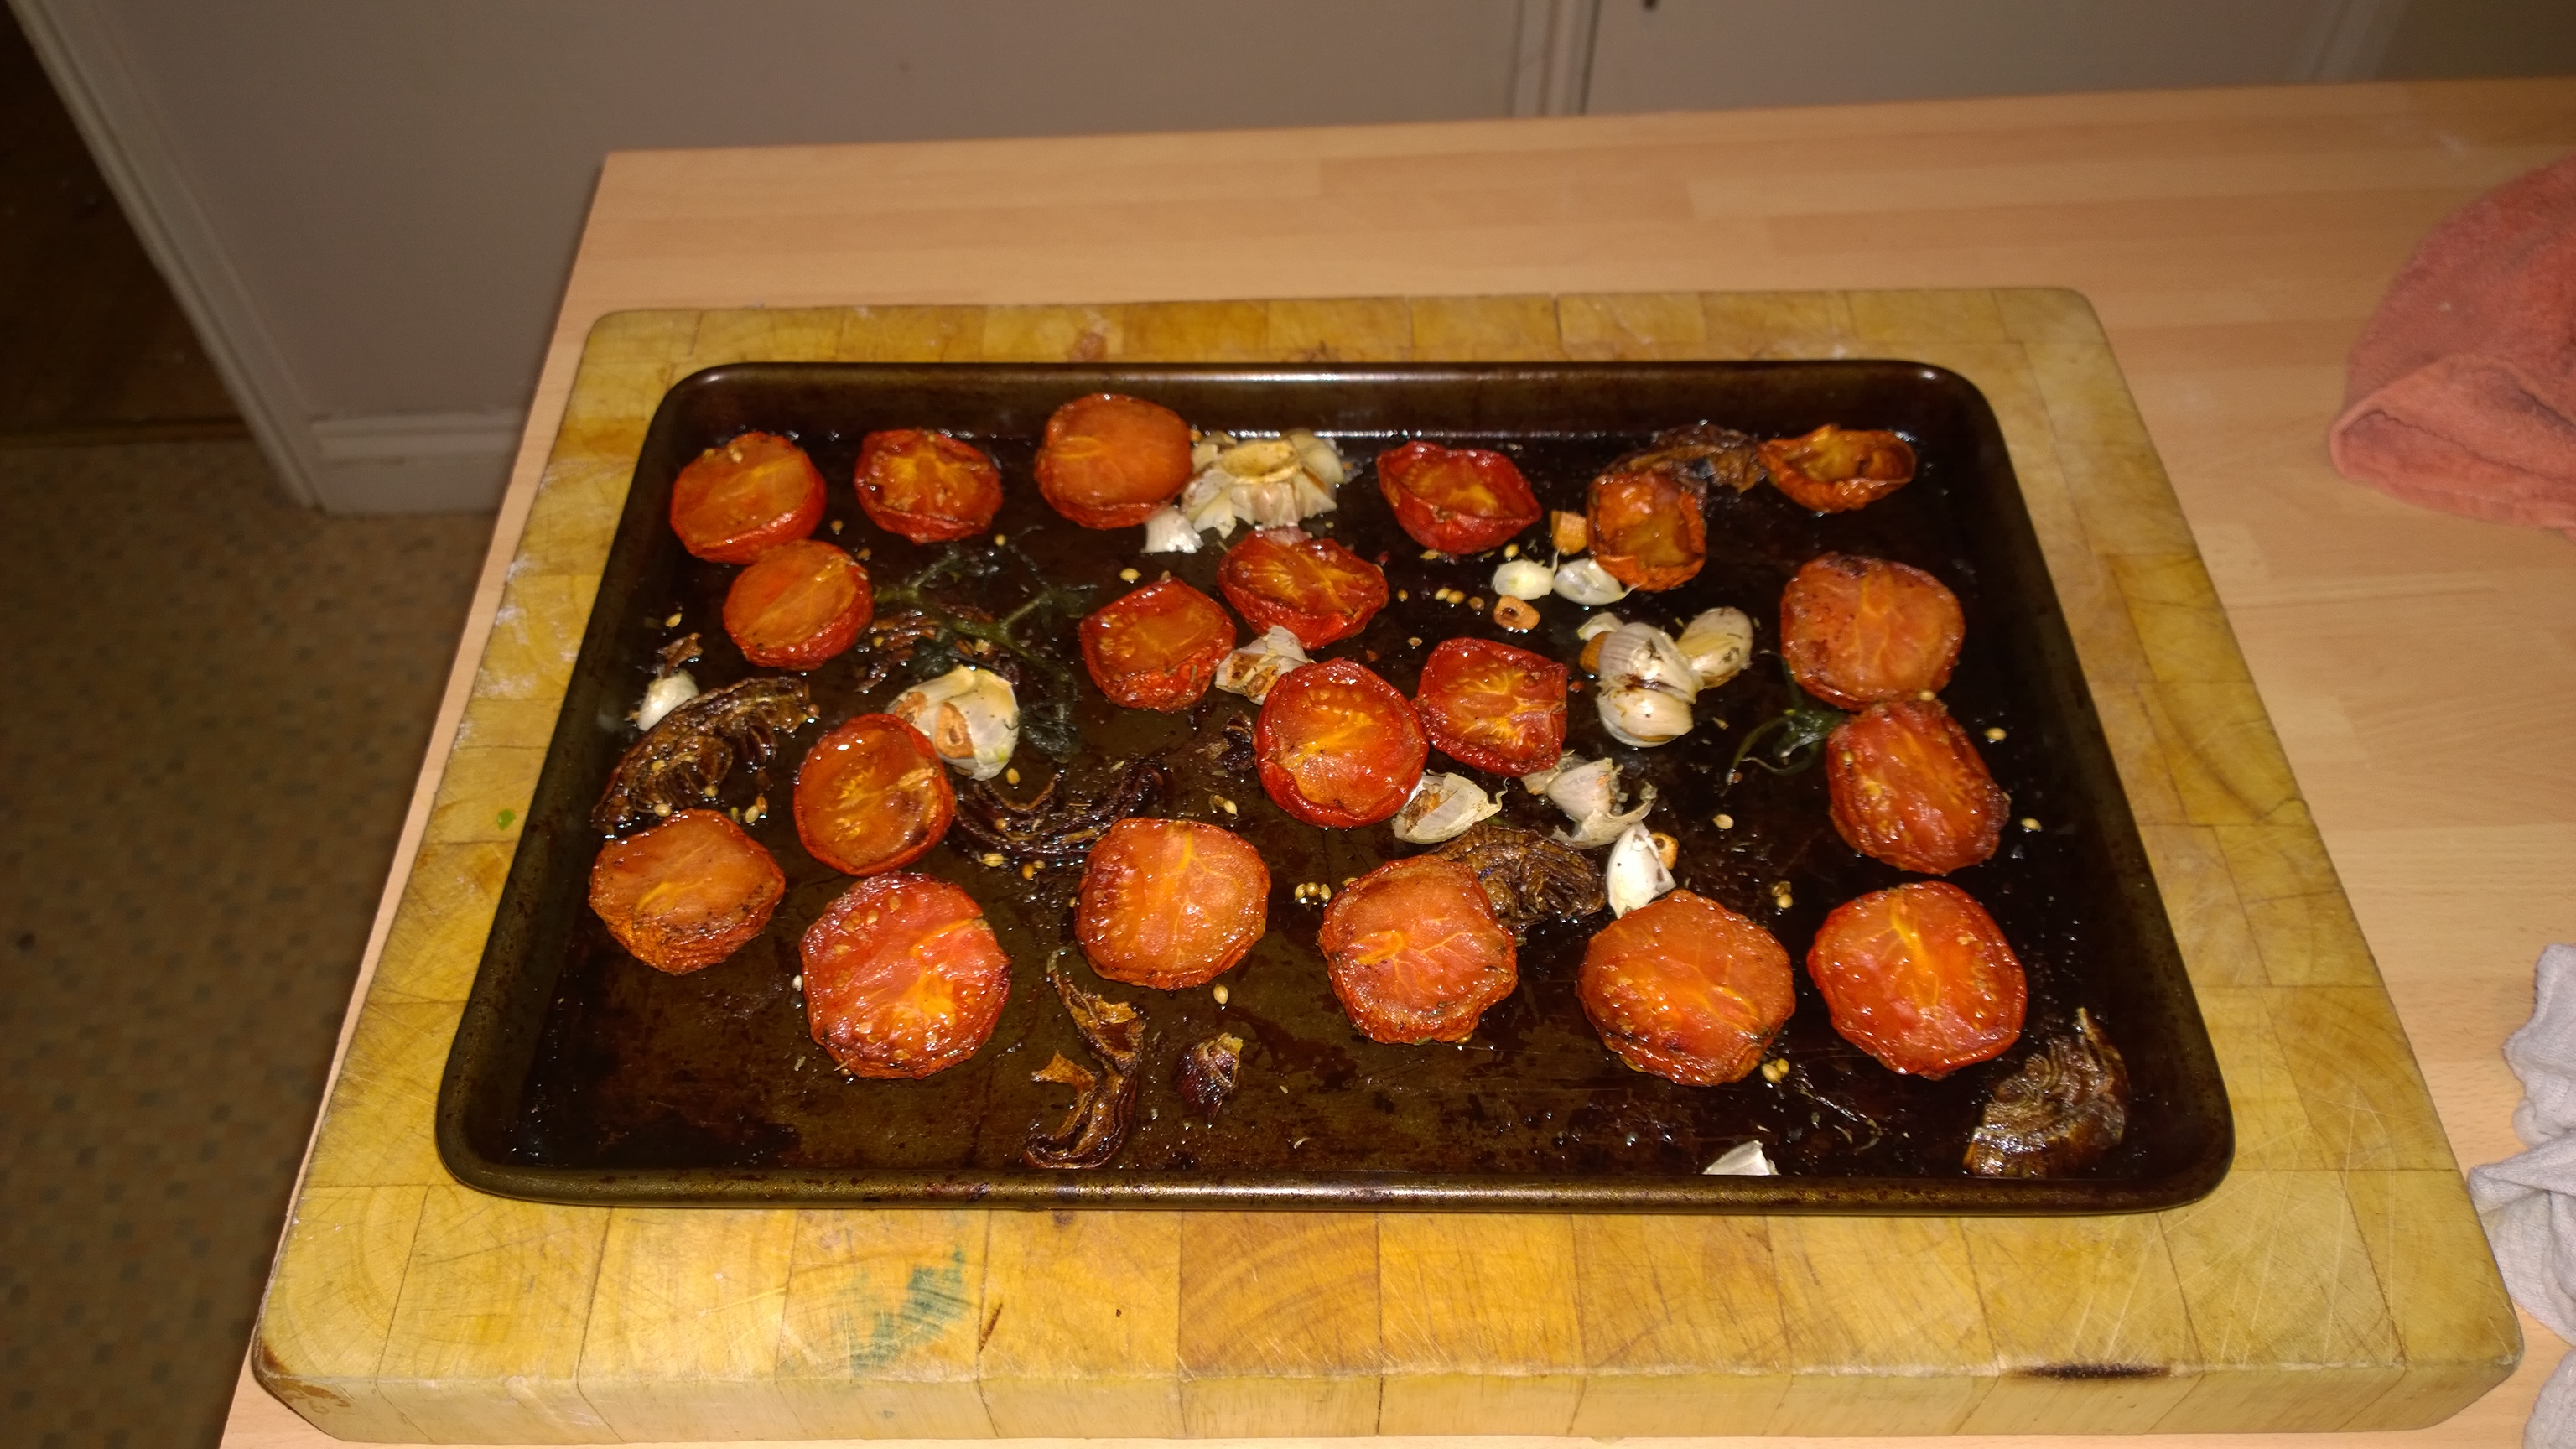
This element needs starting early, the Tomato’s are going to be SLOW roasted for about 8 hours at 100 degrees. Take about 10 Tomatoes, cut them in half and place on a baking tray that has had some half decent Olive Oil spread on the surface. Sprinkle with some Sea Salt and make sure they are well coated in the Oil, they should be CUT face down. Add to the tray a halved head of Garlic, a chopped Onion and sprinkle everything with some Thyme, Coriander Seeds, Sumac and Pepper! Stick them in the oven and wait for the aroma’s to fill the kitchen, this does take a while (8 hours of course). Keep an eye on them as ovens do vary.

To add to the interest, a vegetable medley was prepared consisting of Onions, Peppers, Garlic, Aleppo Pepper, Thyme and some more Sumac. The Gnocchi was put into boiling water (but not moving, so they don’t risk breaking up), until they popped to the surface and then drained briefly on some kitchen paper.

The Gnocchi were then lightly fried in some Butter and Ras Al Hanout sprinkled on top , ensuring an even coating and imparting the ‘exotic’ element of the dish. The presentation could do with a bit more work but I was preparing for a trip to Glasgow so rushed. Place a bed of the vegetables on the plate, then surround with the roasted Tomato’s and place the Gnocchi on top. The final flourish is some Feta Cheese, broken up and distributed around the plate. Finish off with some cracked black pepper it was really tasty.
I had a couple of days in Glasgow last week, and a couple to come this week so an excuse to try some new restaurants. Looking at Trip Advisor there were a few that caught my eye, the 1st being The Shandon Belles, in Argyle Street, WHAT a find. The place is steeped in history and sits below another famous landmark, The Buttery where Two Fat Ladies is situated.

Dishes on the Menu included Whole grilled Sardines, dressed leaves, soft herb dressing, pink Prawns, sweet Chilli & Coriander Mayonnaise for starters and mains, Pepper filled with vegetable Cous Cous & smoked Mozzarella, dressed leaves (v), Meat loaf, Chive Mash, Tomato Jus.
I decided to go for the Fish of the day special, which was Ling, with cheesy Mash and Soft herbs. Never had Ling before, will certainly order it in the future, cooked to perfection and utterly delicious, the fish was served with roasted vegetables and certainly hit the spot. To be honest I was that tired I only managed the one course but plan to re-visit at at later date.
The service was impeccable, the place is steeped in history and when I was chatting with the waiter and talking about the blog, he presented me with a folder to look at, with pictures from the past and menu’s going back to the 70’s which was fascinating. Imagine Steak Tartare being more expensive than Lobster, and Tongue and Sweetbreads on the menu, delish!
Highly recommended, great value and well worth a visit.

The following night I was in a different part of Glasgow, my own fault and due to some confusion with hotels! I am really lucky to have some great technology at my disposal, which includes several smartphones with integrated GPS and some useful software. I use them to good effect when away, searching for places to eat that are within walking distance, but also linking to Trip Advisor to get a view of quality.
The Tiki Bar and Kitsch Inn was one such find, a 15 minute walk from the hotel it promised some interesting Thai flavours, freshly cooked and no bottled sauces in sight (as stated on the menu!).
While I was choosing what to eat the lovely waitress bought me some water, and delicious Spicy Crackers with a Sweet Chilli dip to munch on, a really nice touch. They were very crisp and not at all greasy like some of the Prawn Crackers you usually get served in oriental establishments, they certainly got the taste buds dancing.

I was pretty hungry so thought I would go for a starter, the divine (and spicy) Crying Tiger Beef Salad, Grilled marinated beef, served cold with a Thai style green salad (beef is cooked medium rare). YUMMMMMMMMMMM, the beef was cooked perfectly and the starter really set the evening off beautifully.

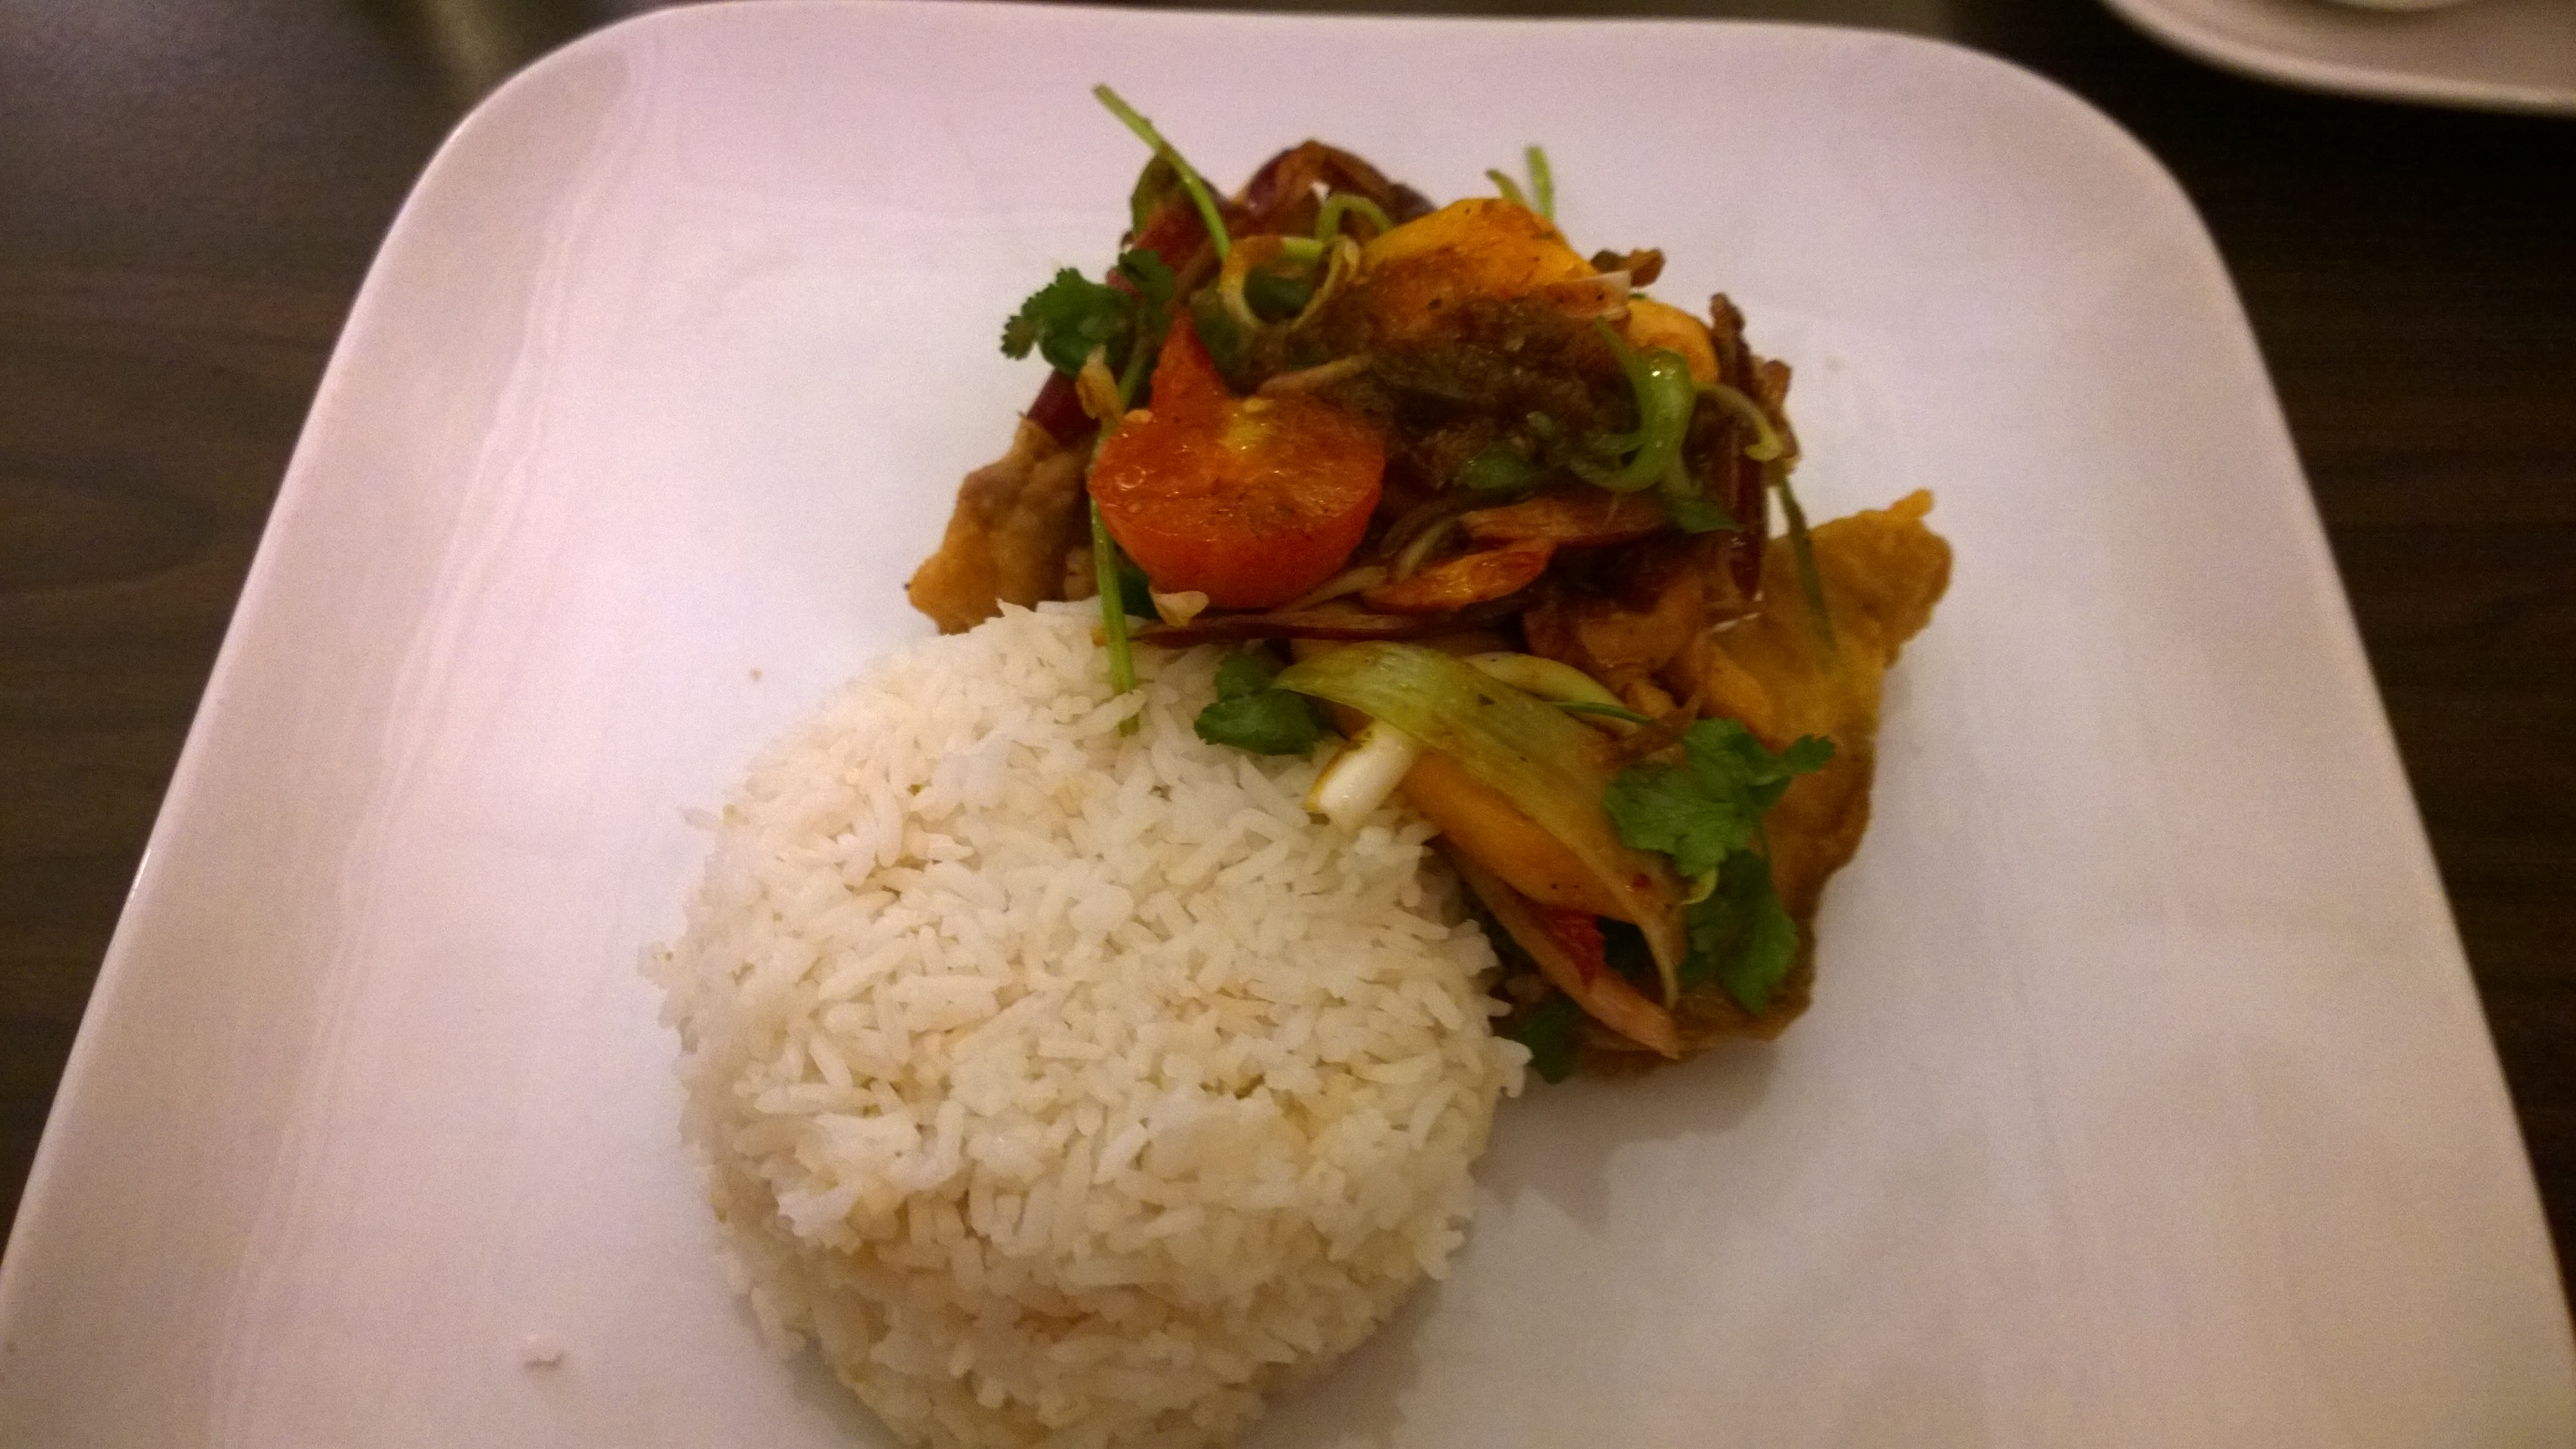
Mains were Pla Tod Yum, Crispy fillet of Coley dressed with fresh Mango and Cashew Nuts in roasted Chilli, Lime and Lemongrass sauce with Jasmine Rice, another stunning dish and another 1st as I had not had Coley before either. Dessert, yes I WAS hungry, was a delicious Coconut & Mango Panna Cotta, which slipped down and did a great palate cleansing job.
Like The Shandon Belles, I cannot recommend this restaurant highly enough, awesome food, fantastic service and another lovely evening. Give it a try if you are in the area.
Back to the kitchen for one final flurry, Chocolate Mousse. Never made it before so onto the Internet to look for some guidance and another well known chef and food blogger, David Leibovitz came to the rescue. David is a Pastry Chef originally from the USA but now living in Paris, has written a number of books and also has a fantastic blog, (click on his name above to take a look).

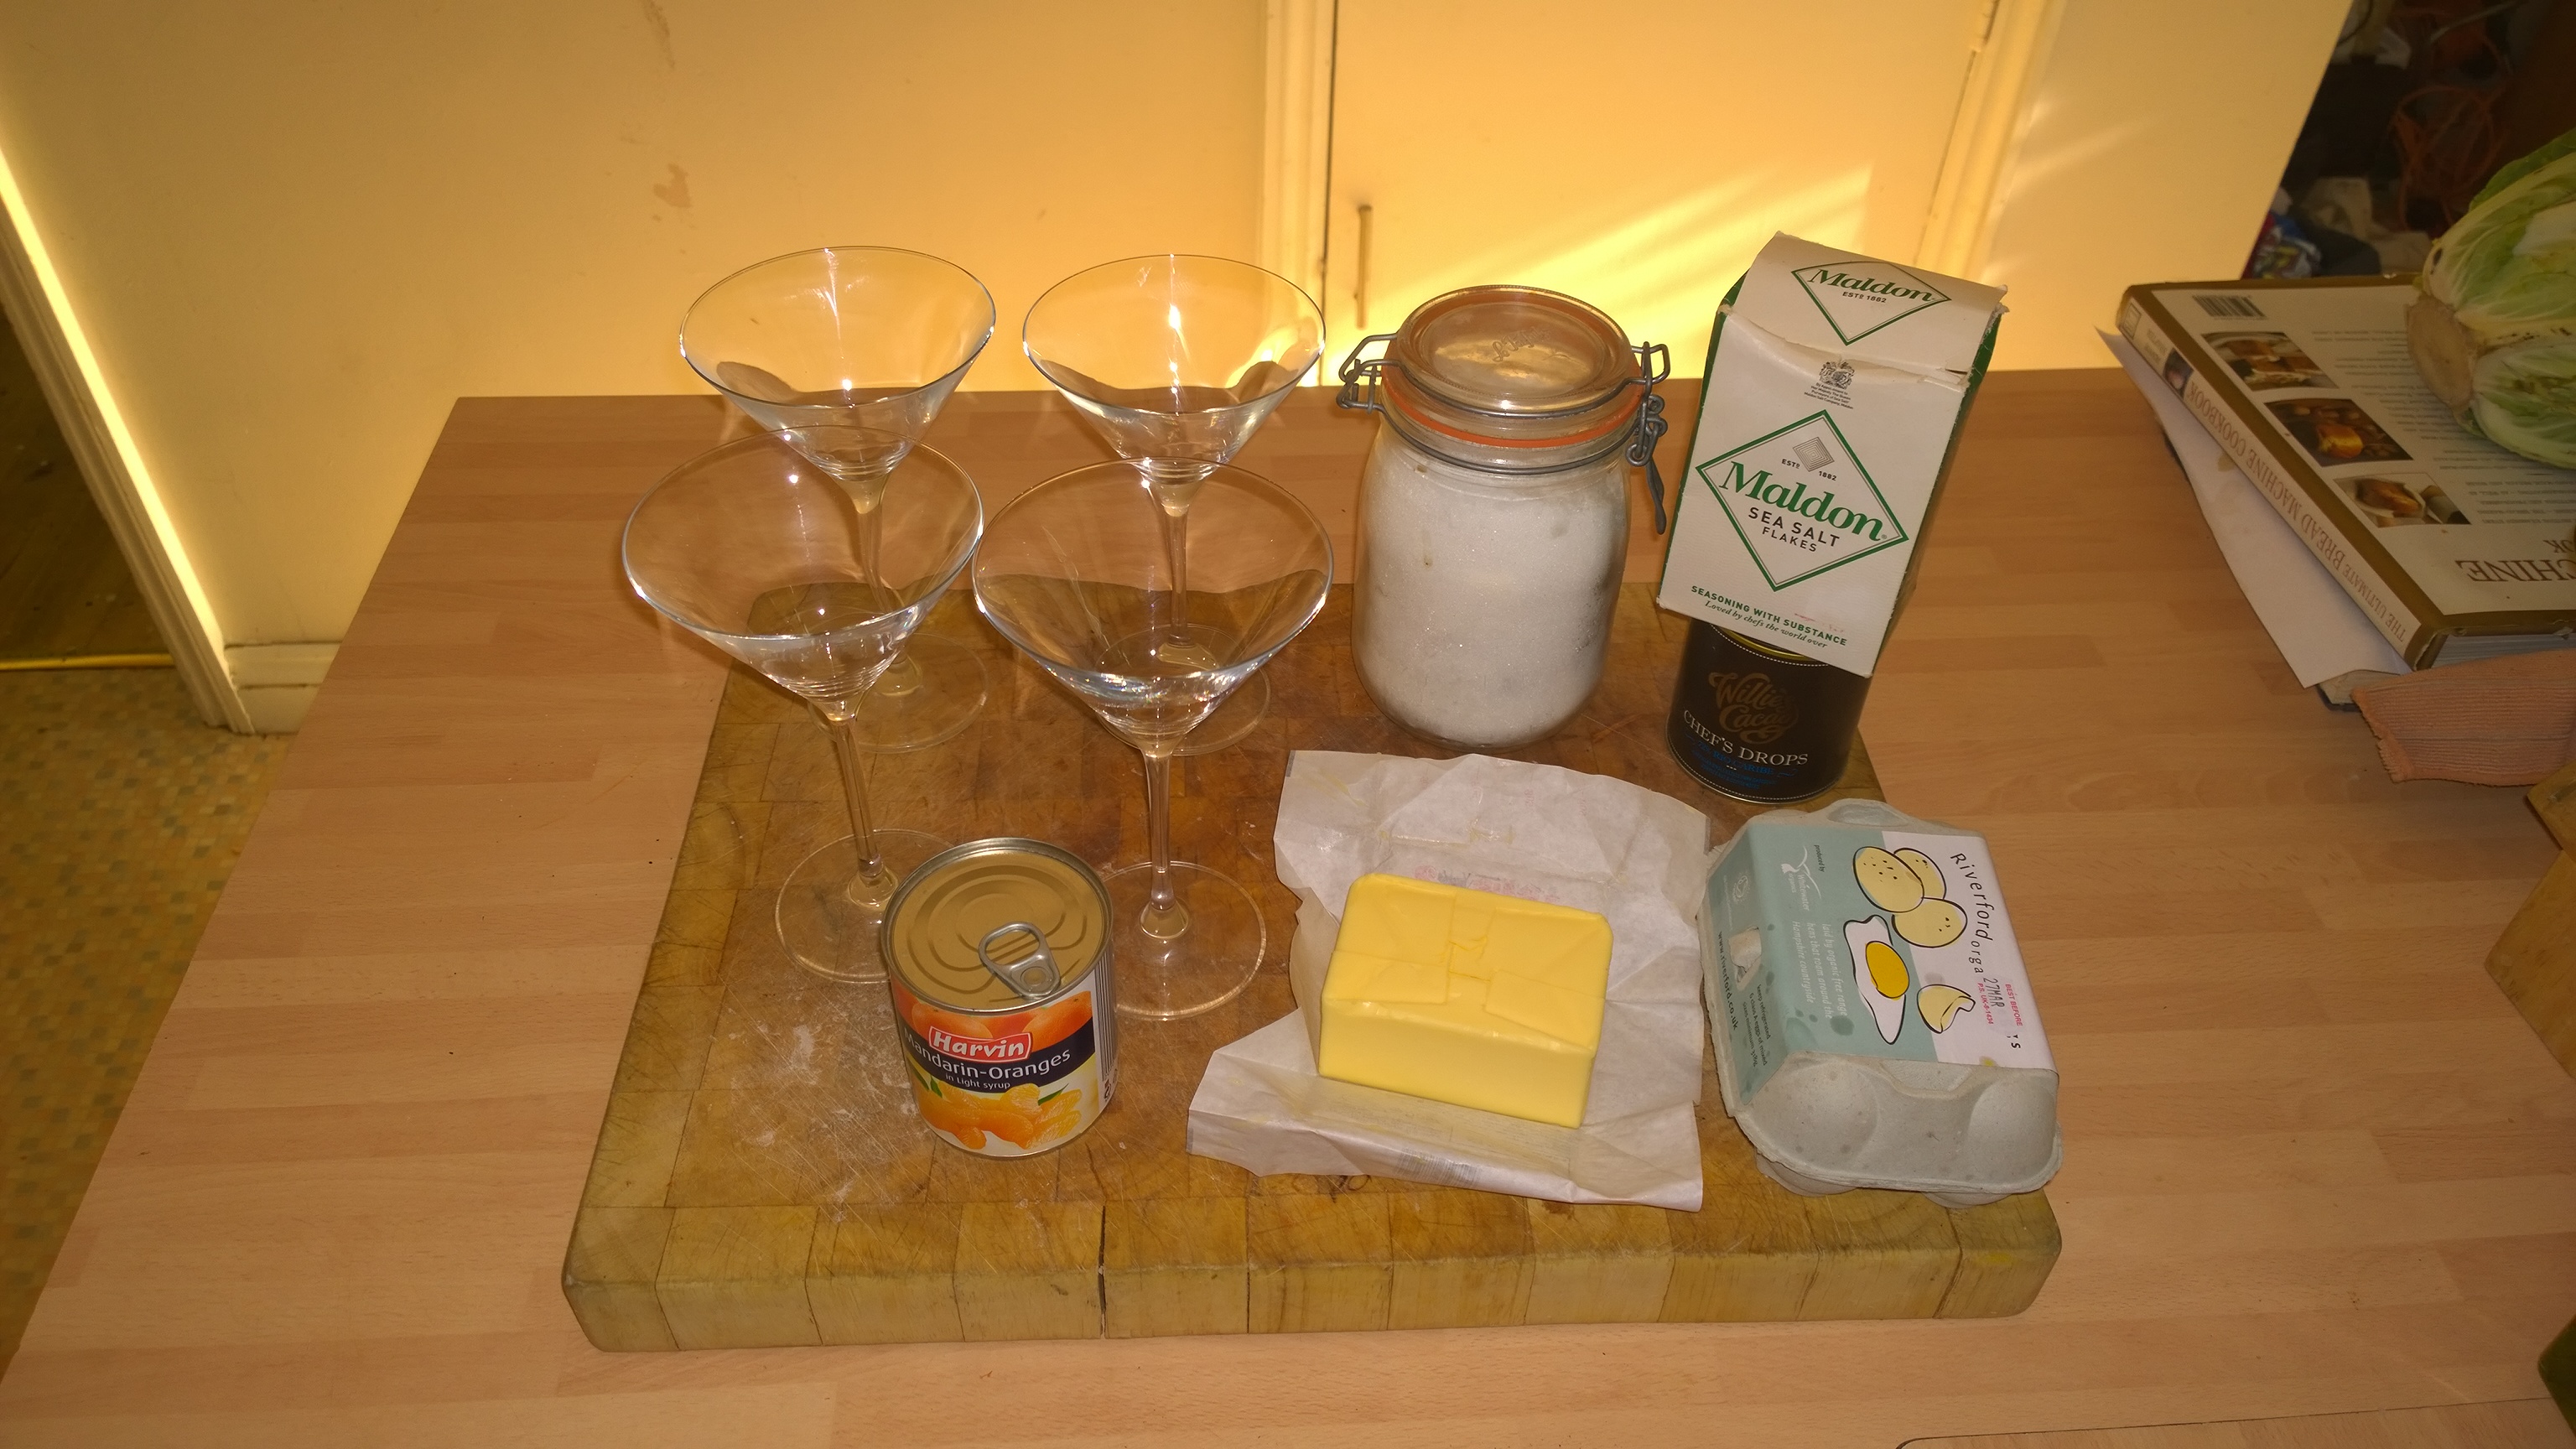
The recipe I went for is originally from Julia Childs, details can be found HERE. My version added some Mandarin segments, I like the fruity tang against chocolate, and I did not add the alcohol (didn’t have anything appropriate in the cupboard at the time).

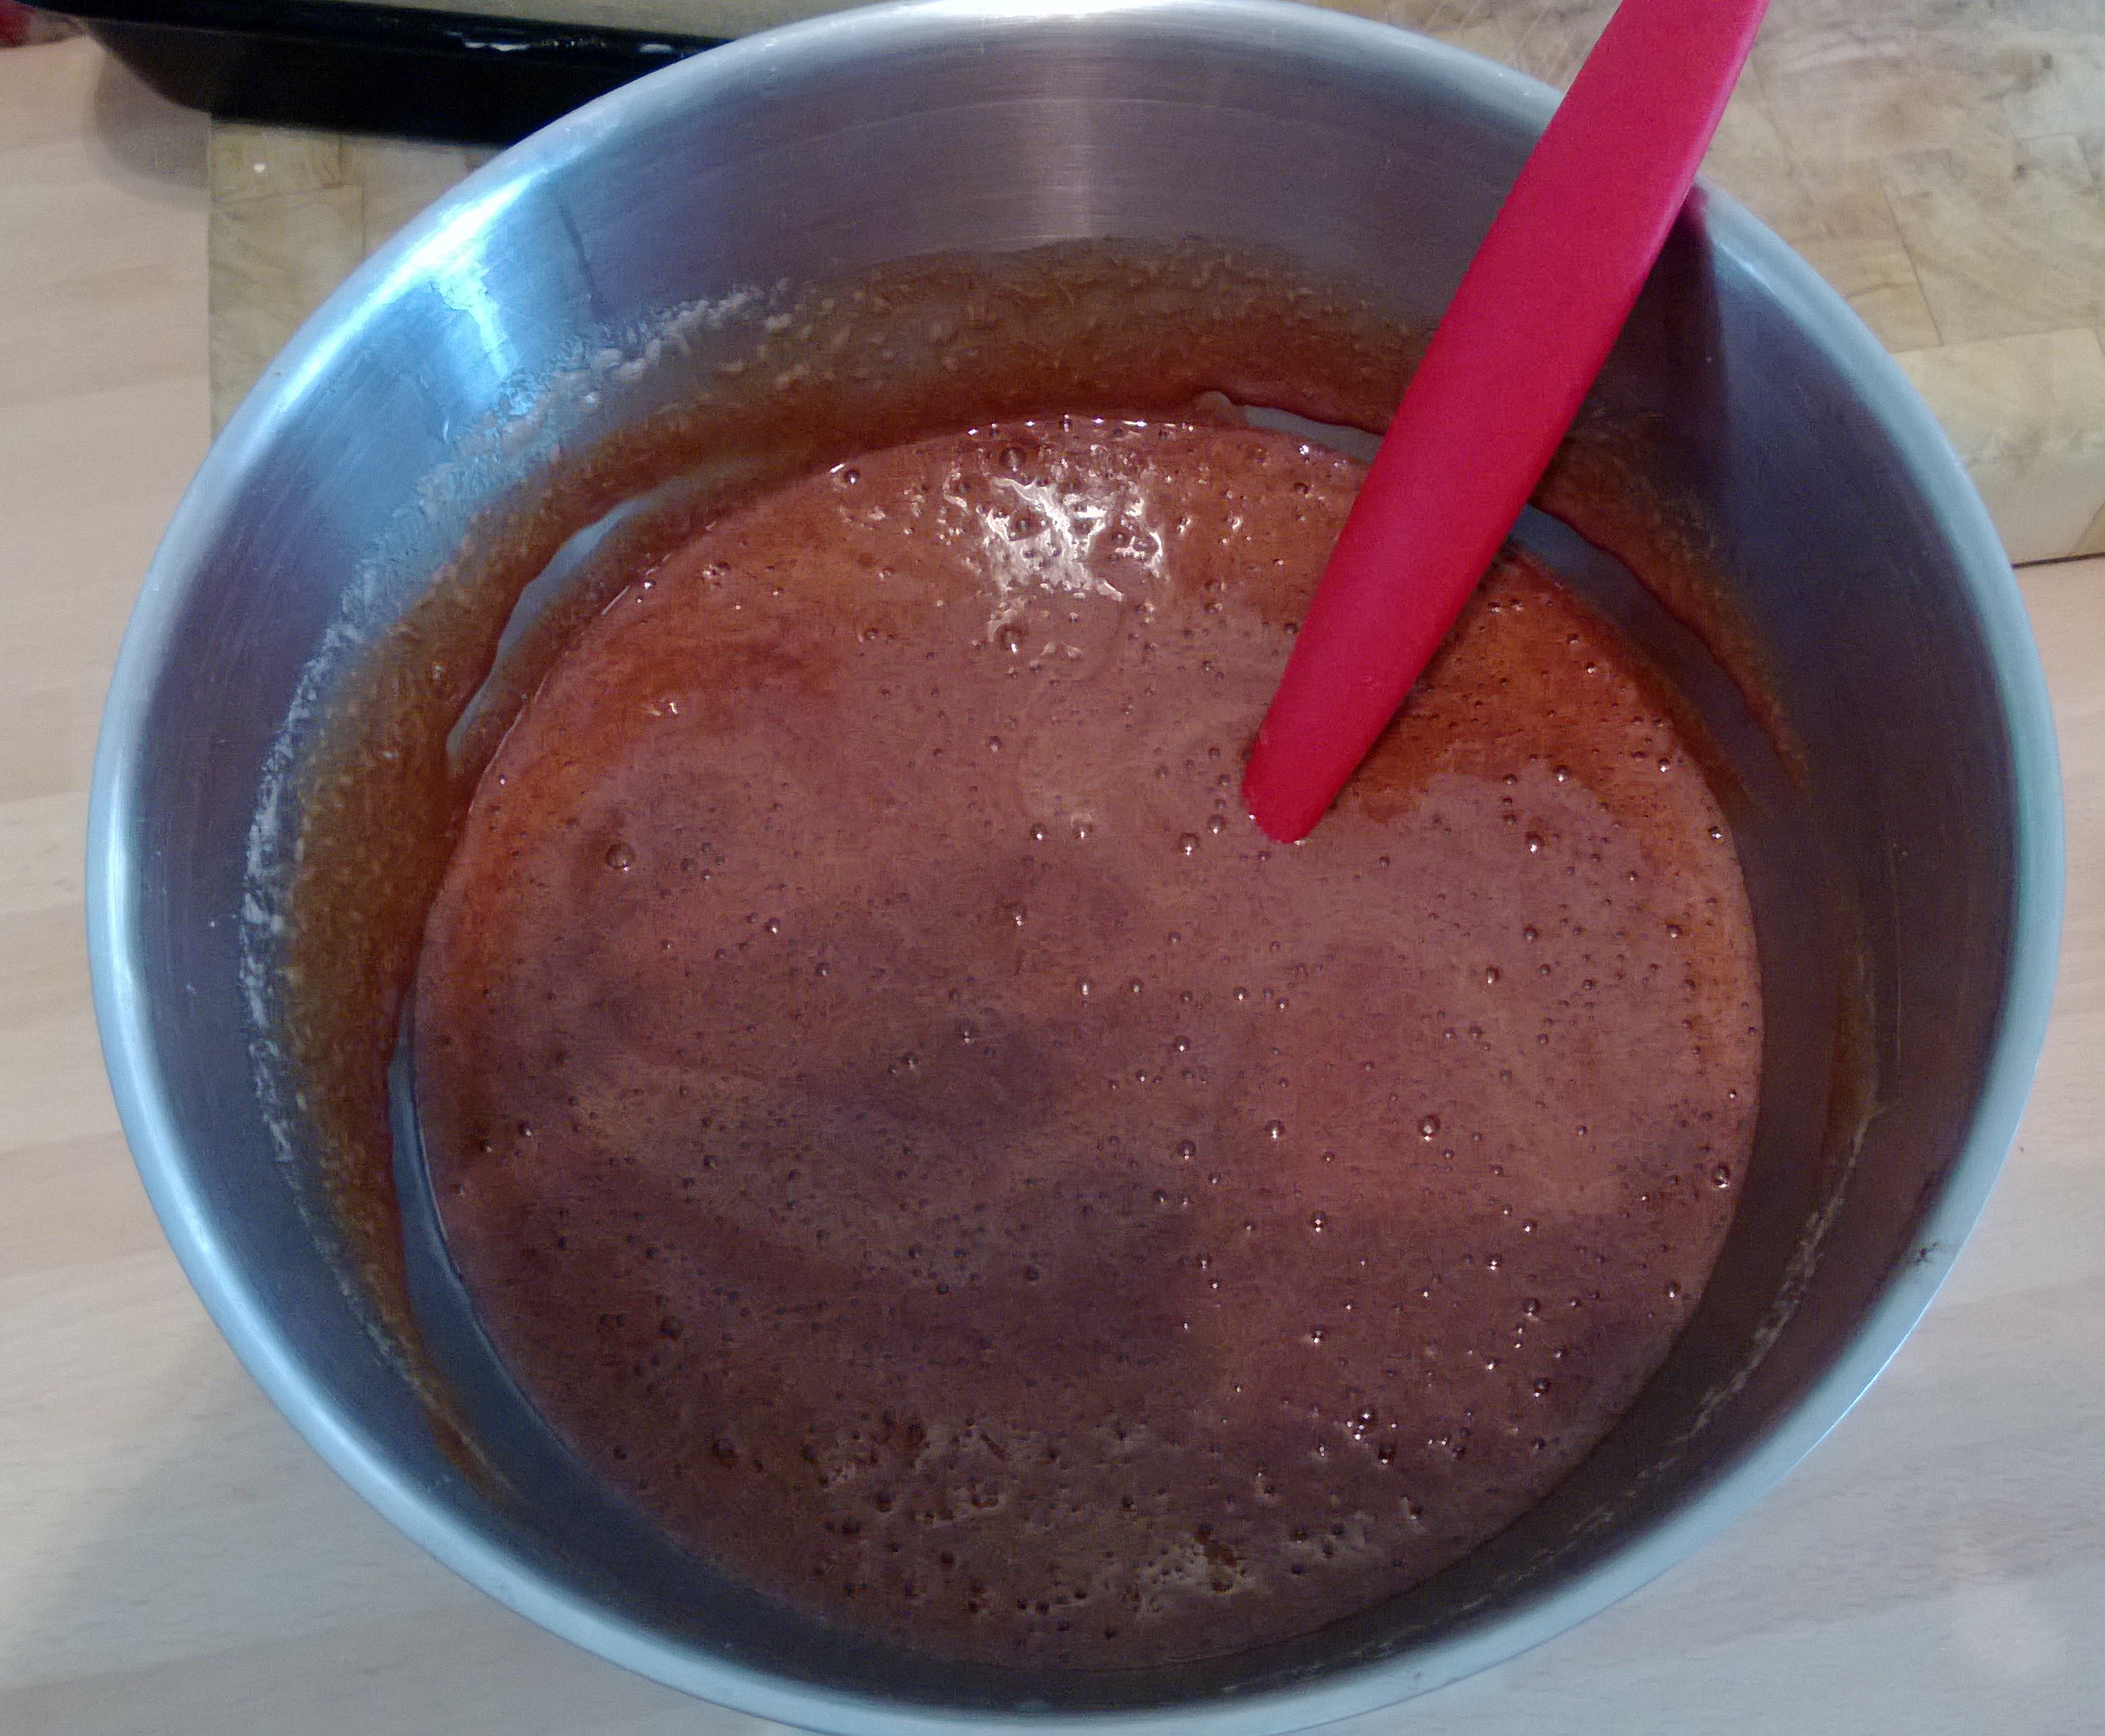
The process is like making a Sabayon, whisking Egg Yolks and Sugar over hot water to create a light and airy mixture, just follow the instructions in the link above and you shouldn’t go wrong, I went technical and used an electric whisk rather than the hand method.

The chocolate is melted over a ‘Bain Marie’, hot not boiling water with a bowl over the top (NOT touching the water as the chocolate will burn), with the butter. Use the best you can get, my preference is Willi’s Cacao, you can get it online or in Waitrose. In this recipe I used the Rio Caribe 72% Chocolate Drops, really tasty, rich and sublime.

The final process is to whisk the Egg Whites to soft peaks and gently combine with the Chocolate/Butter mixture, folding gently combining the two and loosing as little air as possible.
I placed the Mandarin Segments in the bottom of Martini glasses and spooned the Mousse on top, then popped into the fridge for a few hours to set.
The feature image for this post shows the results, to find out what they taste like have a go yourself, they were Mmmmmmmmmm.
That’s it for now, flying back to Glasgow tomorrow for a couple of days so looking forward to trying another eatery. I am hoping to get some time to test a Danish Pastry, Kringles in the near future.
I stumbled across them on a Twitter post by Yotam Ottolenghi, so have been researching recipes so I can have a go. They take a few days to make and the diary has been pretty full recently but look really interesting as there does not seem to be a huge amount written about them.
Till next time, L8ers……………….
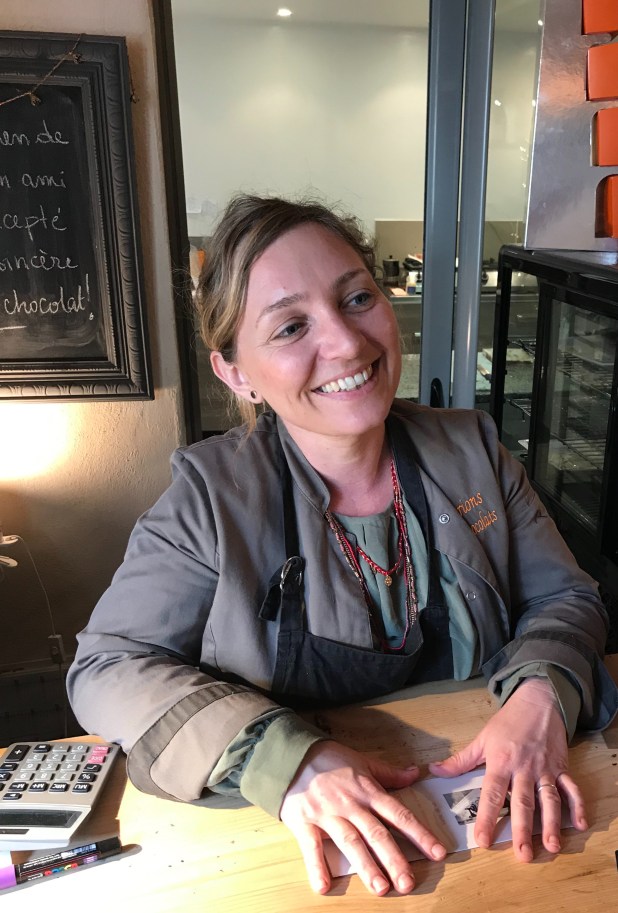
 I have done a bit of chocolate work with Mark Tilling, he was 7th in the world in 2009 and won the first ever Bake Off Créme de la Créme in 2016, it was a privilege to be able so to spend a day with him learning all things chocolate, and the morning we spent with Marion in her ‘Chocolate Boutique’ was to be no different, it was brilliant fun and the end results were really very good, a testament to her teaching and her very good English, much better than my hopeless French.
 Marion’s ‘Boutique’ is 5.2 miles to the North Of Carcassonne in ‘Pennautier’, in fact 16 rue Pierre Loti 11610 to be precise! It’s very close to the impressive ‘Château de Pennautier’. I have marked the boutique, in the fortified village on the map above, it’s very historic and well worth a walk around if you are in the area.
 Her small ‘chocolate kitchen’ is near the centre of the ‘fortified village’, where sessions like ours are run and she sells some of her fantastic products, her husband shares the premises where great organic wines are also available, what a partnership!
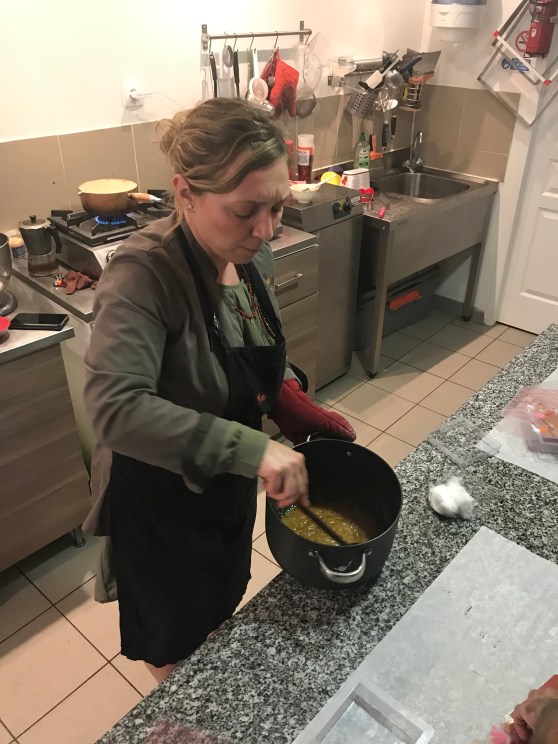 We started off by making a caramel, to fill some of the chocolates we were going to produce later. It was fascinating (to me), to understand how a professional knows when the sugar has reached the correct stage before adding the other ingredients, you will have to spend a morning with Marion to find out though, she runs regular ‘ Stage d’initiation au chocolat’!
 There was a lot going on as we went through various stages of delicious Chocolate production. Gill, one of our ‘team’ is making ‘Rocher’ in the picture above. You remember the advert, the big pile of circular golden delicacies balancing on the waiters tray, that annoying music playing. These were much better than the mass manufactured version, but then I would say that!
 We also made ‘Orangettes’, and ‘Lemonettes’ and ‘Gingerettes’, I made up the last two but essentially a firm, sticky fruit stick, dipped in my case, Dark Chocolate. There were filled Chocolates, and yes, we made a box, out of Chocolate, mine White and Milk, with a Cocoa Butter Patterned Transfer, I have some of those at home so must find an excuse to use them one day soon.
 It was soon time to go, and on the way out some bars of Chocolate were too tempting to not purchase, Caramel, Gianduja and Fleur De Sea, yum.
 Having recently attended a Chocolate School with the very talented Mark Tilling, I was encouraged to ‘stretch’ myself a little bit and broaden my skills beyond making a properly tempered bar of Chocolate!
 As my regular readers will know, I was diagnosed with Type I Diabetes last year so I have made subtle changes to my diet, no Sugar in Tea is the main one, and Desserts are an occasional treat, which to be honest is the way it has always been, I don’t have a really sweet tooth. So I was looking to stretch myself again and decided to have a go at a ‘Dome’ cake, they look a bit challenging and having tried one of William Curley’s from his Boutique in Richmond a while back, if I was 50% as good it would be a result.
 If you have warm hands I would wash them under cold water, we want to grate all the Butter into the Flour which has been sieved with the Baking Powder and Sugar. Do it in stages so you can lift the flour with your hands and coats the butter so they become like breadcrumbs, as in the picture. Someone in the house had used the Brittany Salted Butter I had planned to include so had a ‘lightly’ Salted Butter and just added a little extra.
 Stick it into the fridge wrapped in clingfilm overnight, or for at least 4 hours. You can then gently roll it to a thickness of 3-4mm and cut with a 6mm round cutter and place on a lined baking tray. This is where I made my 1st mistake, it needs to go back into the fridge to firm up and I used a fluted cutter that was slightly bigger.
 We need to cook the Mango after it has been peeled and sliced. Mine took about 40 minutes on a low heat, I added a dash of Water half way through to stop the Mango sticking and burning on the base. We do this because Mango is quite fibrous and we want to break it down as much as possible. Brûlée’s should be smooth and silky so we will be sieving the final product anyway, but it’s worth going through this stage to get a much flavour as possible.
 Once the Mango is cooked it needs some serious blitzing. We have a ‘Ninja’ which made the Mango into a puree in no time at all. Brûlée means burnt or scorched Cream so we have to heat the Cream, Mango and Sugar up to a point that it has just boiled and started to rise up the sides of the pan, then take it off the heat.
 Then, pop in the fridge to set. After an hour or two, pop into the Freezer, we need them frozen to get their White Chocolate and Lime coating before going into the Coconut Mousse.
 These are the Sable Bréton after 18 mins at 180 degrees, golden and delicious they need to cool right down and go into an air tight tin as we won’t need them for a day or so.
 So we have our Frozen Brûlée. You could miss this next step but I wanted to add another textural component into the dish along with a subtle surprise of citrus in the form of Lime.
 The tempering process used provides the textural ‘snap’ that would not happen if you just ‘melted and poured’. Traditionally quite complex tempering has been simplified by the use of something called MyCryo, which is readily available online and is in reality powdered Cocoa Butter.
 As you can see from the notes above, for White Chocolate we need to heat to 40-45 degrees, err on caution and keep to the lower end. Use a Metal bowl over hot water, a Digital Thermometer is needed to do this properly, again easily available online for a few pounds.
 The Gelatin Sheets I used from Sous Chef are 23cm x 7 cm and weigh 2.5 grms (approx). Each sheet can set 100ml of fluid into a soft texture, but are affected by milk products, sugar (sets firmer) and alcohol (too strong sets looser).
 The Dome Cakes need a glaze, a shiny coating to finish them off. I looked at several, White Chocolate, Milk Chocolate, Cocoa based but opted for a recipe in
  Let’s sort out the Sablé Breton next. Take a good handful of Pistachio Nuts and blitz them in a blender, not too fine as we want a bit of texture. I use Pistachios a lot, in Middle Eastern Cooking and find the ones in the shops are ‘ok’ but usually have a brown skin which will not look (or taste) nice. They are also quite expensive so I made an investment and purchased a Kilo of skinned Iranian Pistachios as in the picture above, again from Sous Chef who are a very good online supplier.
 This bit was challenging as I had never done it before. The glaze needs to be at about 70 deg F (runny but not hot). Take the domes out of the Freezer, de-mould and place flat side down on a cooling rack over a baking tray. I had a sheet of baking paper underneath to capture the excess. Gently pour over, I started at the middle and used a gentle circular motion slowly moving to the outside. Put back into the Freezer for 5-10 minutes. Repeat the the process and back into the Freezer. Almost done!!!
 To serve I put a bit of the leftover glaze in the middle of the Sablé Breton and using a small offset stepped palette knife gently placed the dome on top. Then Enjoy.