Desi, Native, Traditional Yardbird (Chicken, Murgh) – Confused, read on?

WP_20150516_15_43_02_ProYou would think making a Chicken Curry would be simple, Nah……..

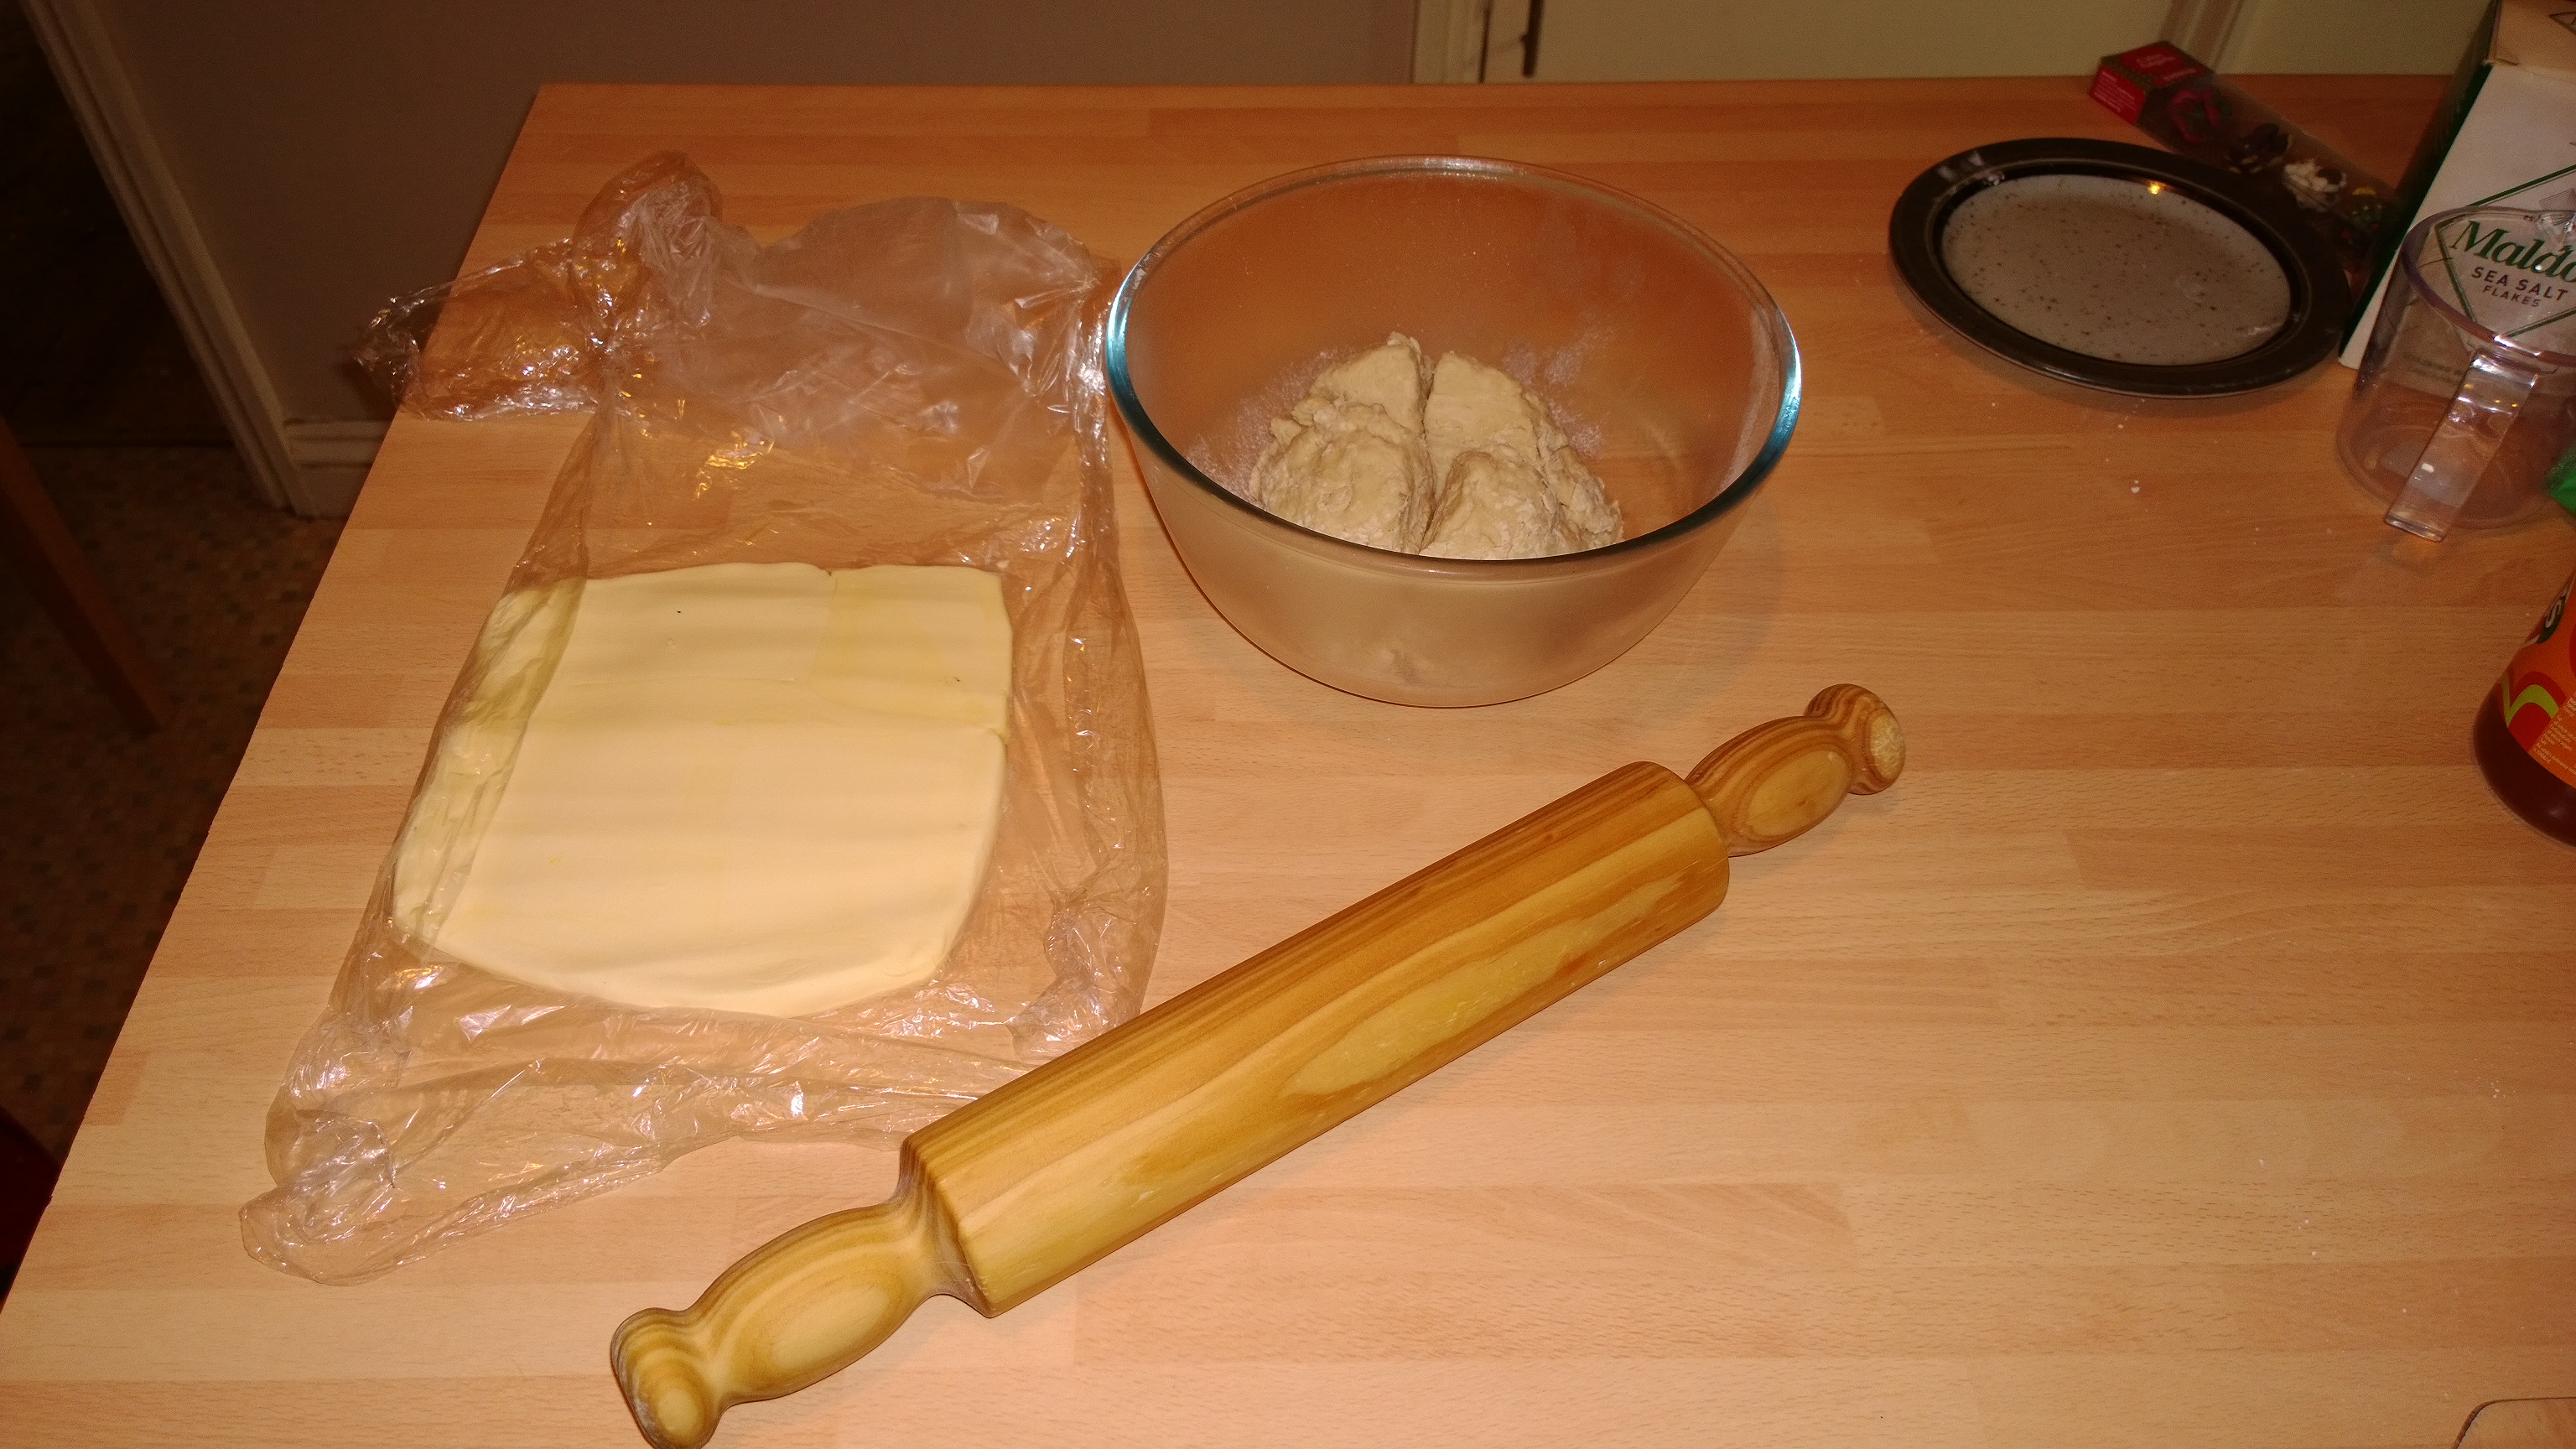
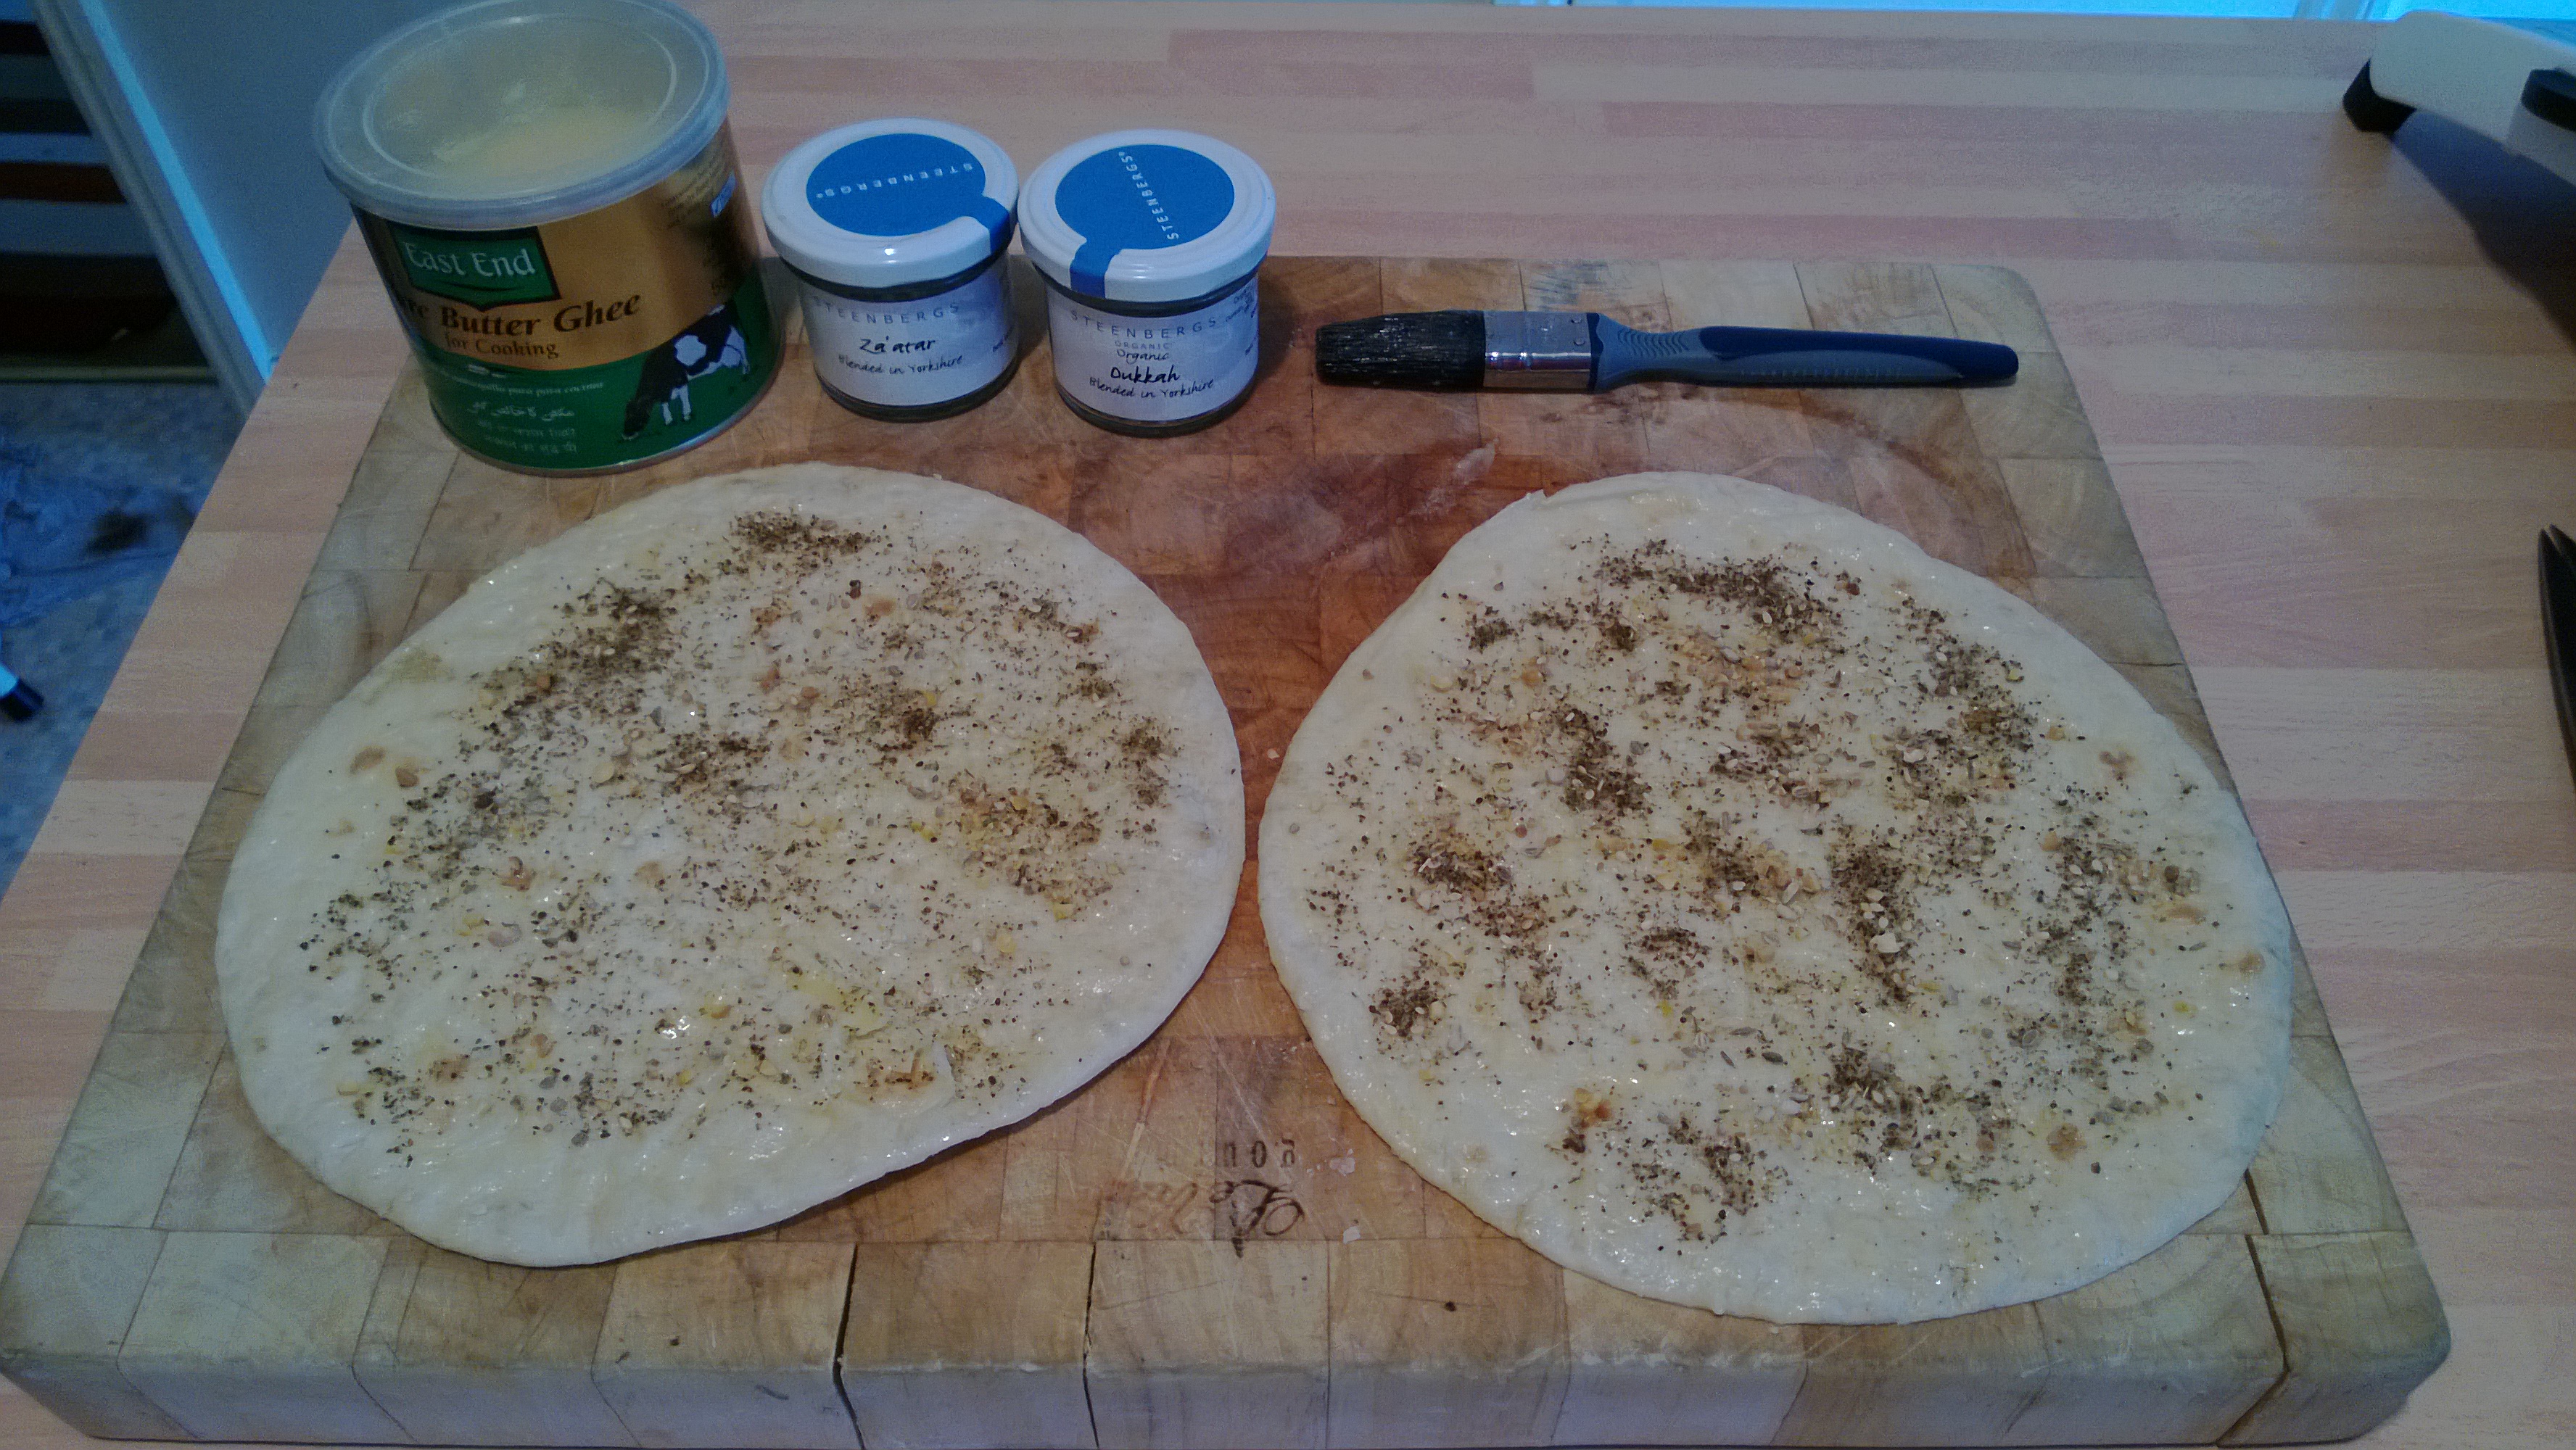
I had planned to make some Paratha’s to go with a Desi Murgh I was going to attempt, hence the flour in the picture above, it never happened but I promise to re-visit Paratha’s another day.

The week was rather busy, I meet a new bunch of people I am supporting in my day job and ended up in a fantastic Greek restaurant in Weston-Super-Mare called Demetris, the ‘Sheftalia’ was delicious and the ‘Stifado’ was that good, I got several pats on the back for finding such an amazing restaurant with 5 minutes notice.

The following day I was at a RNIB (Royal National Institute for the Blind) home with some other team mates, doing a days charity work helping get the garden in pristine condition, a really worthy graft albeit left with aches and pains in places I did not know existed.

WP_20150516_15_55_53_ProBack to the kitchen and Desi Murgh, a traditional dish from Southern India. According to the research I did whilst preparing this beauty it used to be a dish for a special occasion, as large scale chicken production did not exist and Chicken was expensive. The reference to ‘Yardbird’ in the title, is that in the Deep Southern states of America, a Yardbird was another name for Chicken, but elsewhere it was a term for a prisoner!!

I have been fortunate enough to attend two 1 day cookery courses with the Lovely Sumayya Usmani of My Tamarind Kitchen, she is currently writing her first cookery book which is due to be published later this year. I learnt to cook Onions the proper way on this course, which you need to do for this dish.

WP_20150516_16_30_55_ProThe recipe is easily available via google, mine came from a book from Indian Chef Vivek Singh, its purely a co-incidence that he is appearing on Sunday Brunch as I am writing this post, he is one of the UK’s best in Indian cuisine!!

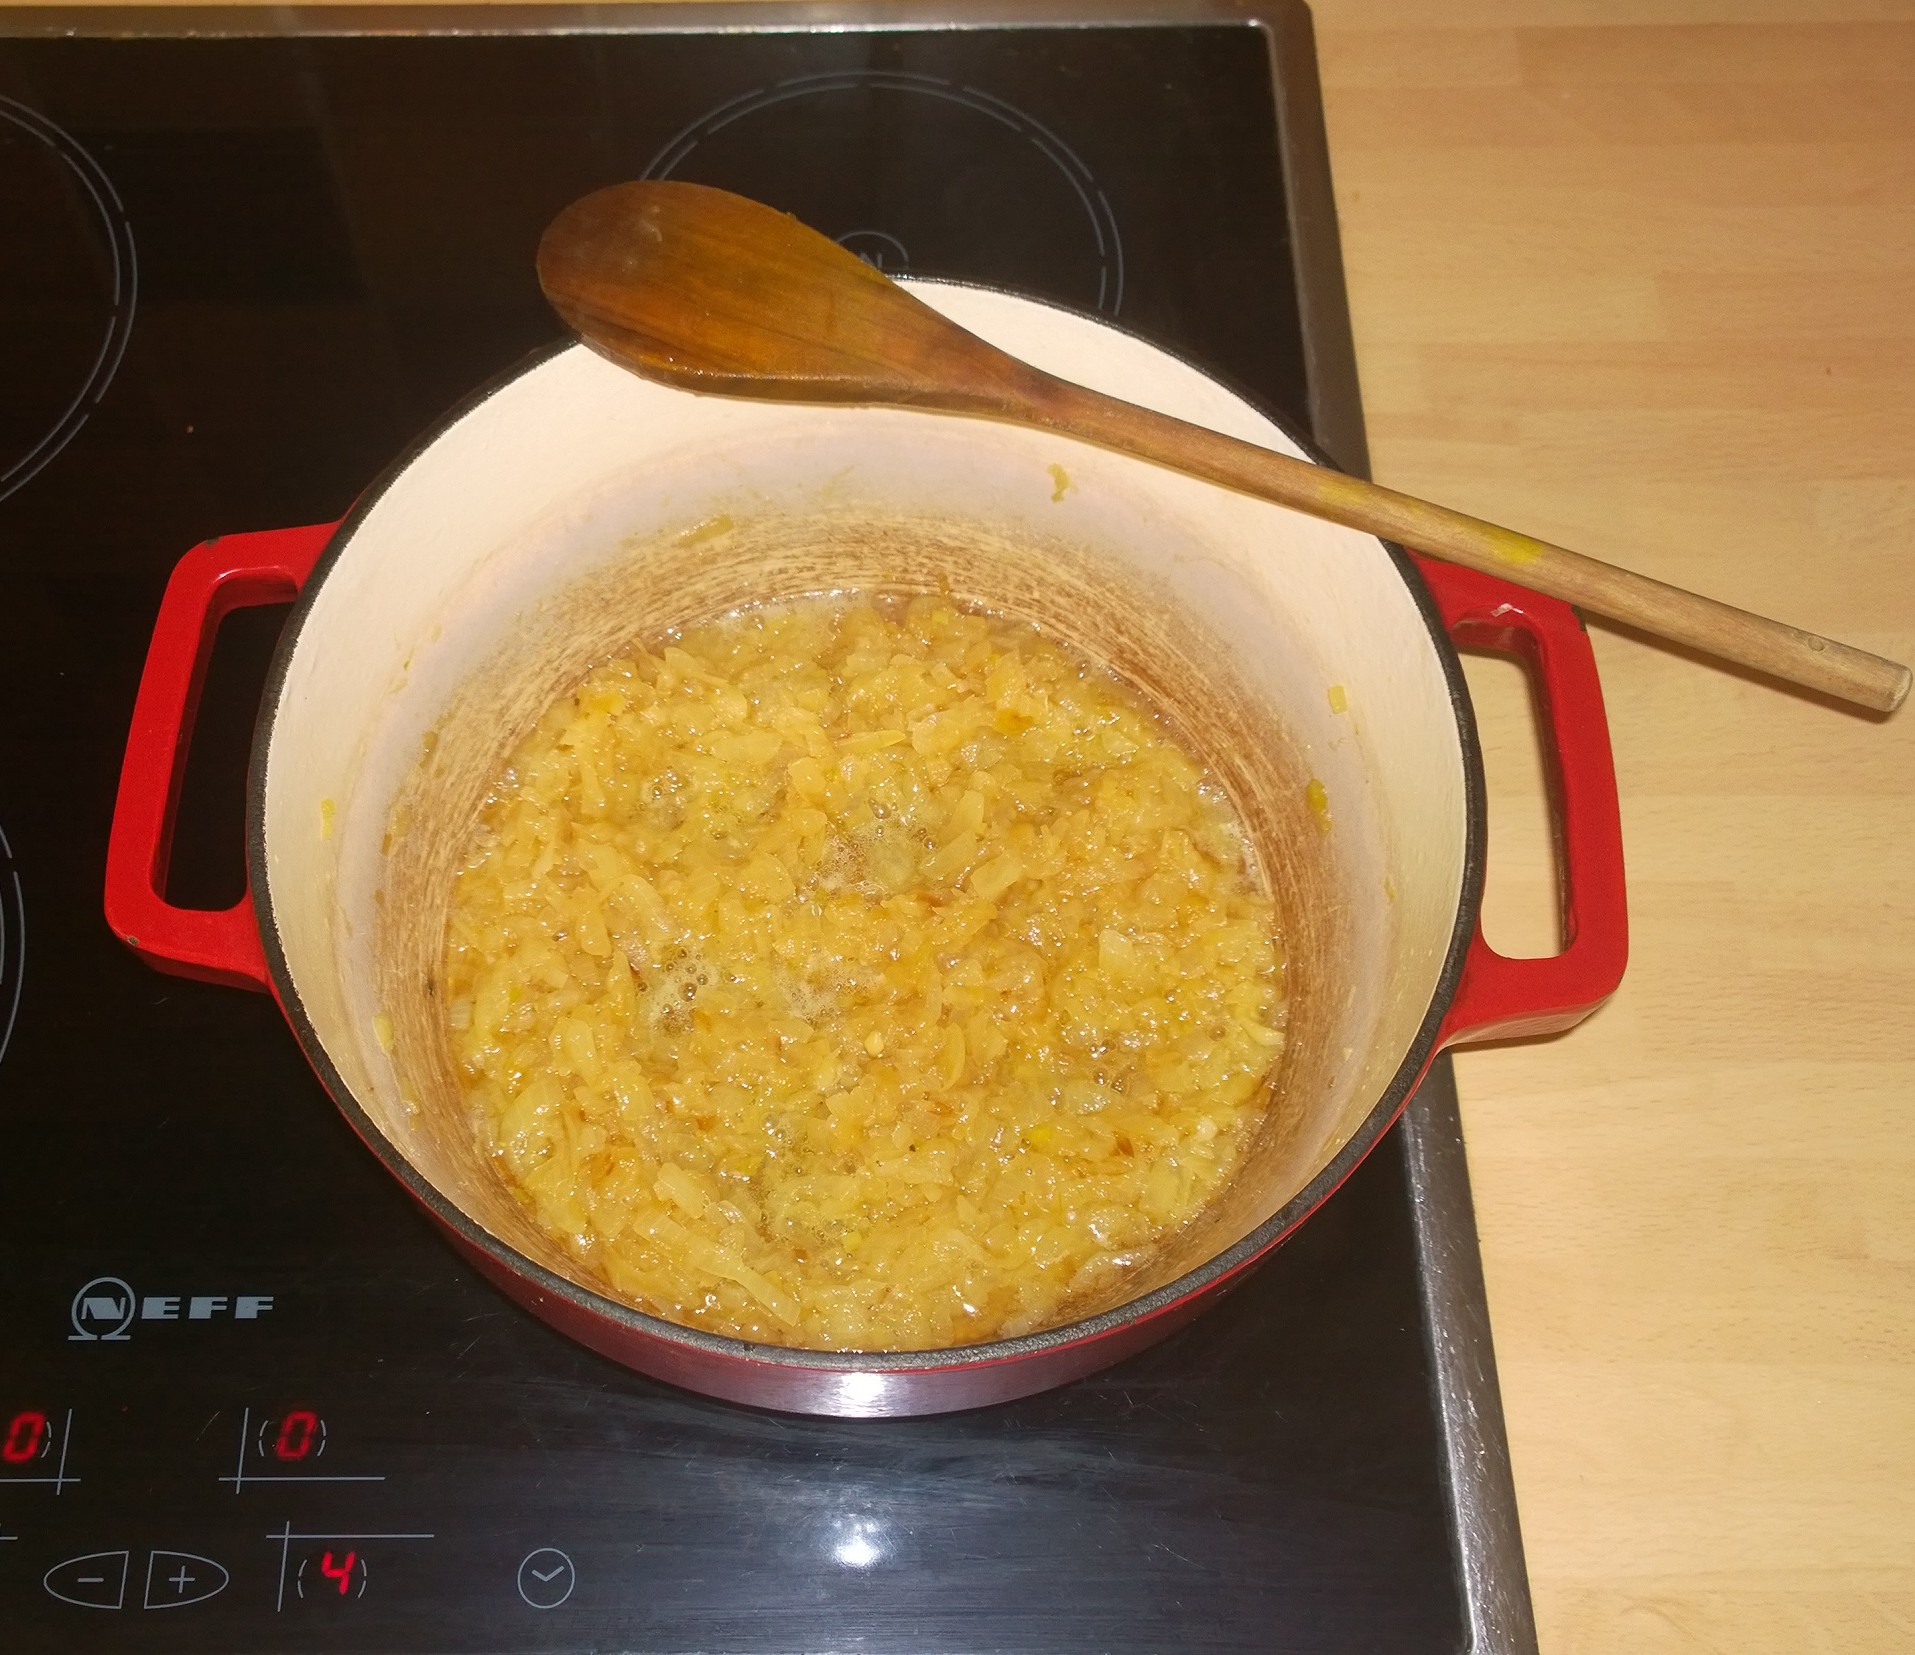
The Onions take about 30-40 minutes to cook, its not a five minute job. The trick is to use your eyes, and cook until you see the Oil separate and then add a little water and carry on cooking, stirring to make sure the Onion does not burn on the base of the pan.

WP_20150516_16_49_01_ProYou need to hold your nerve with this process, it seems as if you are cooking the Onion to within an inch of its life, I used two large Onions and by the time the cooking process has finished and you have essentially cooked all the moisture out of the Onions, there is not that much left.

WP_20150516_16_55_46_Pro
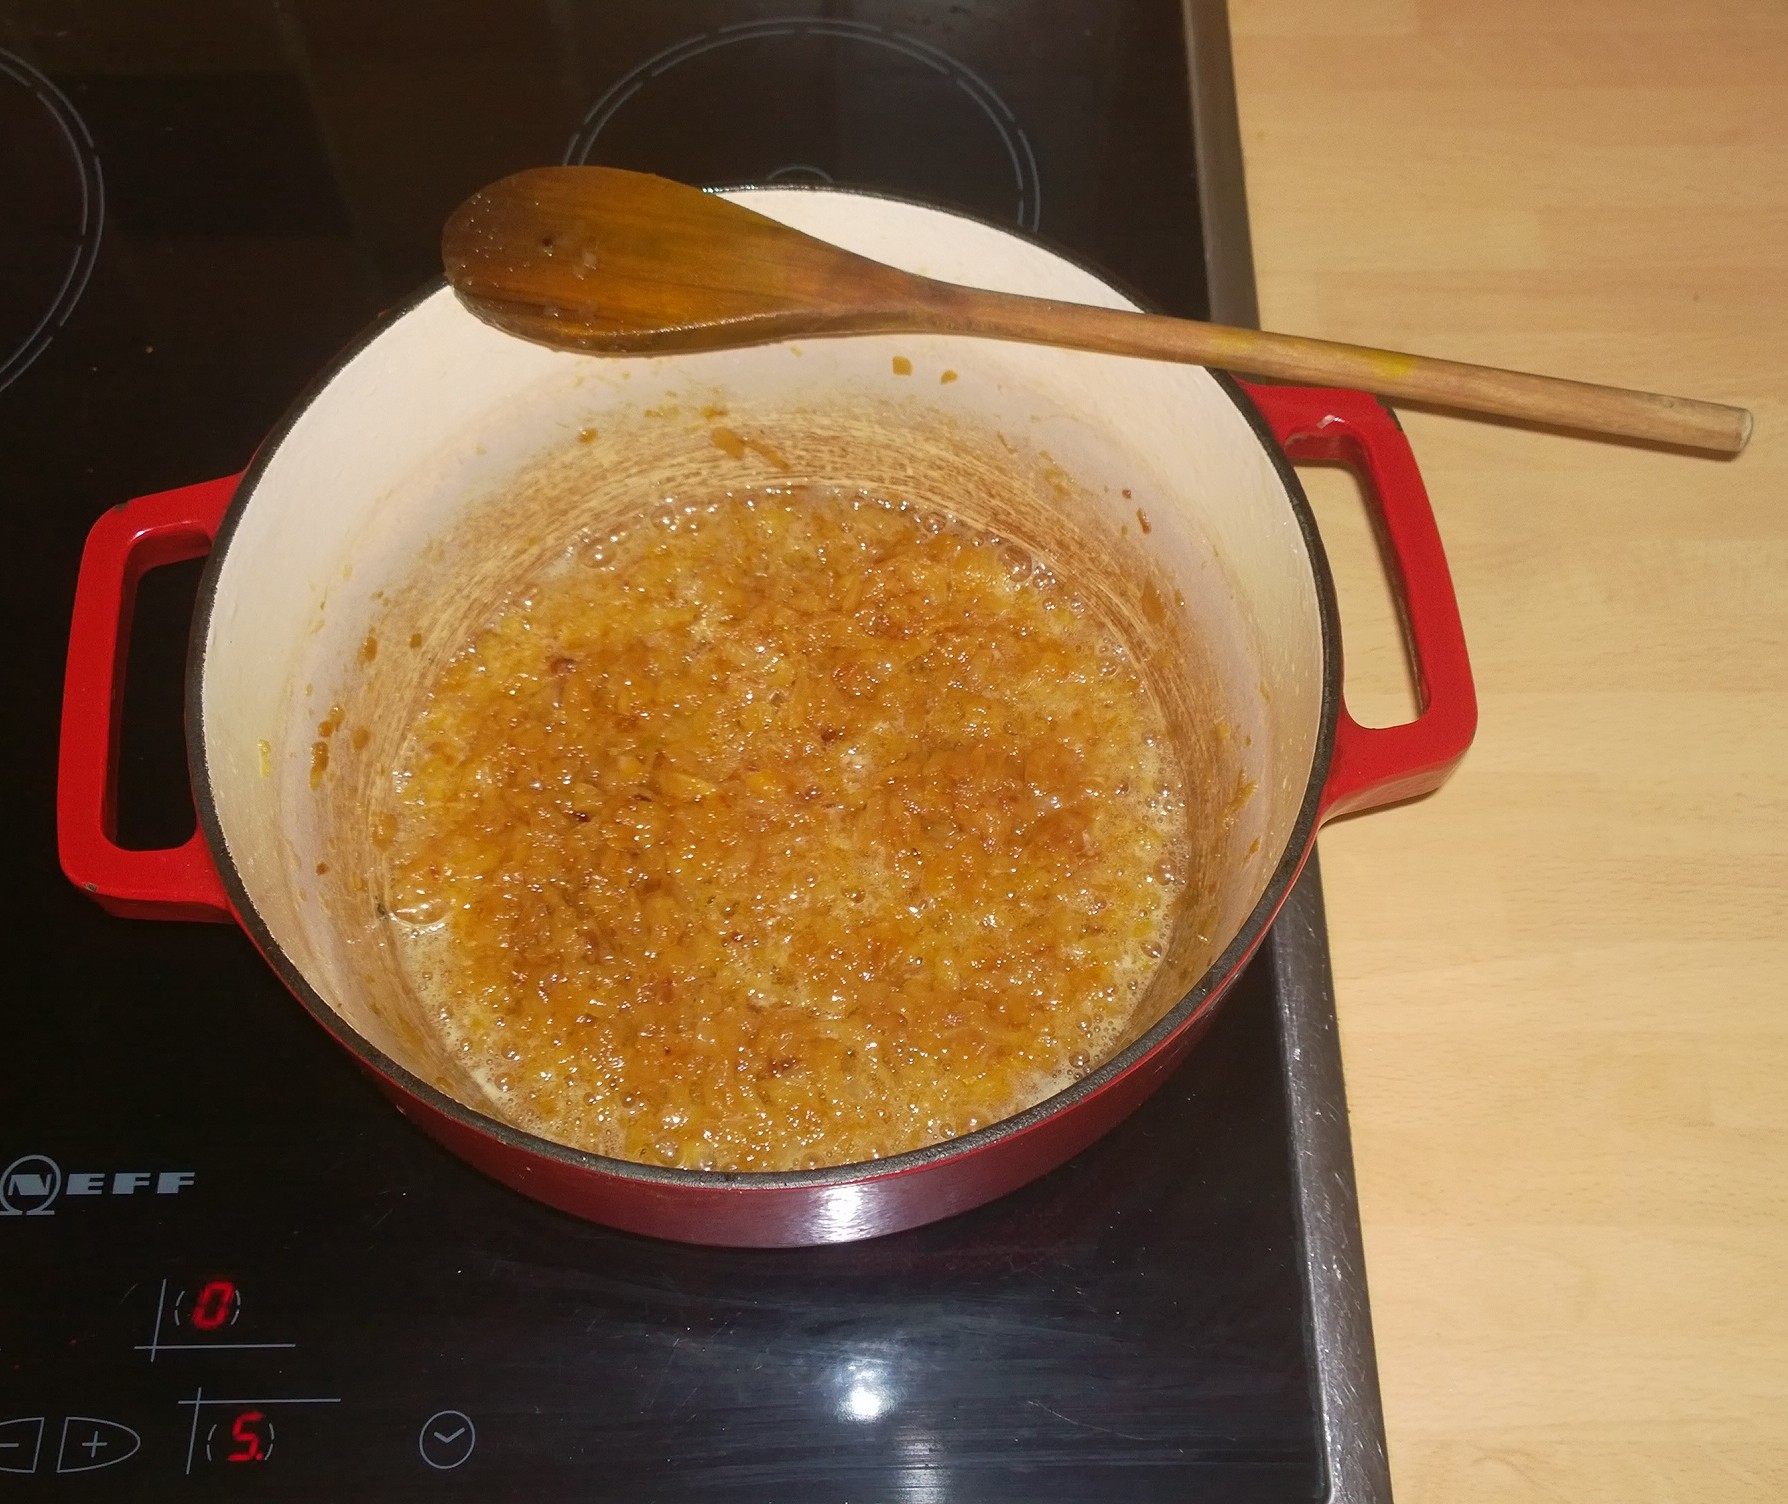
Once you have passed the ‘Deep Brown’ stage, set aside to cool down and then blitz in a food processor or use a ‘Stick Blender’. You will have a delicious deep sweet base for the Desi Murgh, and many other Indian dishes as this technique is used a lot.

WP_20150516_17_09_42_ProDuring the Onion cooking stage take your Garlic and Ginger and make a paste, I used about 5 Garlic Cloves and 1 1/2 Inches of fresh Ginger, delicious.

This needs cooking out, see above, before adding the Onion Mixture and cooking for 5- 6 Minutes making sure the ingredients are thoroughly combined.

WP_20150516_17_13_41_ProThe kitchen will start to fill with amazing aromas by now, adding the rest of the spices like Coriander, Cumin, Turmeric, Black Smokey Cardamon, Kashmiri Chilli, cooking each one out to remove the powdery taste. A Bay leaf finishes this stage of the cooking.

WP_20150516_17_19_49_Pro 
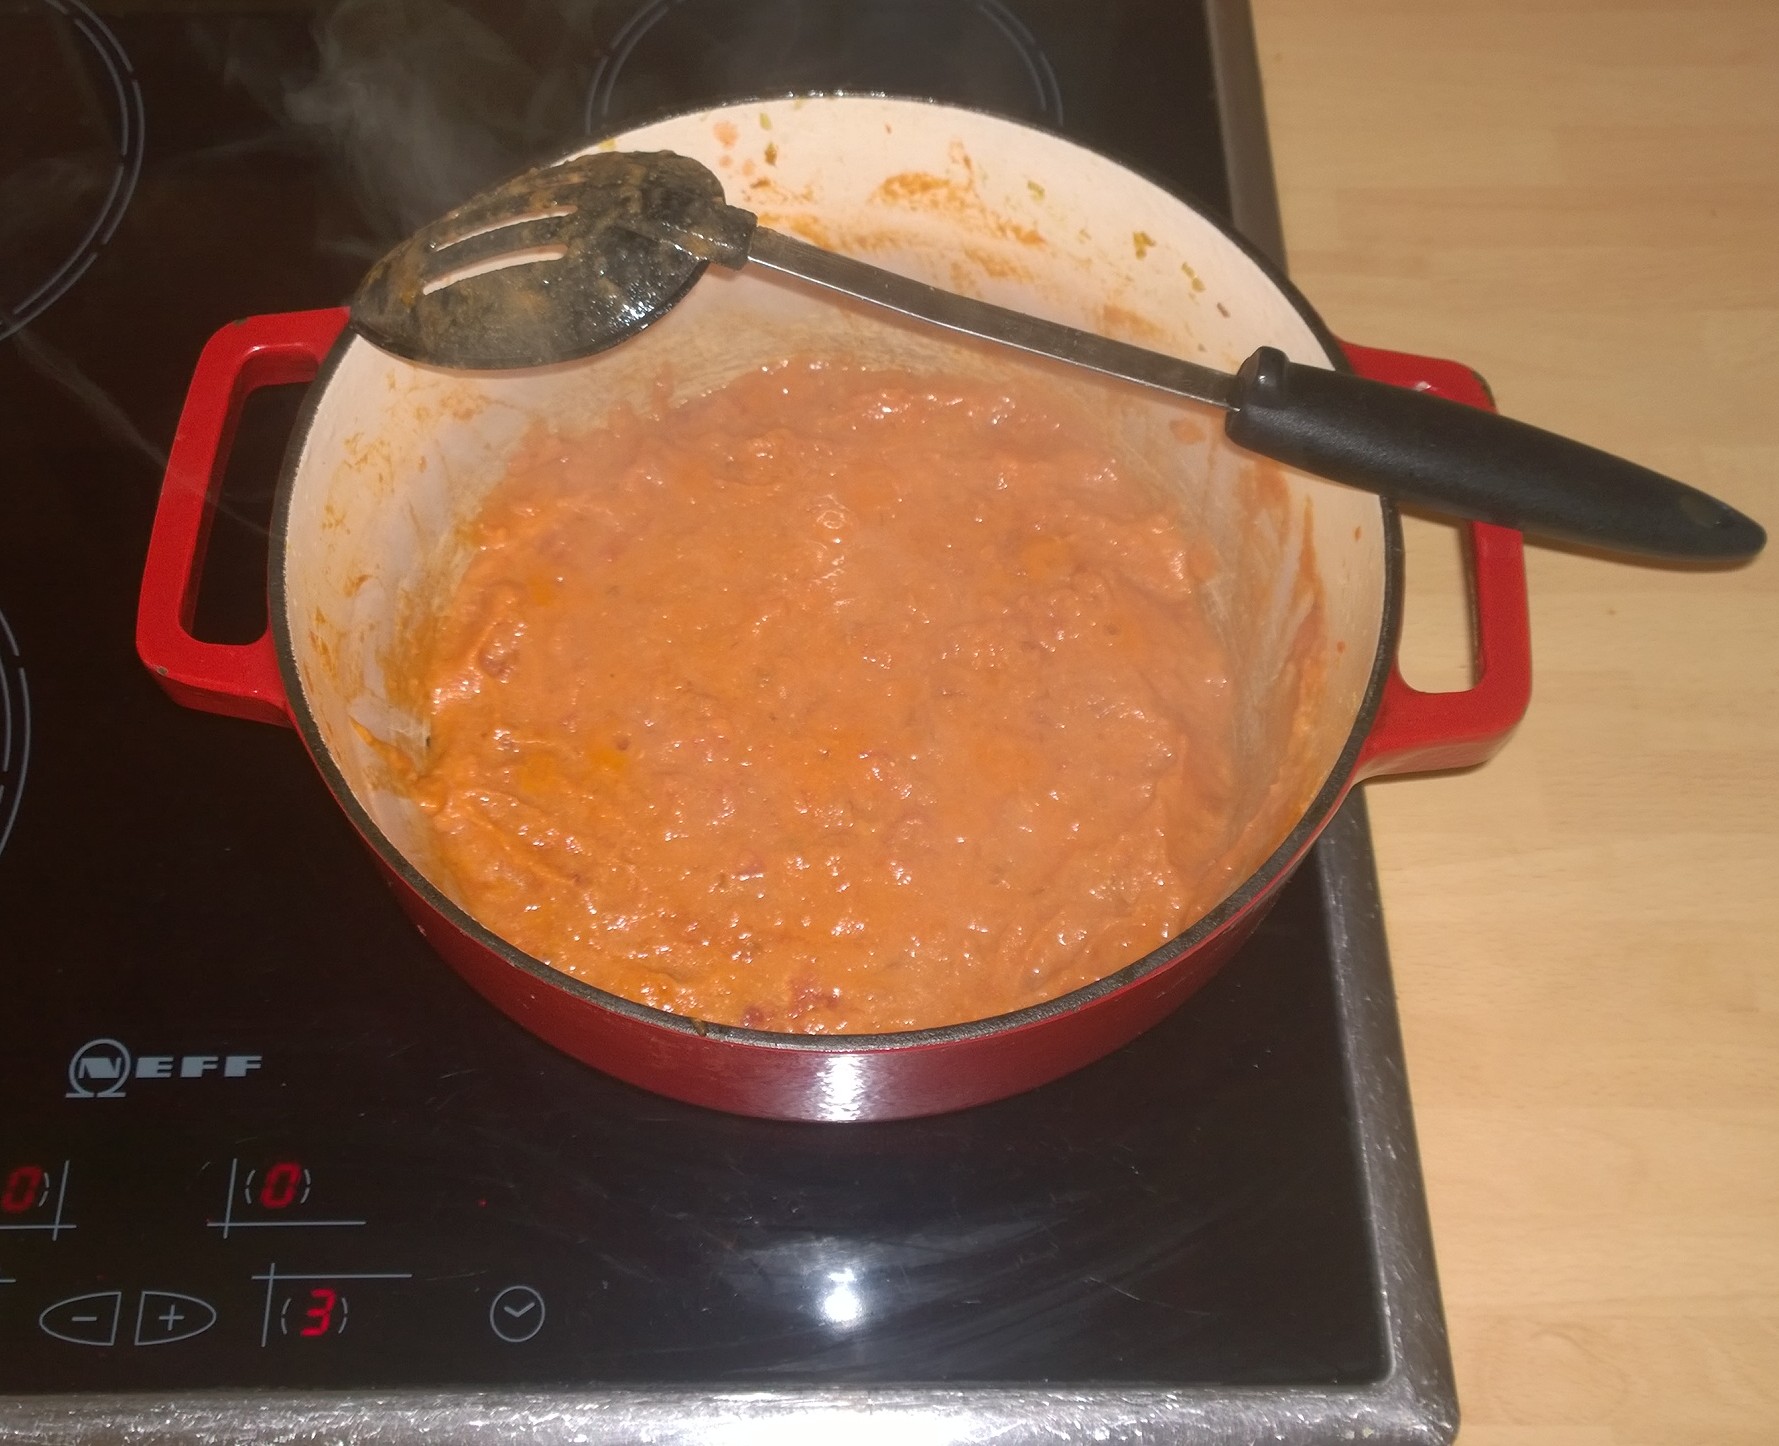
Next, Tomatoes are added cooking the sauce base until the Oil splits from the rest of the mixture. I did not have fresh so used a tin of chopped tomatoes which were in the cupboard. Finally add some Yoghurt as per the recipe.

WP_20150516_19_14_00_Pro
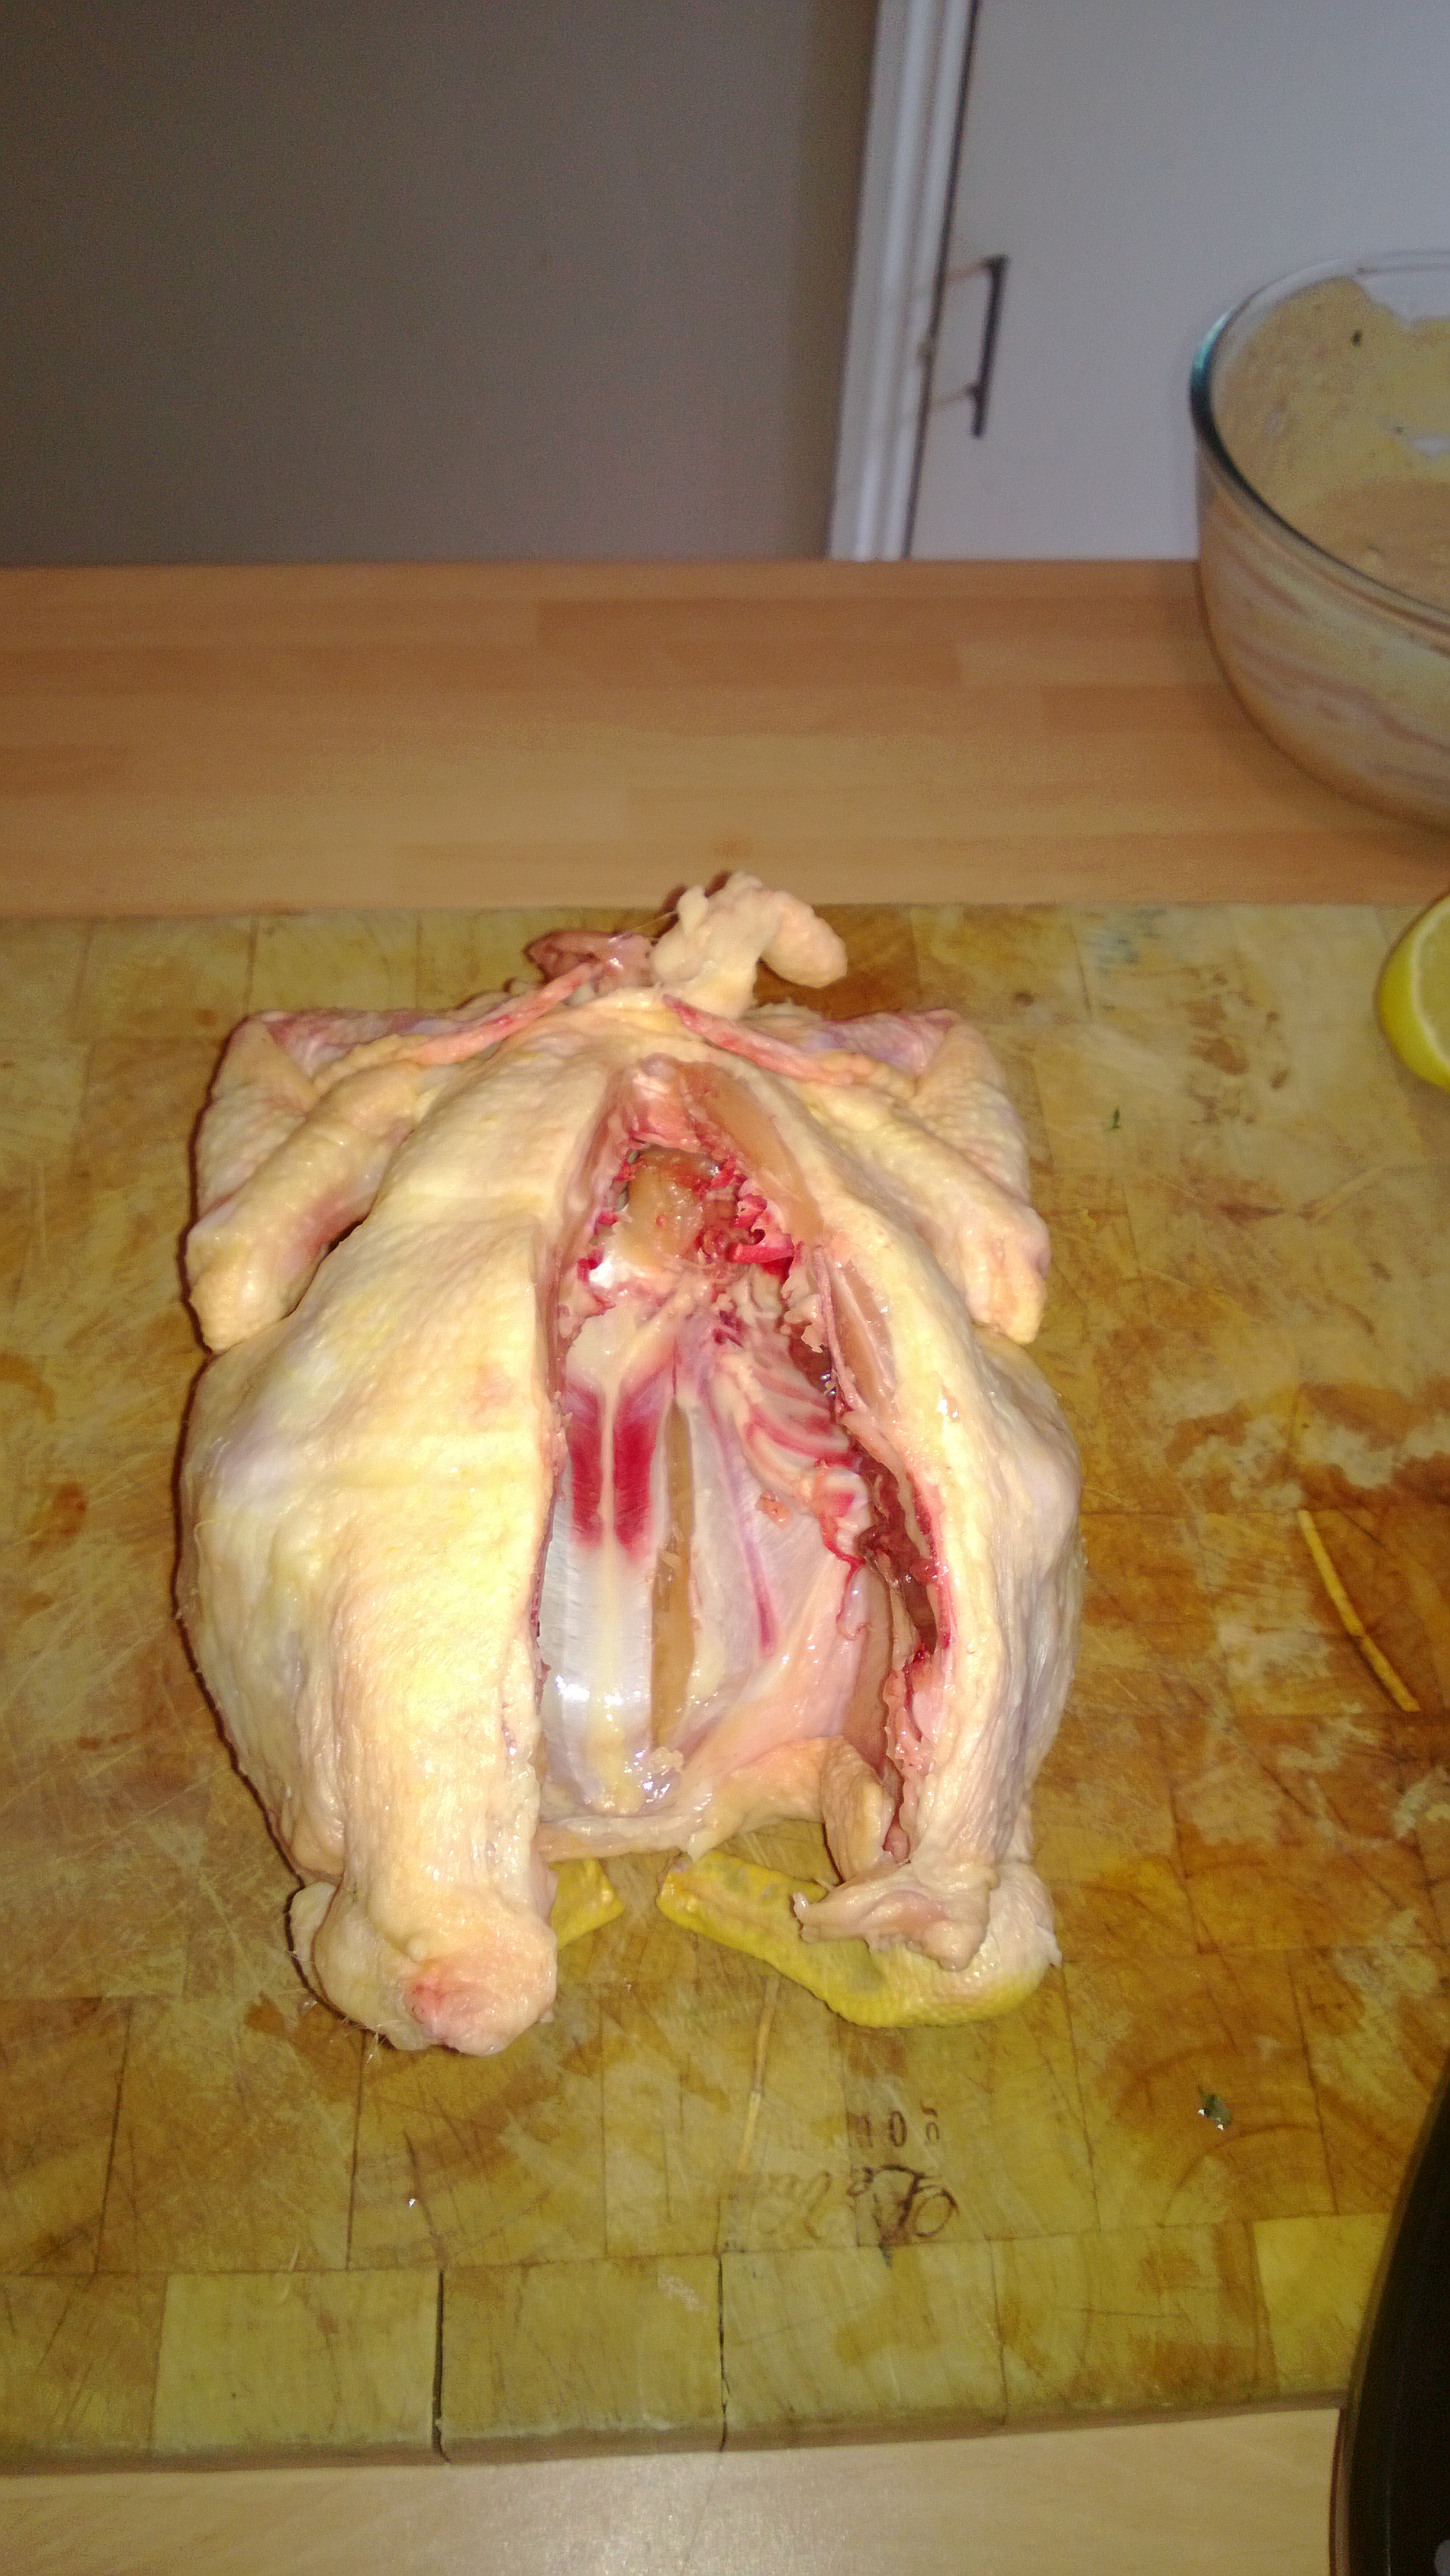
Chicken is the protein in this delicious dish, slow cooking for about 45 minutes use whatever you have to hand, Thighs, Breast (cut into chunks) or Legs its up to you. I put mine on the oven on about 150 degrees with the lid on. Make sure the Chicken is cooked if you are using larger cuts with the bone in.

WP_20150516_19_24_22_ProAt the end, add some fresh Coriander and cook on the hob for a further 10 minutes until the Oil splits out again.

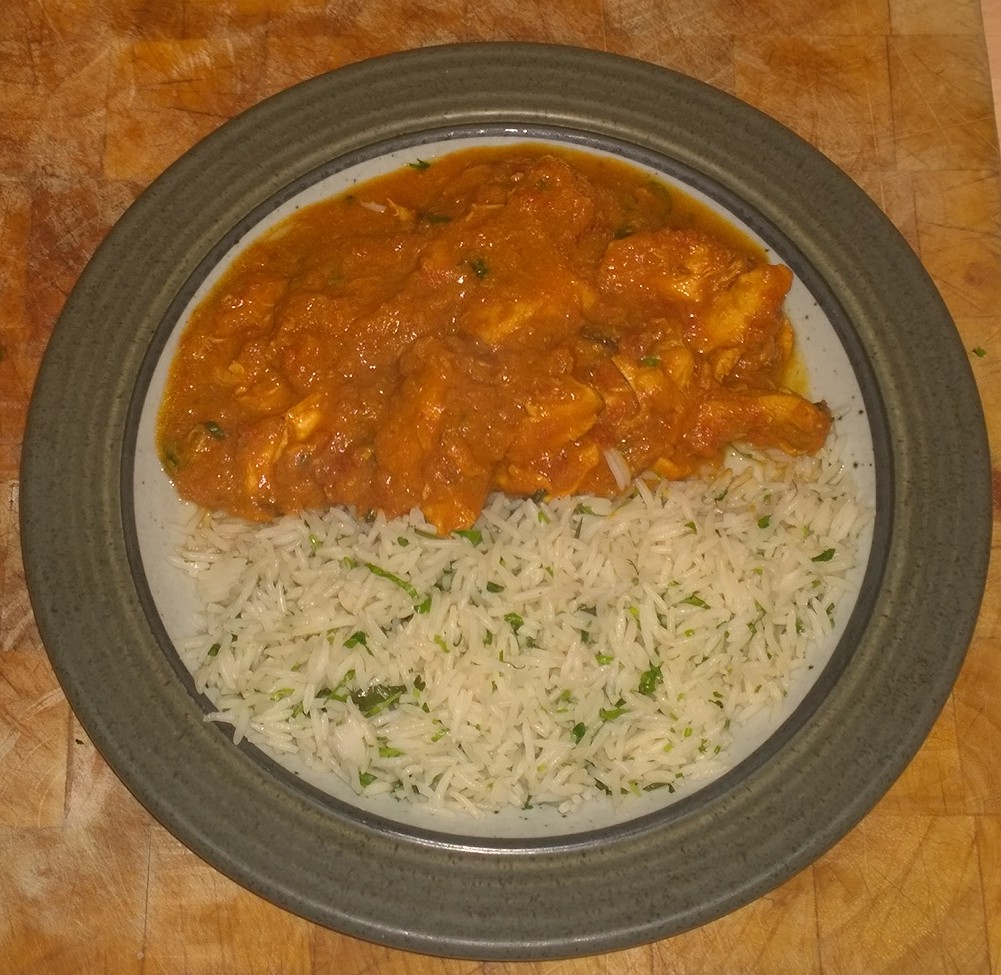
I served the Desi Murgh with some Basmati rice that had been flavoured with Clove, Cinnamon, Green Cardamon, roasted Coriander Seeds, I guess it was Pilau Rice without the colouring, a ‘flourish’ of fresh Coriander was also added, I love the stuff!!

It takes a while to prepare this Desi Murgh but the results are delicious, if you like your food a bit hotter, add extra Chilli Powder as the dish is mild and fragrant. Its supposed to be quite a ‘wet’ curry so some Indian bread would go well, I was too tired after a busy week so fried some Popadoms instead!

…………………….Until Next time L8ers………………

π, No not that one, Pie! My take on an Egyptian Neolithic period or New Stone Age food!

Hi peeps, it’s Sunday, I’ve finished work until the 6th January and don’t need an excuse to get in the kitchen. We had planned to have Chicken on Saturday night, but instead went for a Cheese Fondue as I wanted to do something a little special, and Roast Chicken and all the trimmings so close to Christmas just didn’t seem right.

WP_20131221_16_23_33_Pro

I absolutely love a good Pie, but getting one is really challenging, I believe the best are ones made with love and care in your own home, by your own hands and fresh as a daisy!  I am sure there are good Pie’s available but quite often my eating habits change within the space of five minutes, so here is my take on something that first surfaced in 9500BC!

WP_20131222_11_40_31_Pro

For me a good Pie is made of the best ingredients you can get (or afford), in this case an excellent Free Range Chicken from our favourite supplier, no added ANYTHING! You also need a quality stock to make a sauce, the carcass of the Chicken is the base of this, with some aromatics such as Thyme, Rosemary, Parsley, Peppercorns and a Star Anise.

WP_20131222_12_09_52_Pro

I roasted the Chicken on the Saturday evening,  put half a head of Garlic in the cavity along with a halved Clementine, rubbed Olive Oil all over the skin and seasoned with Salt and Pepper. Roasting took 1 hour 20 minutes in my case, I then covered the beast with a couple of layers of foil, and a towel and let cool for a good couple of hours. Transfer the Chicken to the fridge, covering with greaseproof paper and foil to keep all those flavours where they need to be! DON’T clean the roasting dish, you are going to use it in the morning so cover with some foil to keep any nasties out.

The stock is simmering as I am writing this blog entry.

Earlier this morning I stripped the carcass of its meat and put the carcass back in the same roasting dish I used last night, adding to the flavour with the juices and crispy bits. Also in the dish went a stick of celery and a carrot, cut into chunks, and two onions cut in half with their skins still on, then into a 180deg oven (160 deg fan) for 1 hour.

Once roasted put into a stock pot if you have one, or a large saucepan along with about 4 pints of water, a bunch of Parsley, 2 sprigs of Thyme, a sprig of Rosemary, 10 Black Peppercorns (Lampung in my case), 5 White Peppercorns (I used Muntok) and one Star Anise. The Stock needs to gently simmer for 4 hours, skimming any impurities of the surface as you go.WP_20131222_15_07_42_Pro

After 4 hours, remove the stock from the heat and filter through a sieve, the aromas filling the kitchen were….CHICKEN! You can see a small amount of fat on the surface, this can be removed when the stock has cooled down if you want too.

WP_20131222_13_23_17_Pro

Whilst the stock is simmering, you can attack the Pâte Feuilletée or Puff Pastry. I know the shop bought stuff is apparently good, but this was to be a special pie and so an excuse to have a go myself. I followed the instructions of the well renowned Richard Bertinet, in his book Pastry, which I mentioned in the last blog.

There are a number of stages to go through, with chilling between each so allow yourself enough time (you could go and buy some but it won’t be the same!)

WP_20131222_14_50_10_Pro

This is my attempt after I had added ice cold water to the flour, and knocked ten tons of, no, only joking, flattened the butter between two sheets of cling film. After another chill in the fridge, the butter will be incorporated into the flour mix in layers.

WP_20131222_16_03_25_Pro

There a two ways of folding to create Puff Pastry, Double Book and Single. Double Book is where you take each end and fold it into the middle. Single is where you fold ONE end in, and the other overlaps.  Just for a challenge I went for single, which requires 6 folds and 1/2 hour resting in the fridge after each (Its not a fast process!). This is mine after fold three, the finger dimples are intentional to enable you to remember where you are!

WP_20131222_16_08_20_Pro

In between the puff pastry process you can start to prepare the filling. You need Onions, Garlic, Button Mushrooms, Butter, Flour, Stock, Roast Chicken (chopped) and frozen Peas; Salt and Pepper to taste, Herbs de Provence or whatever flavourings you fancy. I included a small amount of Chilli to provide a background warmth.

Chop the Onions and fry gently in some Butter and Olive Oil until translucent, then add the Garlic (crushed or chopped) and continue to cook. Quarter the button Mushrooms and add, cooking for at least 5 minutes then the Roast Chicken and a tablespoon or so of Flour, and continue to cook, then about 300 ml of the freshly prepared Chicken Stock. Gently simmer for about 15 mins and towards the end, chuck in about 3 handfuls of frozen peas and remove from the heat. It should look like the above.

WP_20131222_17_55_55_Pro

To accompany ‘The Pie’ was going to be one of my all time favourite potato dishes, Gratin Dauphinoise. Layers of Potato, Garlic, Salt & Pepper and grated Nutmeg, filled with double cream and cooked slowly until golden and bubbling. Its a very rich and flavoursome dish that can be a meal in its own right.

WP_20131222_18_13_47_Pro

I topped mine with grated Grana Padano Italian hard Cheese which i deemed acceptable as the dish is from the Dauphiné area of France, near the Italian border, you could also use Gruyere as an alternative.

Back to the Pastry and we are almost done. We are now at turn six of the single turn method.

WP_20131222_18_21_48_Pro

When you cut the Pastry you can see the thin wafer like layers of Butter, we are going to make a Flat Pie and you need to make the lid slightly larger than the base to cover the filling.

WP_20131222_18_33_09_Pro

Once you have the base rolled out to a thickness of a slightly less than a pound coin, brush egg wash  about an inch around the edge, pile in the chilled filling and place the lid on top. To seal the edges I used the thumb and two finger method to crimp the edge, and then rolled like a Cornish Pasty edge, nothing was escaping this bad boy!

WP_20131222_18_37_41_Pro

Brush the lid with egg wash and put in the fridge to relax for 10 mins. The take it out the fridge, egg  wash it again (this will help it go a deep brown colour) and using the BACK of a sharp knife, gently make curve patterns from the centre to the edge. If you don’t do this after the egg wash, you will loose the pattern. You can also make an incision in the centre to let some of the steam out during cooking.

WP_20131222_19_46_18_Pro

Approximately 45 minutes in a 180deg oven and you should end up with something like the above, be brave and turn the heat up a little during the last 10-15 mins, you want a deep brown and nearly caramelised colour and finish. The pastry should be flaky and crispy, the filling succulent and flavoursome.

WP_20131222_19_59_46_Pro

I also fancied another favourite, Green Beans & Pancetta, cooked beans, rolled in the salty Italian Bacon and fried quickly for a few minutes to crisp up.

The Boss is generally not to fussed about pies, until she tried this one, it was stunning, tasty and there is plenty left over for tea on Monday. So here it is, my take on a Pie, you could use Beef or Pork if you don’t like Chicken, just make the appropriate Stock base to match the filling.

As an aside, I use a Camera Phone for the pictures on my Blog. Those very kind people at Nokia gave me the Lumia 1020 last week, a 41 Megapixel beast with Carl Zeiss lense, the pictures on this entry were taken on the new Nokia.

Previous entries were on either the Nokia 920, BlackBerry Z10 or Samsung S4. (Maybe you can guess what my day job might be?) Maybe you can see the difference, i’m not the best photographer or stylist but try to make the images ‘real’.

Hope you all have a very Happy Christmas.

L8ers….

Middle Eastern Chicken on Flatbread with Fattoush

Another busy week this week  included William Curleys‘ Patissiere, awesome Massamam Curry at Chaophraya in Manchester, amazing Arnavut Cigeri (Albanian Style Lambs Liver) & Kaniyarik (Aubergine stuffed with mince meat, onions, peppers, tomatoes cooked in the oven and served with rice), at Meze in Darlington. Oh, and a couple of full english breakfasts!!

It’s me and the ‘Bosses’ 25th wedding anniversary this year, and to do something a bit different we are planning a trip to Padstow, to attend a two-day Indian course at Rick Stein’s Cookery School, watch this space for a review if we manage to make it.

Back to the kitchen and more middle eastern inspired food, this time chicken….

WP_20130804_001

WARNING, ITS GOING TO GET GORY AND MESSY, SPATCHCOCKING A CHICKEN IS NOT PRETTY

Every time I am in the kitchen I try to do something new or different (or both!), this time was the art of spatchcocking. Before dealing with the Chicken, I prepared a marinade.  A pot of Yeo organic Yogurt is put into a bowl with a good generous handful of chopped fresh Thyme, the same of coriander, 4 tablespoons of Harissa paste, a teaspoon of Sumac, a teaspoon of Coriander powder, 1/2 a teaspoon of Cumin. Add the grated zest of a Lemon, and its juice and mix together well. Set aside whilst we prepare the chicken.

WP_20130804_002

Take your chicken and turn it over so that its Breast side is facing away from you and the open cavity is on the top. Take a sharp knife (Or kitchen scissors if you have them), and cut close to the bone that runs down the centre of the chicken. You should end up with a cut like above. Turn the Chicken over so you can finish the cut safely.

Next, place the Chicken with the open flesh face down on the chopping board with the breast side up. Put your hands on the body, pushing down to flatten and ‘break’ the spine firmly.

WP_20130804_003

It should look like the picture above, I was a bit nervous about this process but its actually quite easy to do if you take it steady and be careful with the knife!

So that’s the Chicken and marinade sorted, you now need to cut through and ‘slash’ the Chicken in several places to let the marinade penetrate and impart its flavour.  Mine looked like this after the next element of butchery!!

WP_20130804_005

The next stage is to place the Chicken on a roasting tray and smother it in the marinade, a lovely messy job but very satisfying. Make sure you massage the marinade into the cuts to make sure the flavours penetrate right into the meat.  I put mine in the fridge after this stage and left to rest for about 7 hours….

WP_20130804_006

Next step is to prepare the Fattoush, a Middle Eastern Salad of toasted Bread, Tomatoes, Onions, Radishes, Dill, Parsley, Sumac, in fact loads of delicious flavours.  There are many different variations on this dish and the one I chose was a variation on the lovely Bethany Kehdy, and her new book ‘The Jewelled Kitchen’, its beautiful and one of my favourites at the moment.

It’s an exercise in ‘Mis en place’, a phrase used in professional kitchens meaning put in place or preparing everything ready for cooking or construction, in the ways of salads.

WP_20130804_007

As an experiment, I changed some of the ingredients slightly, adding about 150 grams of mixed Red Quinoa, White Quinoa and Bulgur Wheat that had been boiled for 10 minutes and left to cool.  I made a dressing from thinly sliced Red Onion, 60ml of Rapeseed Oil, 4 table spoons of Sherry Vinegar, some Salt and Pepper and massaged it all together leaving it to marinade for 10-15 minutes.

My Fattoush looked like this when completed.

WP_20130804_009

Prior to starting cooking, I had popped into Waitrose to pick up some bits and pieces (read wine!), and was considering what and how to serve the Chicken. Not being inclined to spend too much time on making bread I found some interesting looking Italian Flatbreads that were thicker than a Tortilla, and had some body and texture to them.  These were going to be the ‘blanket’ for the dish.

WP_20130804_008

I came up with an idea to make them even more interesting, and it involved a 1/2 inch paint brush!!

I had some Ghee in the cupboard so took my trusty brush (that is really handy in the kitchen), and brushed each Bread with the Ghee all over.  I then sprinkled Dukkah and Za’atar over both, giving them a good covering as evenly as possible.

Prior to serving, the bread’s were put together with the clean side on the outside, and heated through in a frying pan for a couple of minutes before turning over and repeating on the other side.

WP_20130804_010

The Chicken needs about 1 1/2 hours in the oven, I used a temperature of 170 degrees in our fan assisted beast. The smells coming from the kitchen invoked memories of wandering around  Jemaa el-Fnaa in Marrakesh, Morroco. The market square is famous for the food stalls that start cooking late afternoon and swamp the area with amazing aromas and exotic spices.

WP_20130804_011

The Chicken was roughly divided and placed onto the warm Flatbread and served with the Salad. It was absolutely delicious and actually really simple to make. You can prep the Chicken in the Morning and leave to marinade. The Salad is mostly a construction exercise, the results will delight the palate.

Have a go yourself, I am pleased I did.

L8ers, till next time.

Jules